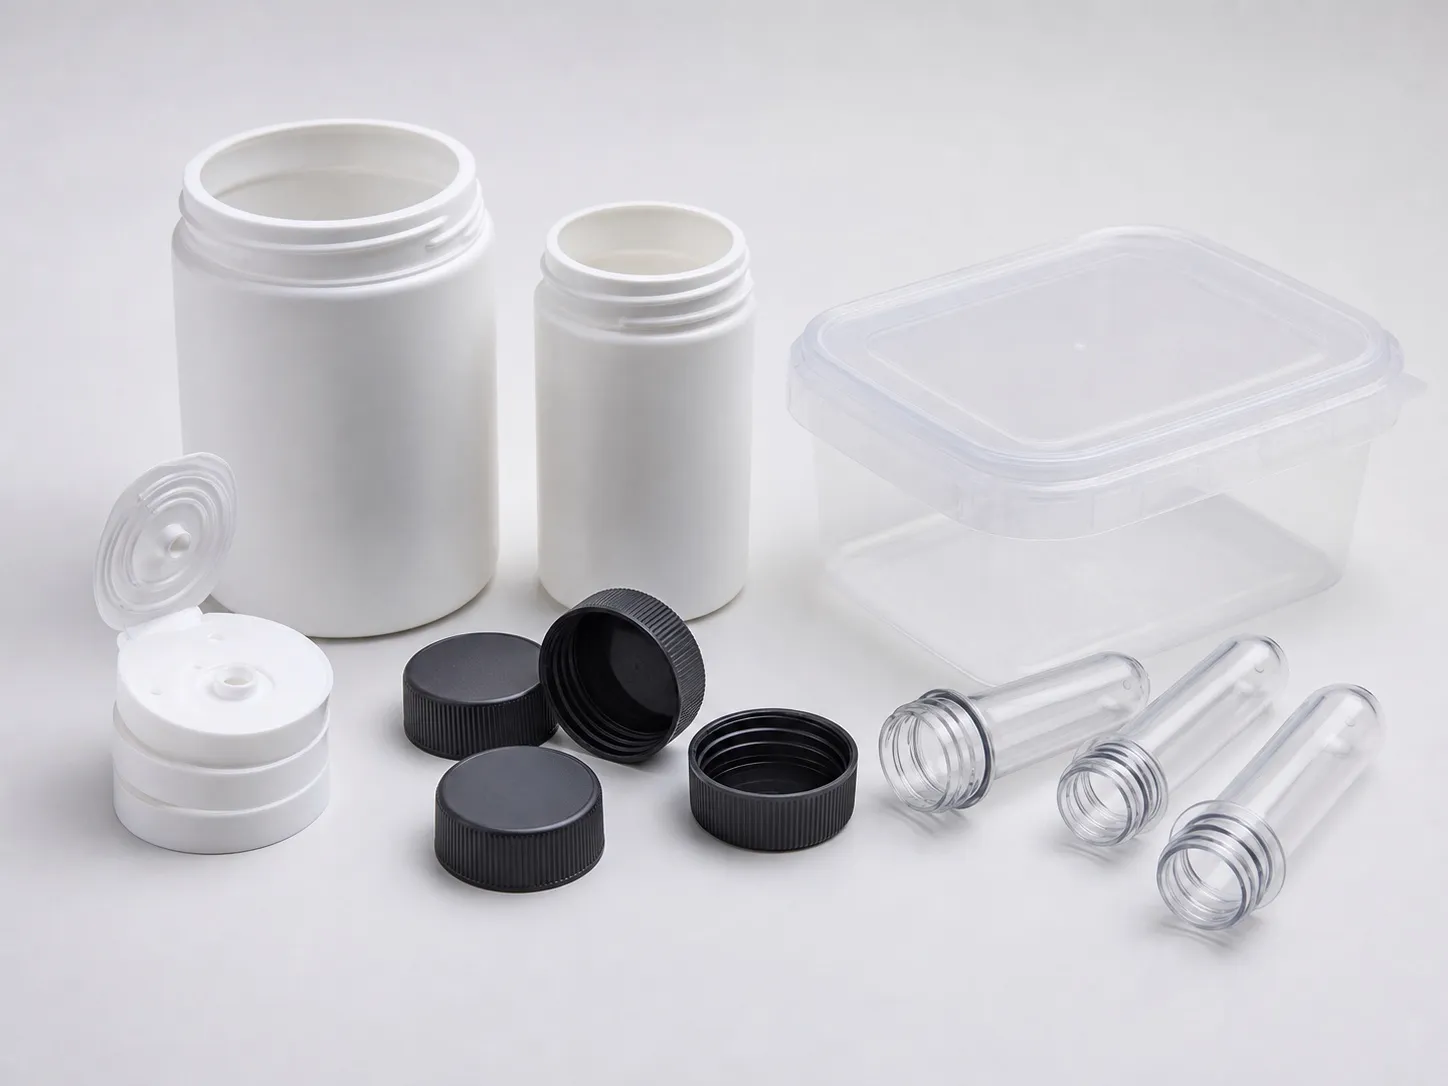

Picture a preform line on a monsoon morning. The shift starts, the first preforms look fine, and by noon the blowing plant calls about weak bottles. Nothing changed at the machine. What changed was the air: humid, and the dryer could not keep up. That is the PET preform manufacturing process in one story. A preform is made in six steps: dry the resin, melt it, inject it into a cold multi-cavity mould, hold and cool it, eject it into post-mould cooling, then check it. Drying sits first because every later step depends on it.
Key Takeaways
- Dry PET to below 50 ppm water before it reaches the screw. Resin can arrive with up to 2,000 ppm, so the dryer does real work.
- Melt at about 280 °C ± 10 °C with low back pressure and low screw speed. Extra heat and shear raise acetaldehyde and cut IV.
- Switch from injection to hold by screw position. About 13% of the stroke is left for hold, because PET shrinks that much from melt to demould.
- Cool fast with 7 to 10 °C water, then finish cooling outside the mould. Check IV, AA, weight and neck roundness at the end.
Why does drying come first in the PET preform manufacturing process?
PET is hygroscopic, and moisture spreads through the whole pellet, not just the surface. In the melt, that water breaks polymer chains and lowers IV, which weakens the bottle. Drying to below 50 ppm keeps the IV drop within 0.03 to 0.04 dl/g.
A desiccant dryer does this with hot, very dry air. Three settings control it: dew point, temperature and time. Dew point should be -40 °C or lower after the desiccant bed; above that, it must be corrected. Typical drying runs about 4 h at 175 °C or up to 6 h at 160 °C. One resin maker sets an absolute maximum of 180 °C for inlet air, because hotter air can discolour pellets.
Residence time is the setting that slips first when output rises. It equals dryer hopper capacity divided by throughput in kg/h. Raise output without a bigger hopper and each pellet spends less time drying. Airflow matters too: about 4 m³/h of dry air for every kg/h of resin.
An Indian example shows the gap. Reliance lists its Relpet G5761 bottle grade at below 0.2% moisture when packed, which is 2,000 ppm, against the 50 ppm target at the throat. Our view: never shorten drying to chase output. Add hopper capacity instead.
What happens inside the machine from melt to ejection?
The screw melts dried PET at about 280 °C, then injects it through a hot runner into every cavity at once. A short hold packs each cavity as the melt shrinks. The mould cools each preform for about 1 to 3 s, then opens.
Steps of the PET preform manufacturing process with typical settings
| Step | Typical setting | Fault if it goes wrong |
|---|---|---|
| 1. Drying | Below 50 ppm water; dew point -40 °C or lower; about 4 h at 175 °C | IV loss, weak bottles |
| 2. Plasticising | Melt about 280 °C ± 10 °C; back pressure 15 to 20 bar | Unmelts, high acetaldehyde |
| 3. Injection | About 10 to 12 g/s per cavity | Flash if too fast |
| 4. Hold | Switch by screw position, about 13% of stroke left | Sinks, neck out of round |
| 5. Cooling and ejection | Water 7 to 10 °C; about 1 to 3 s in the mould | Haze, wavy body, gate stringing |
| 6. Post-mould cooling and checks | Cool below about 60 °C surface before bulk handling | Scratches, smudges |
Plasticising should be gentle. Back pressure stays at 15 to 20 bar, and screw speed is kept as low as still lets recovery finish within the cycle, ideally with about 2 s of stopped time at the end. Faster screws add shear heat, and heat raises acetaldehyde.
Injection fills all cavities through valve gates at roughly 10 to 12 g/s per cavity. Too fast, or with pressure peaking at transfer, and melt seeps past the parting lines as flash.
The switch to hold uses a density rule. PET melt is about 1.15 g/cm³; the preform is about 1.3 g/cm³ when it leaves the mould at around 100 °C. That 13% difference becomes the hold stroke, so transfer point = (shot size minus cushion) × 13% + cushion, set by screw position.
Cooling is short in the mould and long outside it. Water at 7 to 10 °C must reach cavities, cores and neck inserts at the flow the mould maker rates. The robot or take-out plate then holds preforms in cooled tubes; give them as much time there as the cycle allows, but never more. At the gate, set the nozzle tip cool enough to freeze the gate nub, yet not so cool that a white crystalline spot forms.
How is preform quality checked after moulding?
Weight and neck dimensions are checked on the shop floor every shift. IV and acetaldehyde need lab equipment, so they are checked on samples. A neck that varies by more than 0.25 mm around its inside diameter, or an IV drop above 0.04 dl/g, signals a fault.
Visual checks catch the rest. Unmelted pellets point to low throat temperature, wet resin or a screw run past its kg/h rating. A wavy body points to uneven contact cooling. Strings at the gate point to a nozzle tip set too hot.
Each of these traces back to a step in the table, which is why logging the settings for each step pays off when a fault appears.
What should you prepare before setting up a preform line?
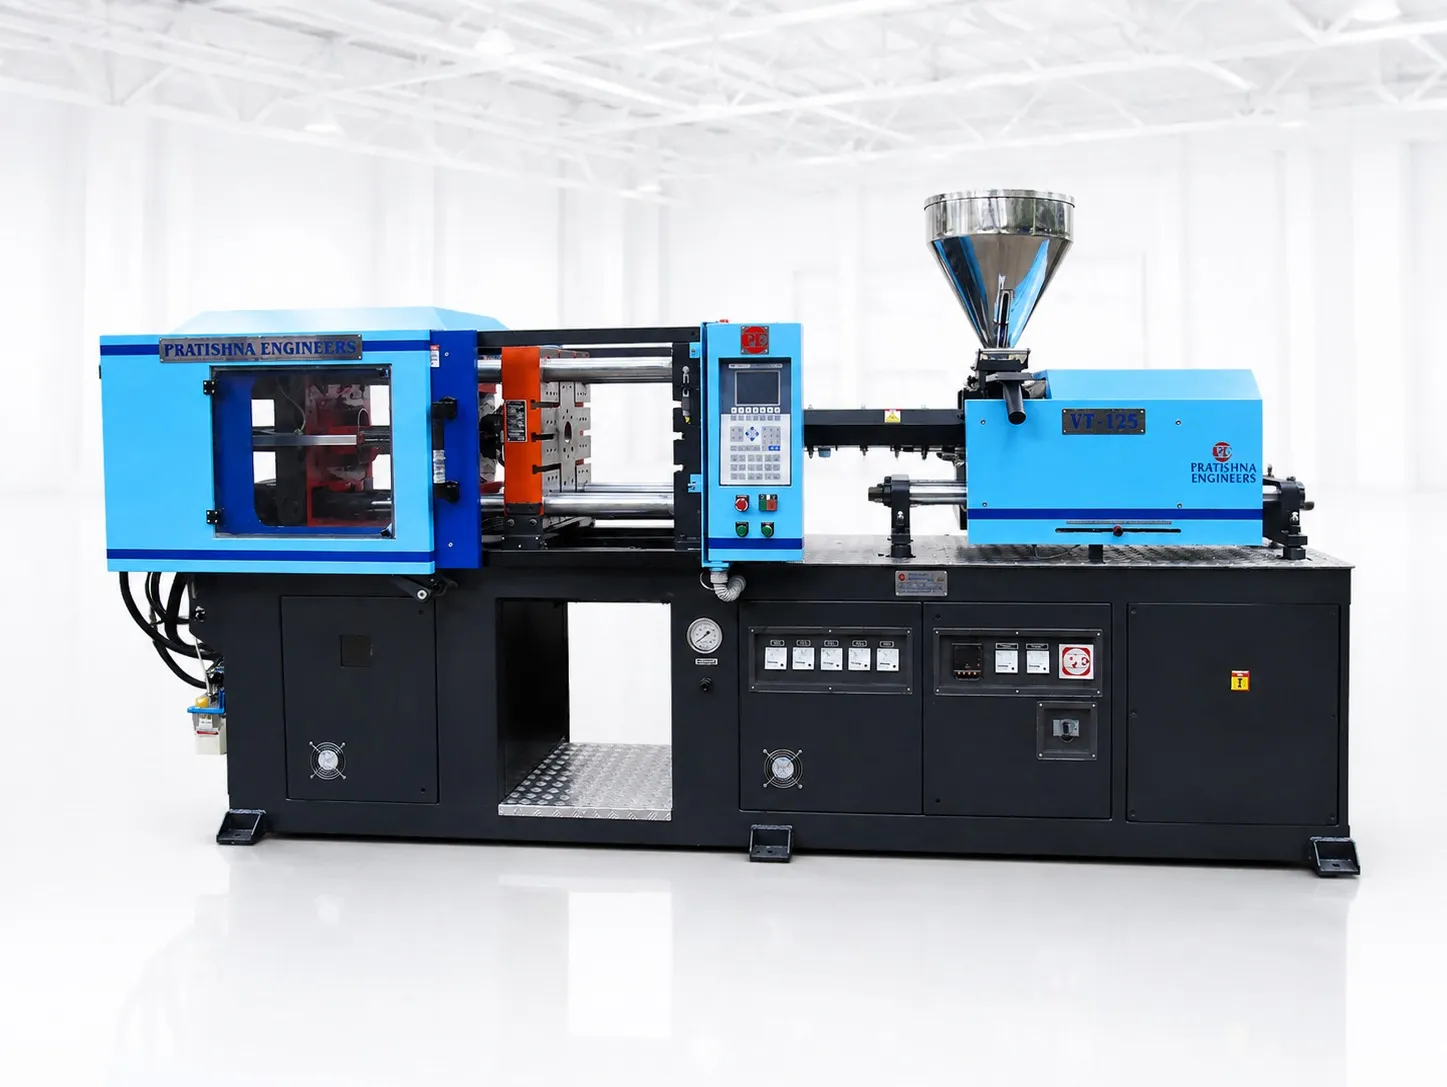
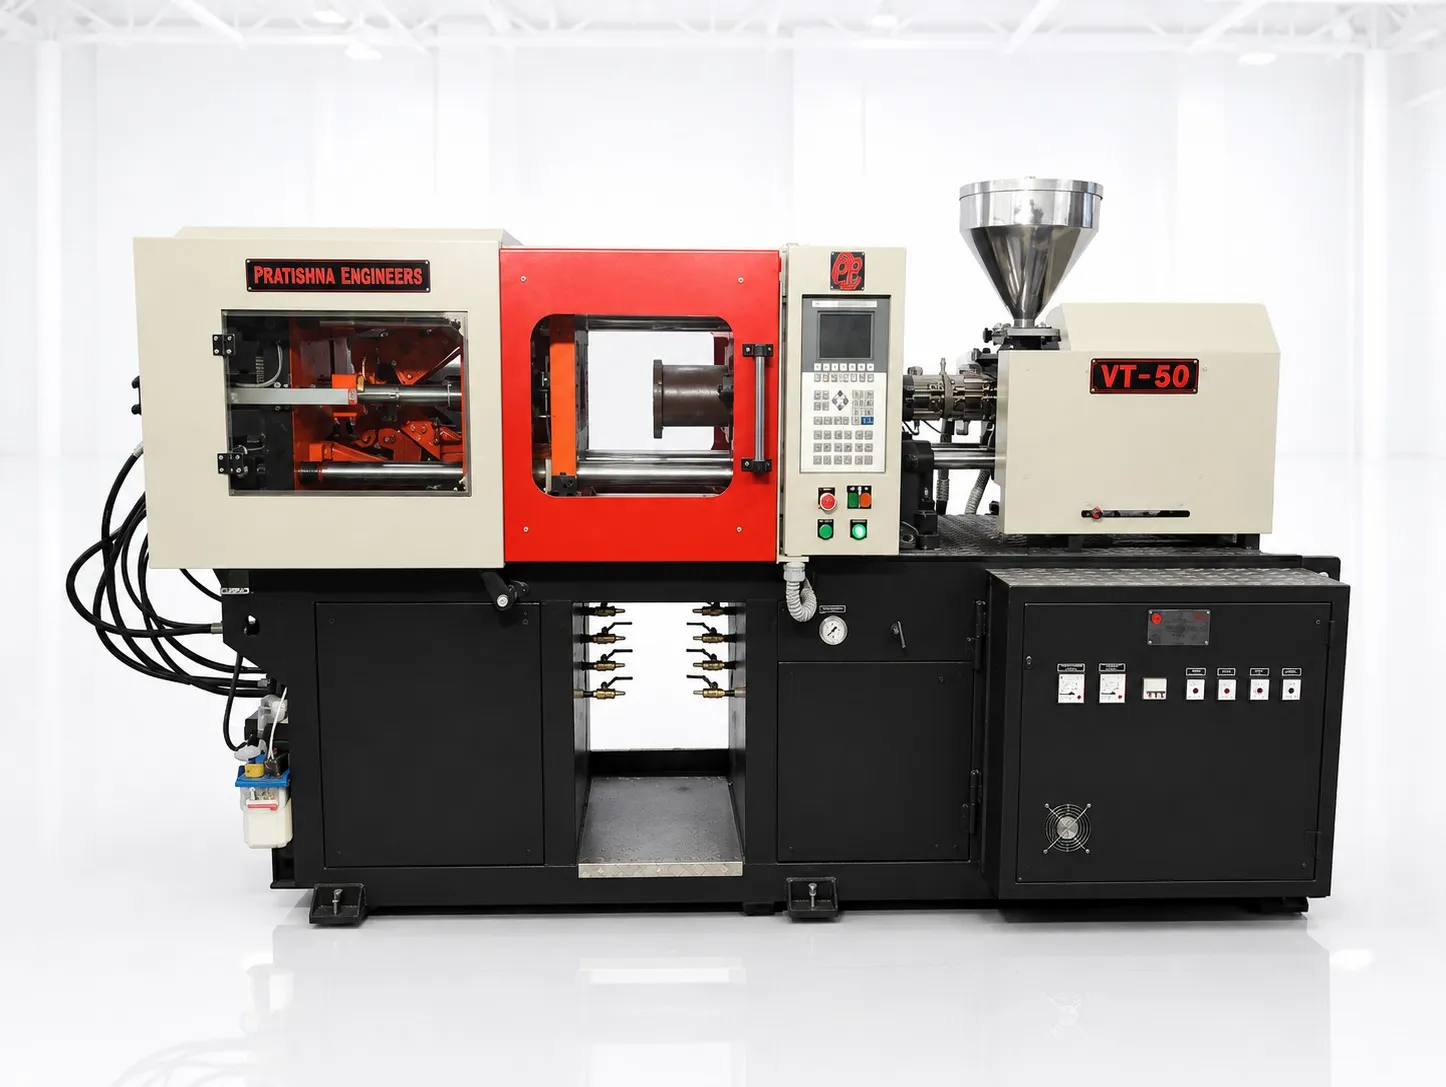
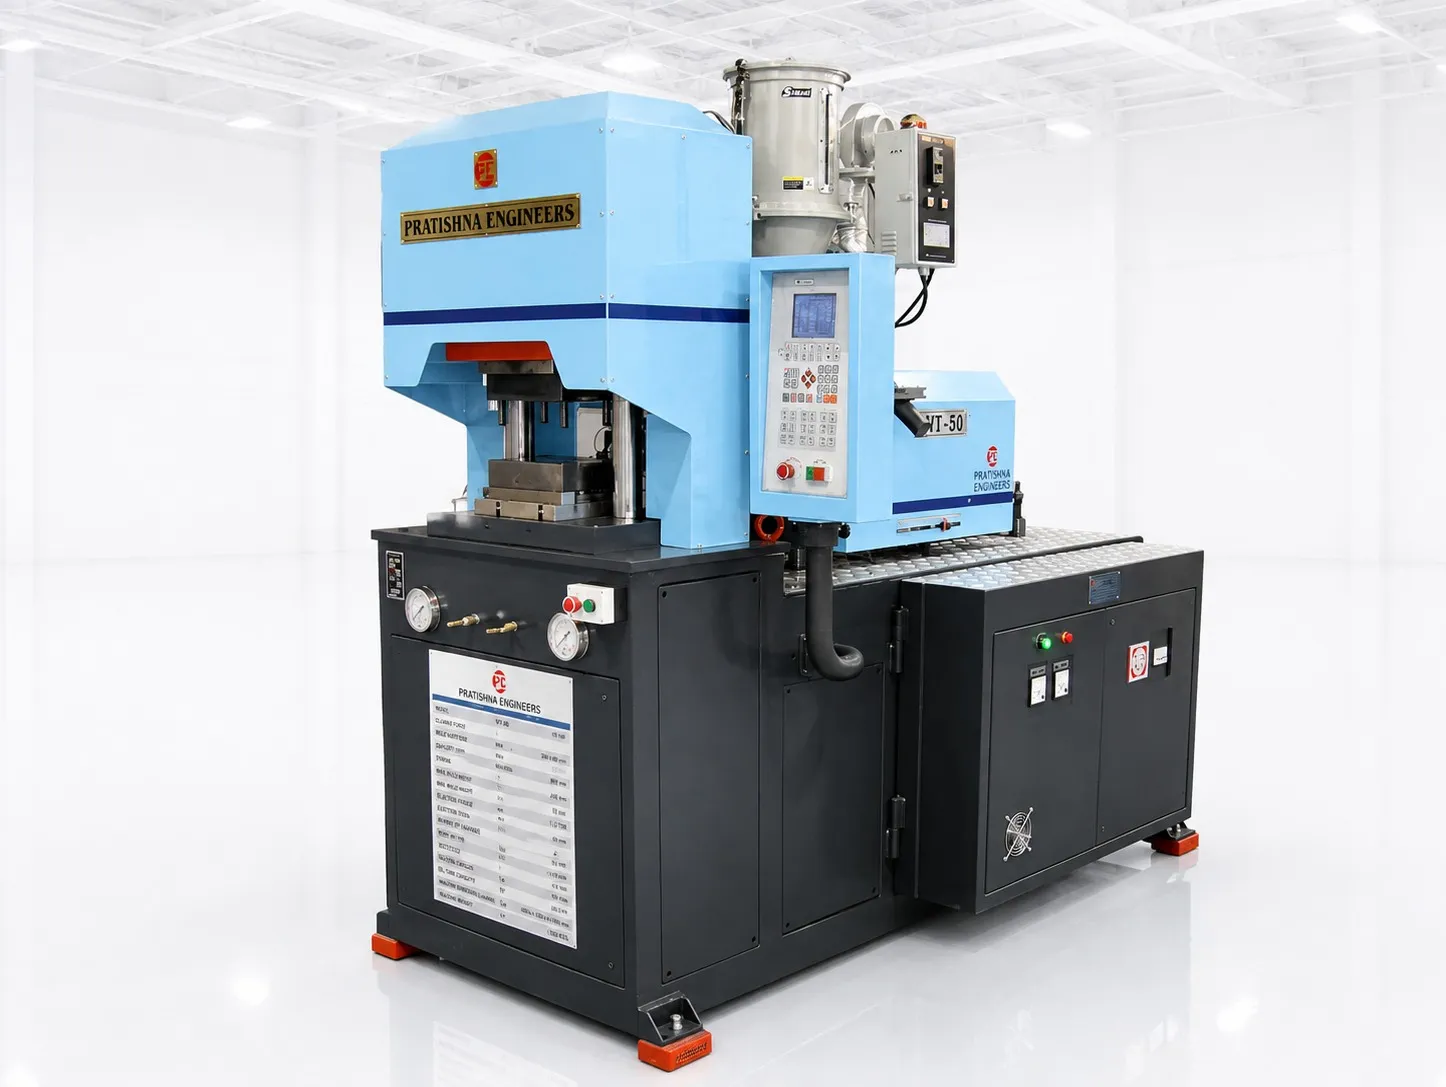
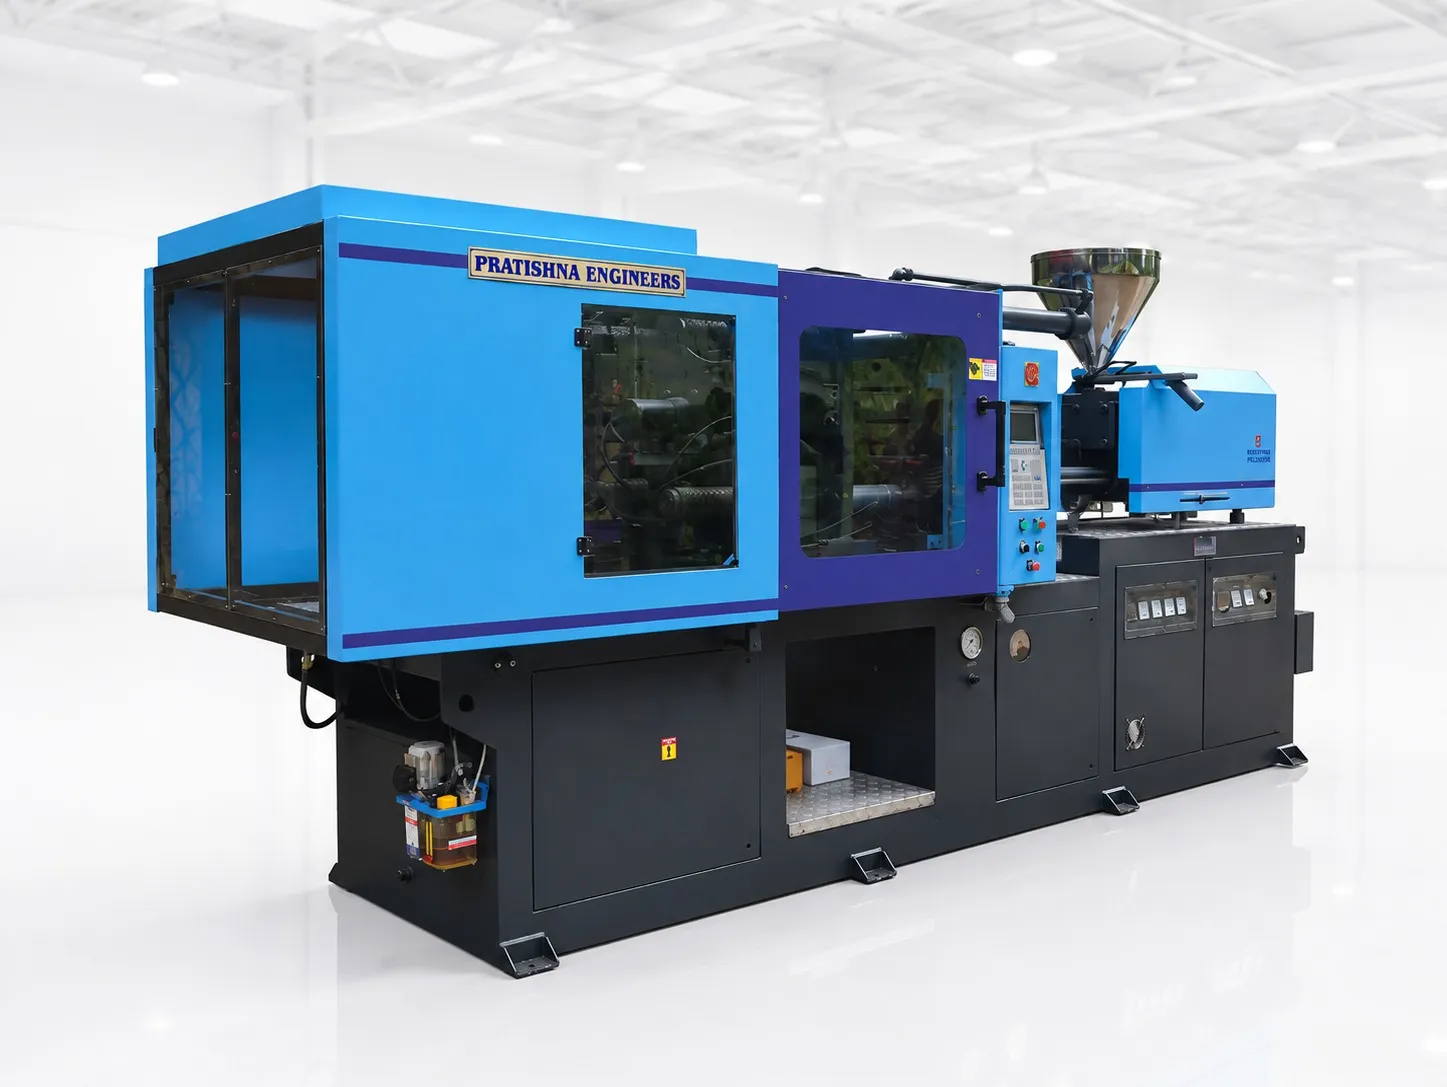
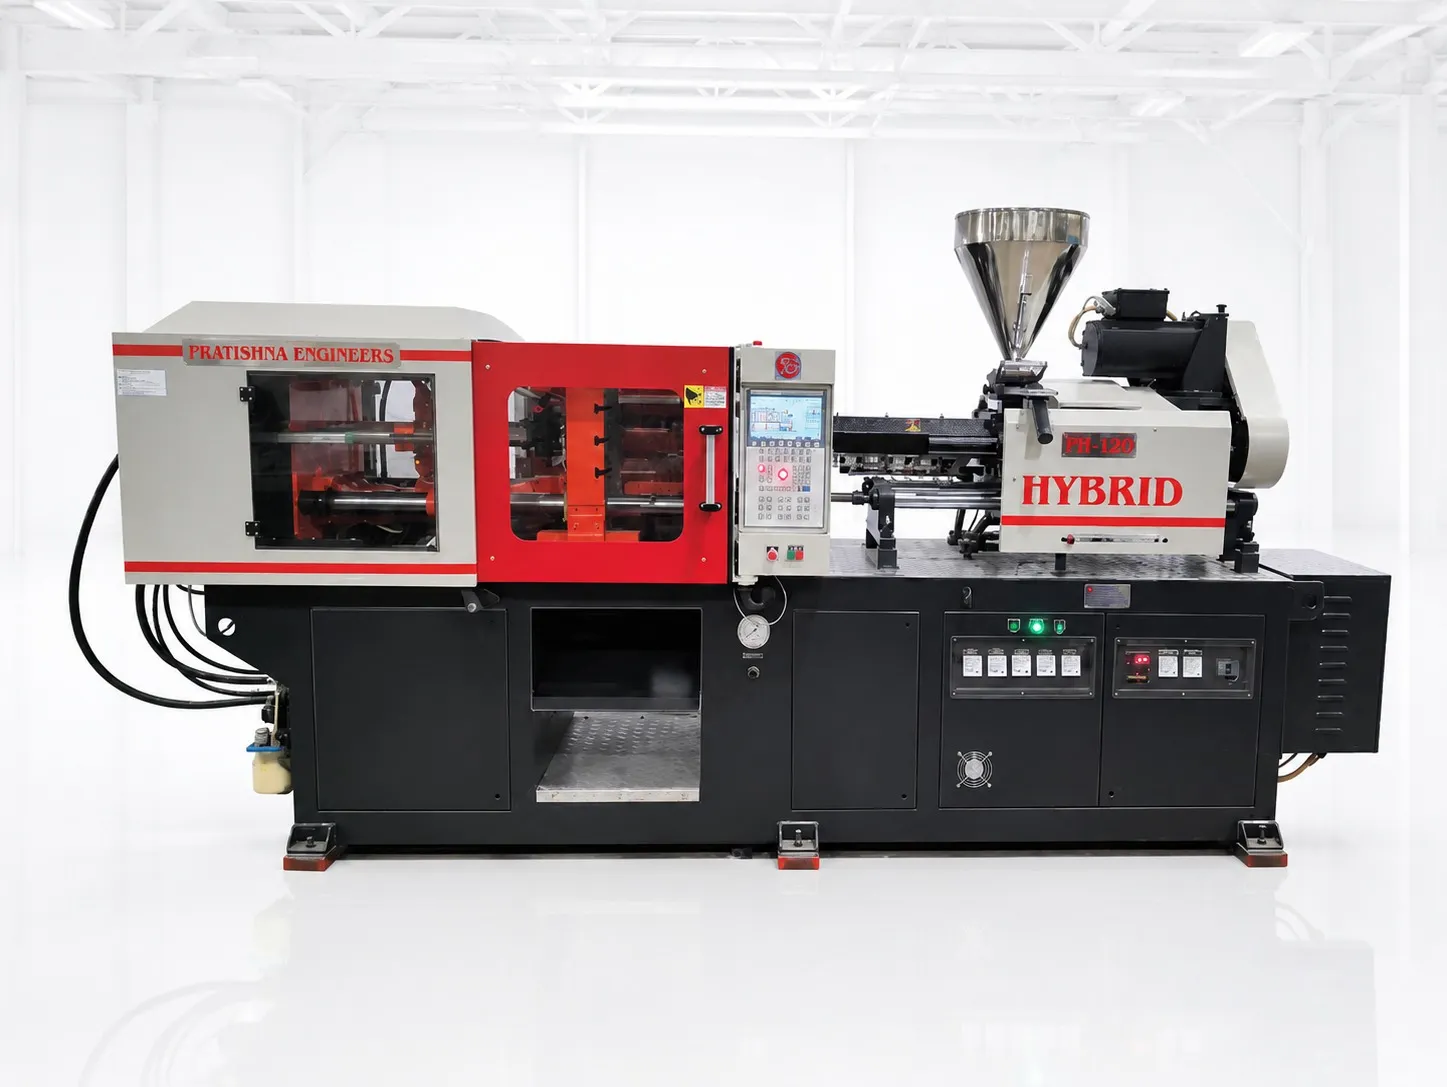
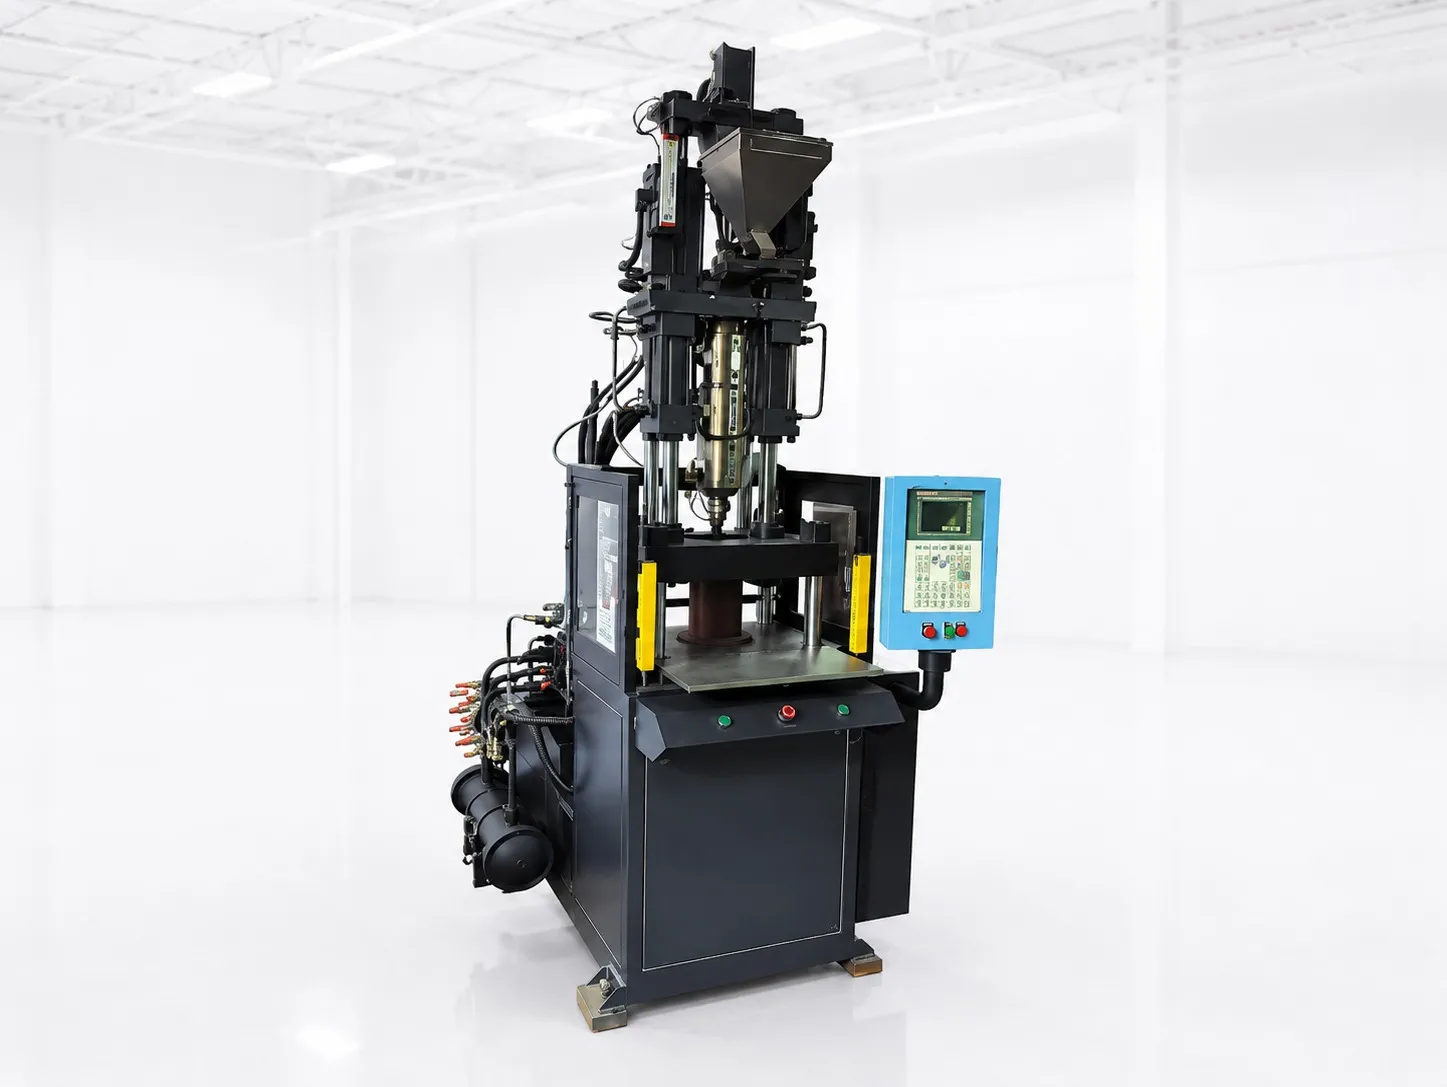
Fix the target kg/h first, because the dryer, chiller and machine are all sized from it. Then list preform weights, neck sizes and resin grades. The worked example below sizes the dryer hopper and airflow from the kg/h. See the PET injection moulding machine range when you are ready.
Frequently Asked Questions About Making PET Preforms
How long should PET resin be dried before moulding?
Typical guidance is about 4 h at 175 °C or up to 6 h at 160 °C, with a dew point of -40 °C or lower. One resin maker asks for at least 4 h of residence, preferably 6 h. Always follow the drying settings on your resin supplier data sheet.
What melt temperature is used for PET preforms?
About 280 °C ± 10 °C is the typical guide. Higher temperatures can degrade the melt and raise acetaldehyde, while too low a temperature can leave unmelted pellets. Barrel zones are set to reach this melt temperature with low back pressure, typically 15 to 20 bar.
What does the dryer dew point mean?
Dew point is the temperature at which water would condense from the drying air, so a lower dew point means drier air. For PET the drying air should reach -40 °C or lower after the desiccant bed. A rising dew point can point to desiccant regeneration temperature or frequency.
What causes unmelted pellets in PET preforms?
Common causes are a dew point above -40 °C, resin reaching the throat below about 160 °C, a melt temperature set too low, or a screw running above its rated kg/h. Over-cooling the feed throat and degraded pellets with higher crystallinity can also cause unmelts.
Why is the hold stroke for PET about 13%?
PET melt is about 1.15 g/cm³ and the demoulded preform about 1.3 g/cm³, a difference of about 13%. That volume must be packed during hold, so roughly 87% of the screw stroke is used for injection and the last 13% for hold.
Related Articles
- What Is a PET Injection Moulding Machine?
- PET Injection Moulding Machine vs Standard Horizontal Machine
- Important Specifications to Consider Before Buying a PET Injection Moulding Machine
- Applications of PET Injection Moulding Machines
Sources & References
- Alpek Polyester: Laser+ C (F65A) Product Information, PDS-F65A
- PETplanet Insider, O. Brandau: Bottles, Preforms and Closures, part 13 (08/2014)
- PETplanet Insider, O. Brandau: Practical Guide to Injection Moulding of Preforms, Injection parameters part 17 (01+02/2015)
- Reliance Industries: Relpet G5761 Technical Data Sheet (Aug 2022)
Technical Disclaimer
Disclaimer: The information provided in this document is for general informational and educational purposes only. It is based on technical references and industry information available at the time of preparation and may be subject to change. It does not constitute engineering, technical, commercial or professional advice, nor does it constitute a quotation, specification, warranty or contractual commitment by Pratishna Engineers.
Actual injection moulding machine and process requirements vary according to the component design, material, mould, production volume, machine configuration and operating conditions. The information, examples, calculations and recommendations provided should be independently evaluated and verified for the specific application before making any equipment, process or production decision. Information obtained from third-party sources remains subject to the accuracy and limitations of those sources.
Limitation of Liability: Pratishna Engineers makes no representation or warranty, express or implied, regarding the completeness, accuracy or suitability of the information for any particular application. To the extent permitted by applicable law, Pratishna Engineers shall not be liable for any loss, damage, cost or consequence arising from reliance on or use of the information contained in this document. Final machine selection, configuration and application suitability should be confirmed with Pratishna Engineers based on complete and accurate project requirements.