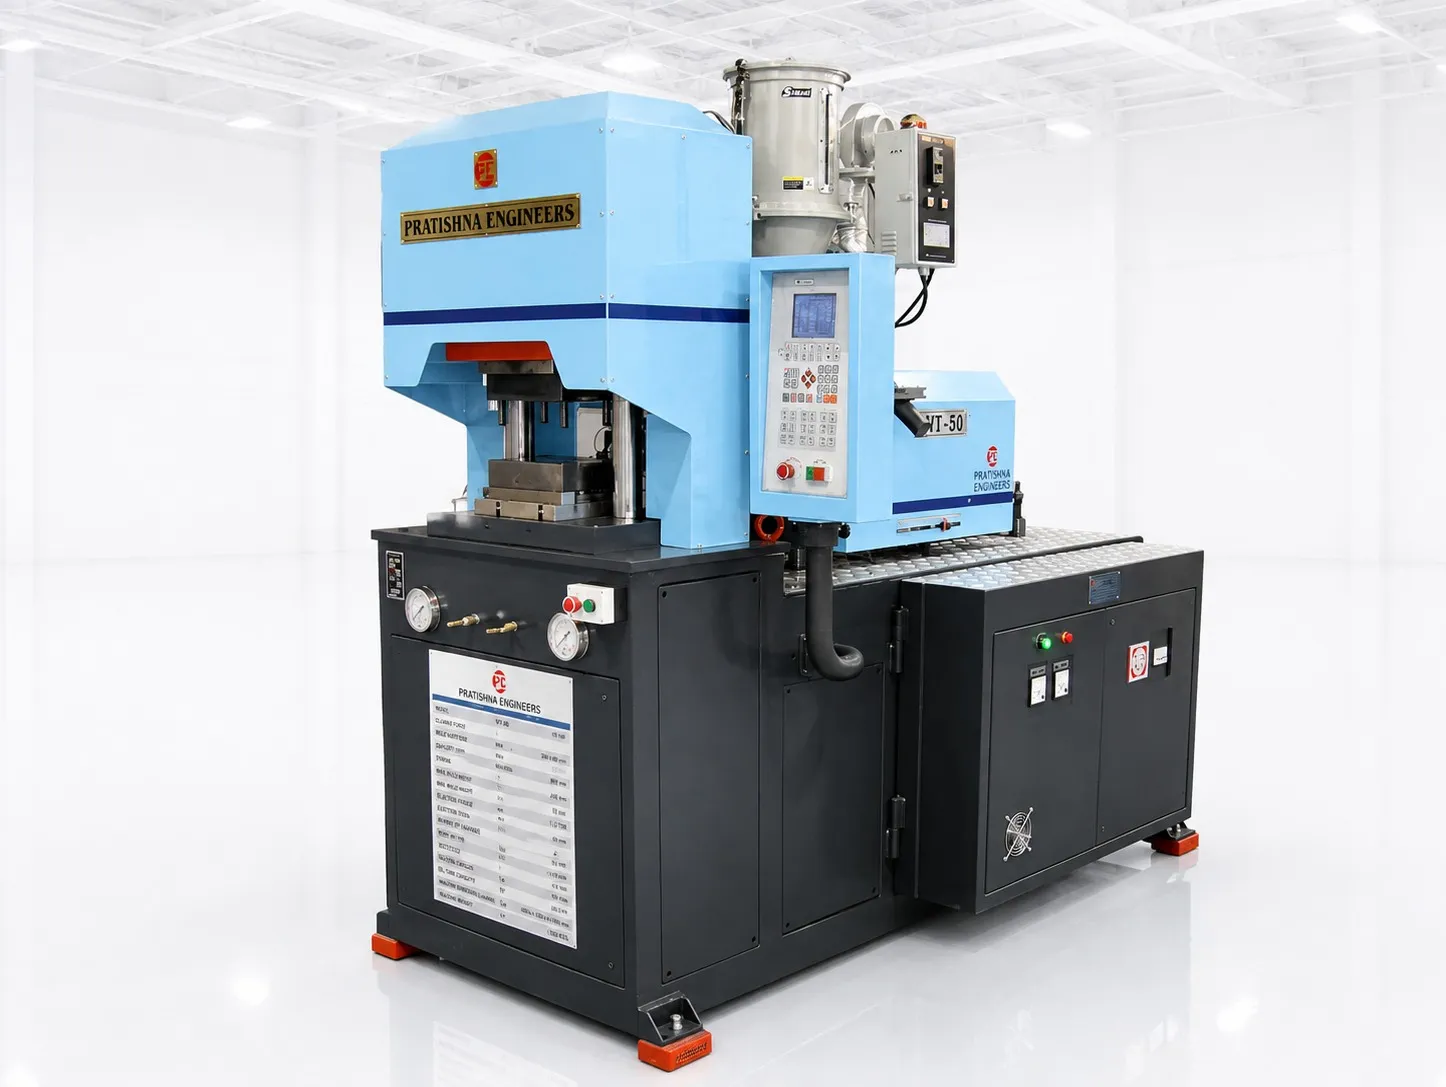

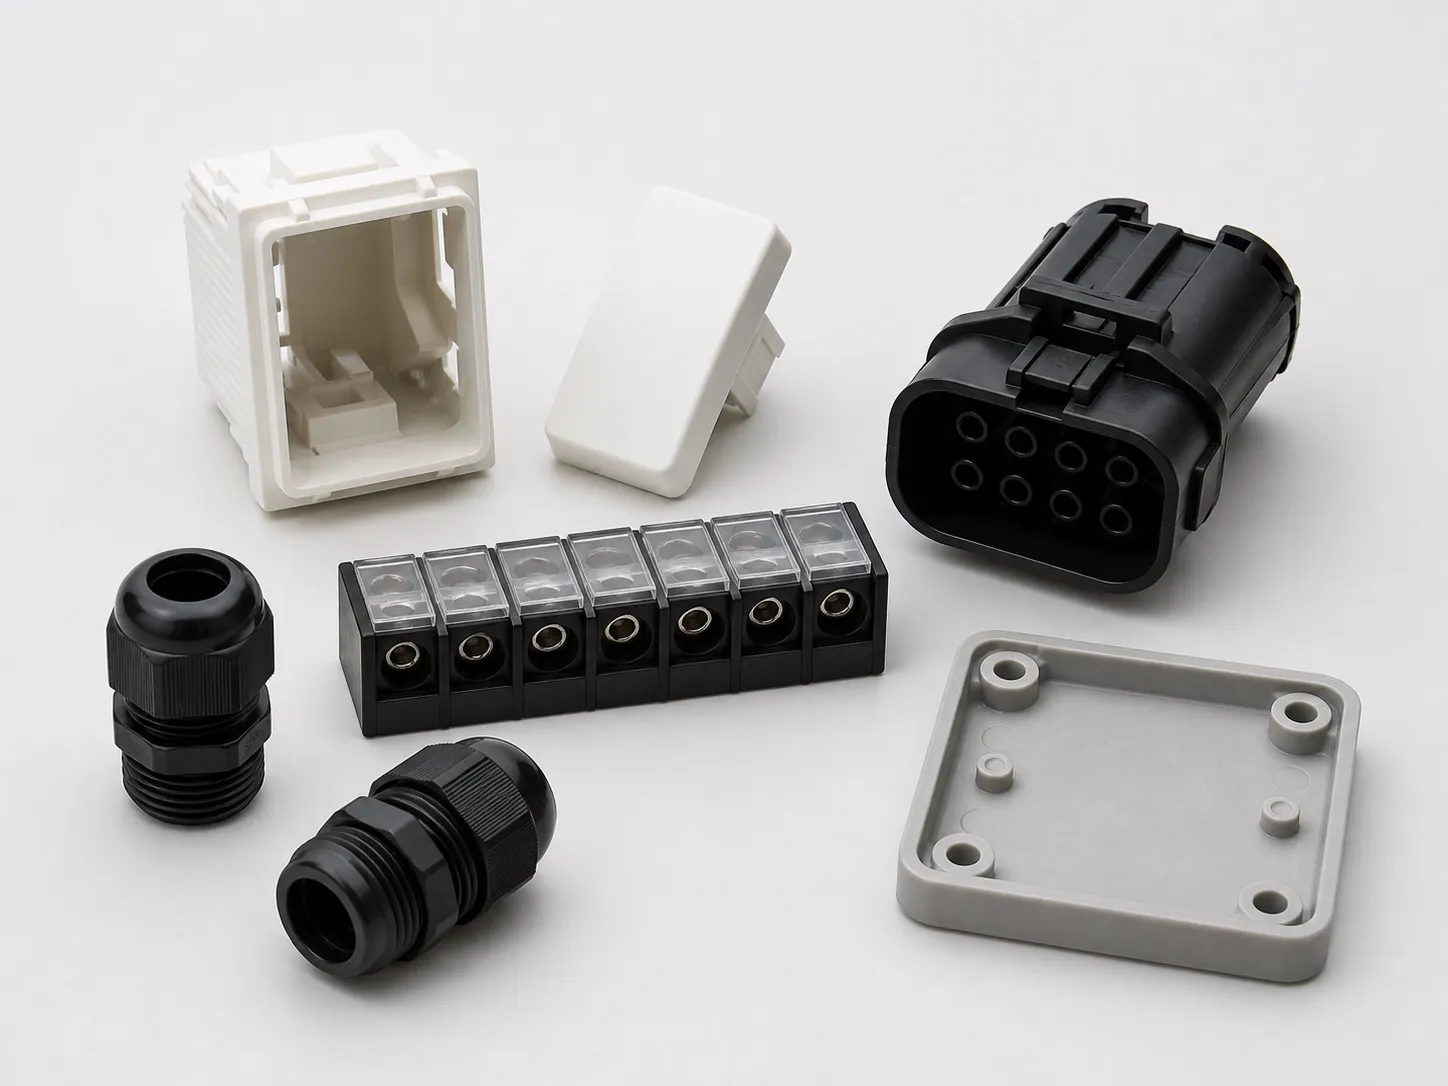

Plug top moulding on a vertical machine is an insert job. The brass pins stand shank-down in close-fit holes in the lower mould half, the clamp closes, and the body is moulded around the knurled or grooved section of each pin. One shot gives finished plug tops with the pins locked in, rather than pressed in afterwards.
Quality then rests on three choices made at the machine: how well the mould holds each pin, how dry and suitable the flame-retardant resin is, and whether the clamp matches the projected area of all cavities. The tests the plug faces later, for heat, fire and strength, follow from those choices.
Key Takeaways
- IS 1293 covers dimensions, earthing, shock protection, abnormal heat and fire, pendulum hammer strength and 10,000 insertions, and each one depends on moulding.
- Flame ratings are tied to wall thickness: one FR PC grade is V-0 at 3.0 mm but only V-2 at 1.0 mm.
- Pins pass right through the body, so the hole fit and stop shoulder must seal both ends against melt.
- Cavity count is set by both clamp force and pin loading time; more cavities can mean a much larger clamp.
What does IS 1293 ask of a moulded plug top?
IS 1293 covers plugs and socket-outlets. BIS lists its areas as earthing, protection against shock, dimensions, resistance to abnormal heat and fire, mechanical strength by pendulum hammer, and normal operation, where a plug is inserted and withdrawn 10,000 times. Each requirement traces back to the mould and process.
BIS also notes that these accessories are made from both thermoset and thermoplastic materials. On a thermoplastic injection machine, the body grade carries most of the heat and fire burden, while the mould and process carry the dimensional and strength burden. The table shows where each test meets the shop floor.
IS 1293 test areas and the moulding factors behind them
| IS 1293 area (per BIS) | Moulding factor that drives it |
|---|---|
| Dimensions | Pin pitch and height set by mould holes and stop faces; body shrinkage |
| Earthing and shock protection | Pin position, insulation wall thickness, no exposed metal from short shots |
| Abnormal heat and fire | Resin grade and its rating at your wall thickness; dry resin |
| Pendulum hammer strength | Weld line position, voids, moisture, wall thickness |
| Normal operation (10,000 insertions) | Pin retention in the body; no cracking around pins |
One pattern to watch: melt splits around every pin and rejoins on the far side, so each pin leaves a weld line behind it. If a body breaks under the pendulum hammer, check whether the crack runs from a pin hole along that line before changing the resin.
Which plastic suits plug top moulding with brass pins?
Flame-retardant polycarbonate is one suitable choice. Covestro lists its Makrolon 6555 grade at UL 94 V-0 at 3.0 mm but V-2 at 1.0 mm, with a glow-wire flammability index of 960 °C at 1.5 and 3.0 mm, falling to 875 °C at 0.75 mm.
That thickness dependence is the point. Design the body walls to the thickness on the datasheet, not thinner, or the rating you rely on may not apply. The glow-wire flammability index itself is defined in IEC 60695-2-12: the highest test temperature at which the material does not ignite, or goes out within 30 s and is not totally consumed. It is a materials test that supports, but does not replace, end-product testing.
Processing is demanding. The same datasheet gives drying at 120 °C for 2 to 3 h to a maximum moisture of 0.02%, melt around 300 °C and a mould at 80 to 120 °C. Our flat view: never shorten the dryer time on FR PC to catch up on output. Wet resin can look normal at the machine and still lose strength in the part.
How are brass pins loaded and held in a plug top mould?
Each pin drops shank-down into a hole in the lower mould half and seats on a shoulder that sets its height. Because the pin runs right through the body, the hole fit and the shoulder must seal against melt at both ends, or flash forms along the shank.
A loading comb or jig that holds all the pins for one shot can cut placement time, since the operator sets a full row at once instead of pin by pin. Where pins differ, such as a longer earth pin, key the holes so a pin cannot go into the wrong position.
Pin-present checks and preheating apply here as on any insert job; the insert moulding setup article in this series covers both. Cracks around pins are a hoop stress problem, explained in the threaded brass inserts article.
How many cavities can a plug top mould run?
Cavity count is capped twice. The clamp must hold the projected area of all cavities and the runner at the resin's tonnage factor, and the operator must load every pin within a sensible open time. Check both limits before choosing a mould, not just the clamp.
The table assumes an 18 cm² body footprint per cavity and the 3 to 5 US tons/in² band that one general PC datasheet publishes, with a 10% clamp reserve added as a starting margin, not a rule. Treat the upper figure as the safer planning number until a trial proves otherwise.
The second cap is loading. Each extra cavity adds three more pins to place while the mould stands open, so open time grows with cavity count while clamp-closed time barely moves. Once loading runs longer than the closed time, a second lower half on a sliding table starts to pay, as the sliding mould article in this series shows.
Clamp needed by cavity count (18 cm² per cavity, PC at 3 to 5 US tons/in², +10%)
| Cavities | Area incl. runner | Clamp range | Pins per shot |
|---|---|---|---|
| 2 | 40 cm² | 18.6 to 30.9 t | 6 |
| 4 | 77 cm² | 35.7 to 59.5 t | 12 |
| 6 | 114 cm² | 52.9 to 88.2 t | 18 |
| 8 | 152 cm² | 70.5 to 117.5 t | 24 |
What should you send before ordering a plug top machine?
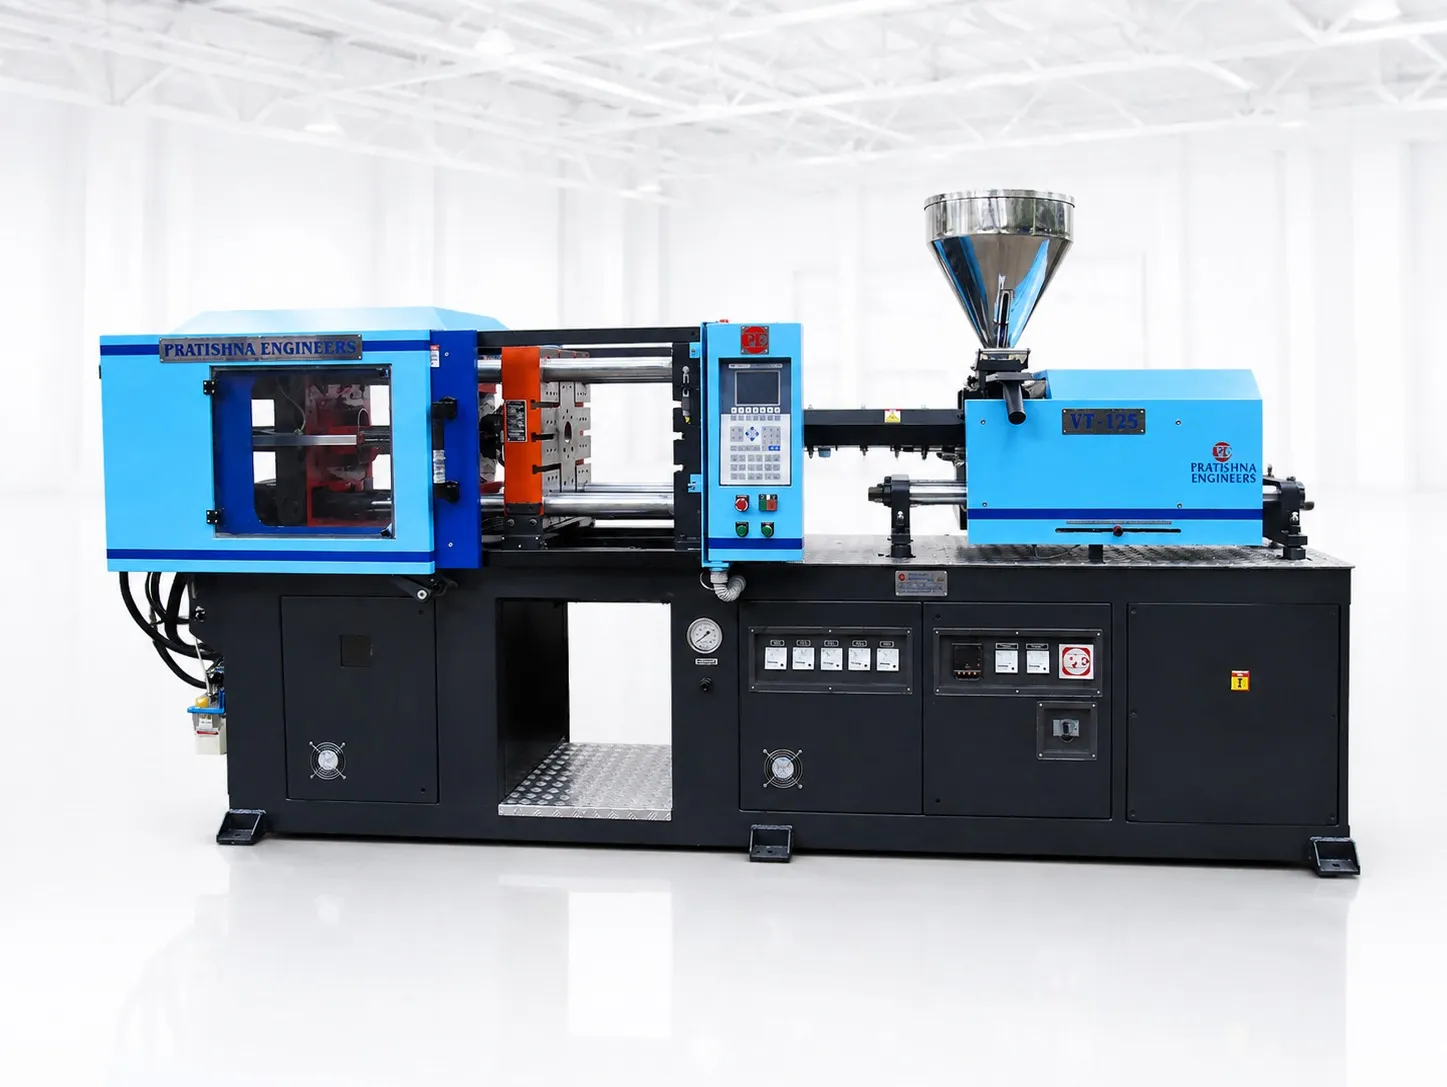
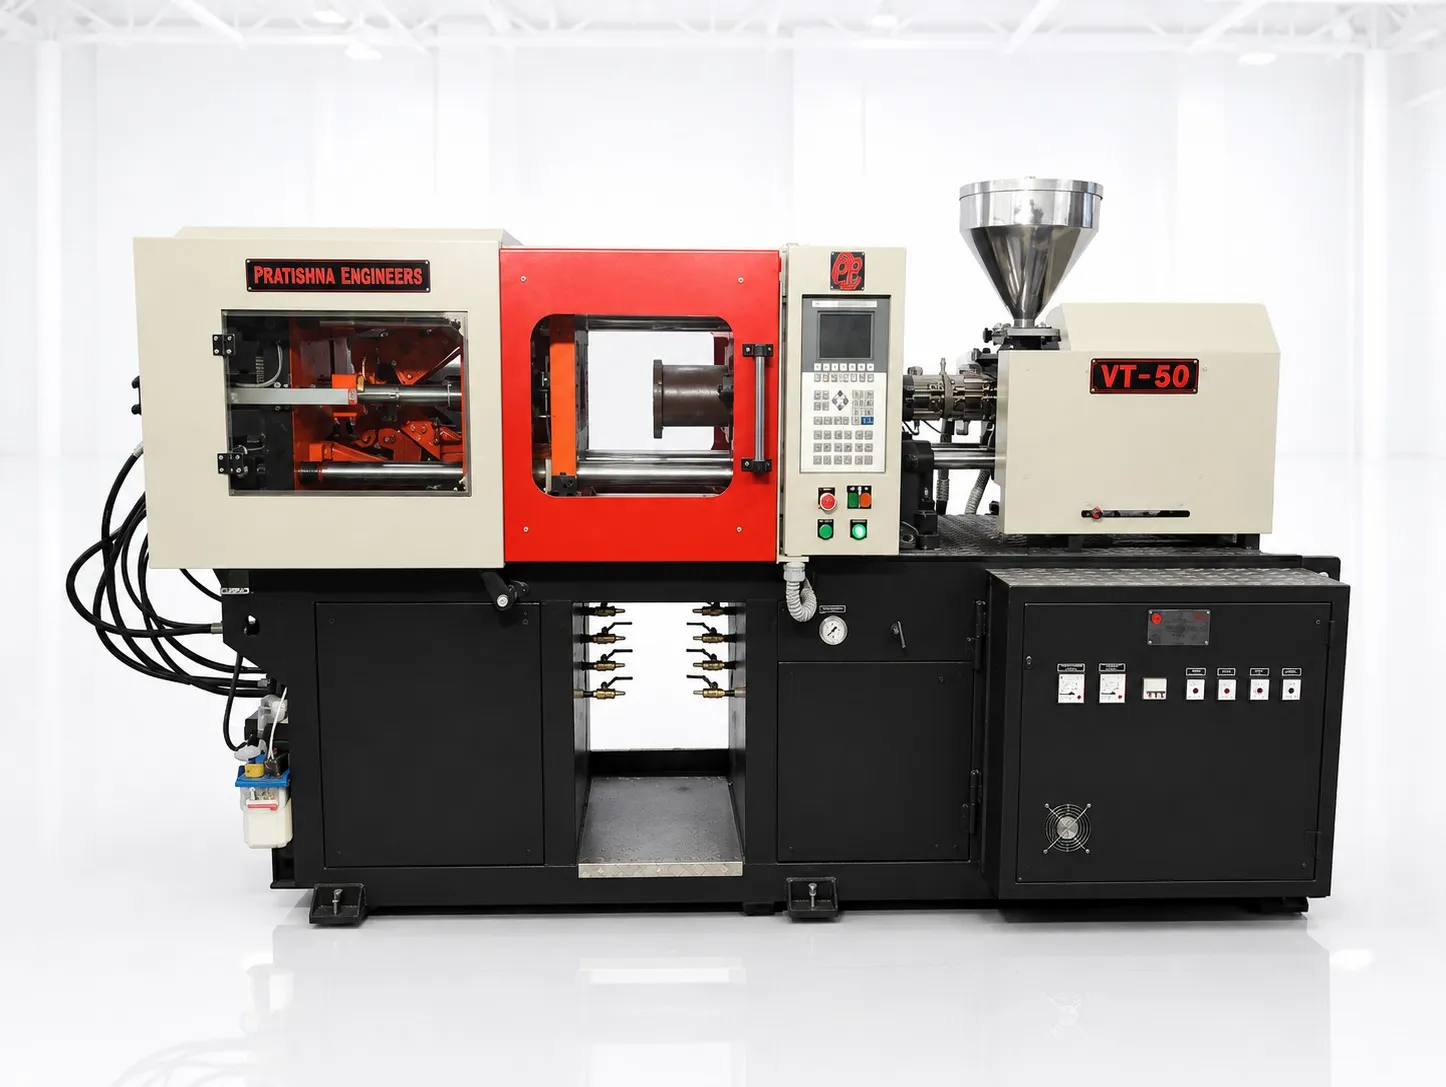
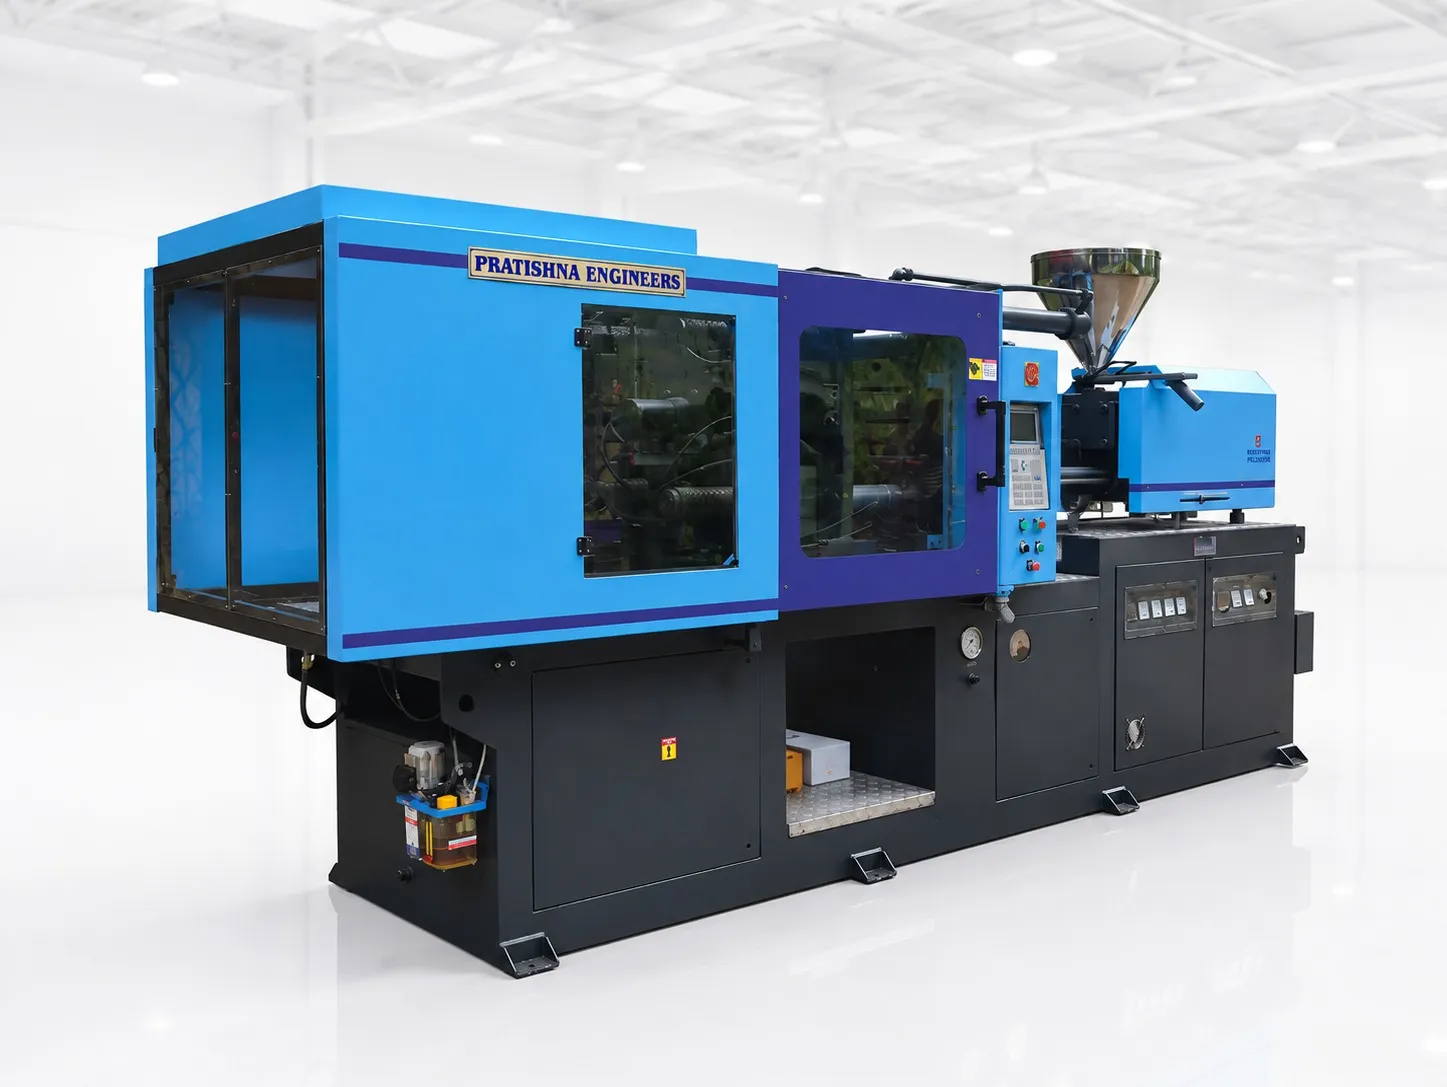
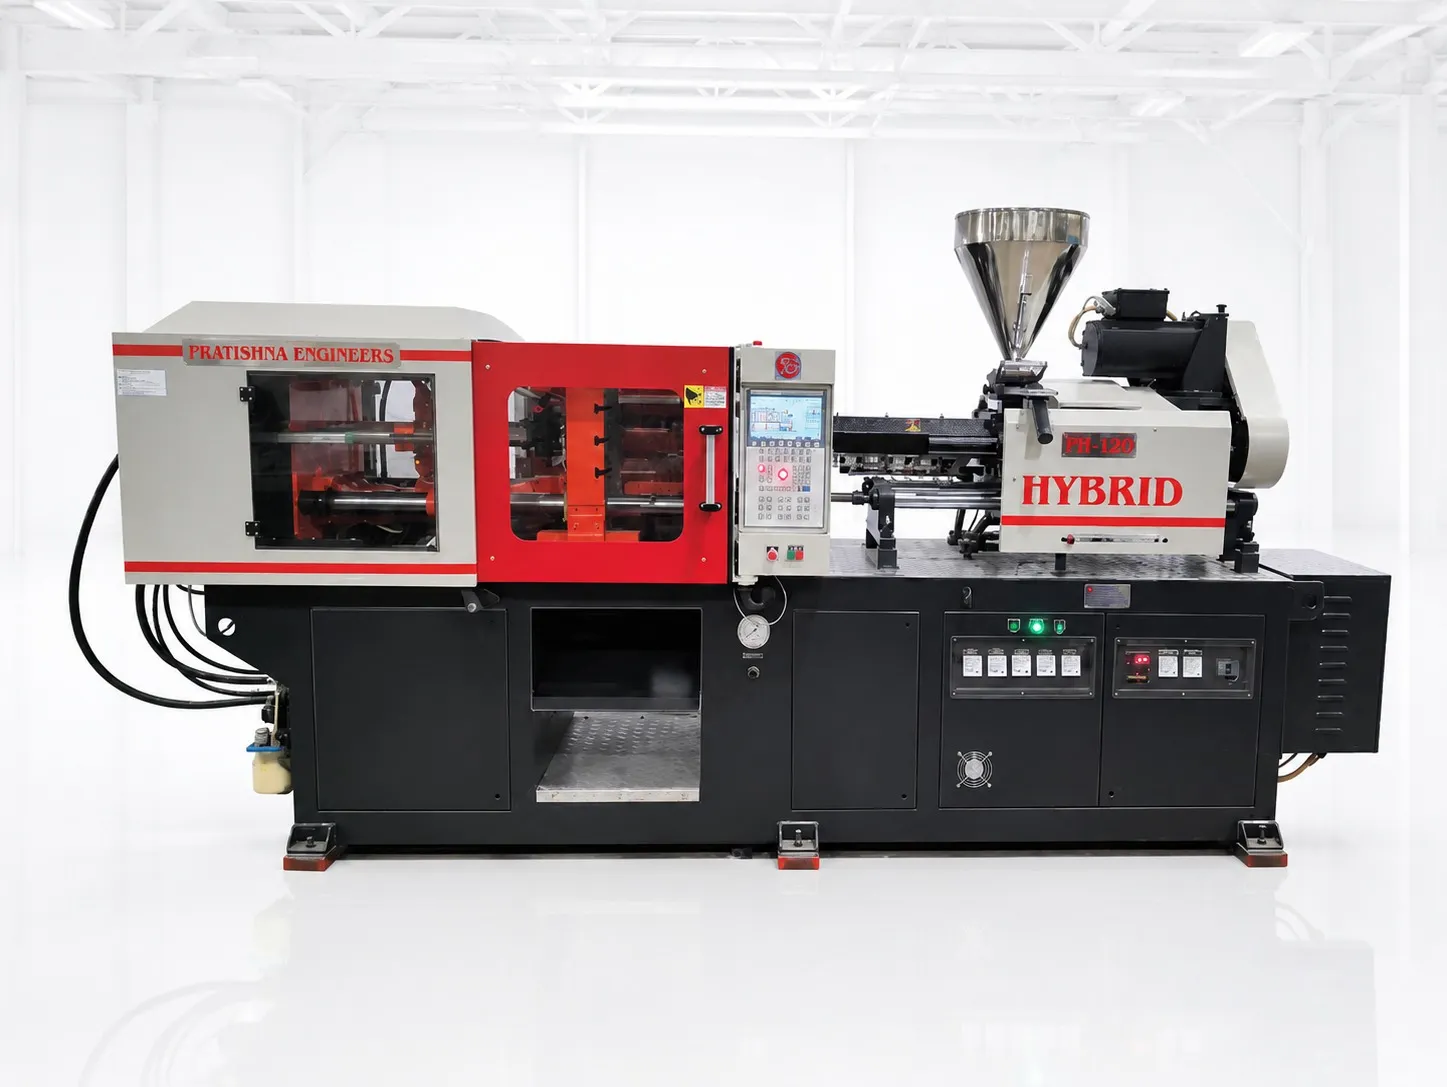
Send the plug top drawing with pin sizes, the resin grade and its datasheet, the wall thickness at the thinnest point, the cavity count you have in mind, and a timed pin-loading trial if one exists. See the vertical clamp insert moulding machines page for the machines such a job is matched to.
Frequently Asked Questions About Plug Top Moulding
Can brass pins be pressed in after moulding instead?
Yes, some plug tops are moulded with open holes and the pins pressed in later. It removes pin loading from the moulding cycle, but adds a separate assembly step and relies on an interference fit. Moulding the pins in encapsulates the knurls, which gives the plastic a mechanical lock on each pin.
Why do plug top bodies crack around the pins?
The plastic shrinks onto the brass as it cools, creating hoop stress in the ring of material around each pin. Thin walls around the pin, sharp knurl edges, cold pins and moisture in the resin all raise the risk. Thicker bosses, rounded knurls and preheated pins lower it.
What mould temperature does FR PC need for plug tops?
For the Makrolon 6555 flame-retardant PC grade, Covestro gives a mould temperature of 80 to 120 °C with a melt temperature around 300 °C. A mould that runs too cold can raise moulded-in stress around the pins. Use a controlled temperature unit rather than relying on chilled water alone.
Why does flash appear along the plug pins?
Flash on a pin means melt has found a gap between the pin and its hole, or between the shoulder and the mould face. Common causes are worn holes, pins below drawing size, debris under the shoulder, or excess injection pressure. Measure pins and holes before raising clamp force.
Can thermoset plug tops be made on the same machine?
Not without changes. BIS notes that plug and socket accessories use both thermoset and thermoplastic materials, but thermosets cure in a hot mould and need a barrel kept cool enough to stop curing before injection. That needs a machine and mould set up for thermoset processing, not a standard thermoplastic unit.
Related Articles
- Insert Moulding on PVDL Vertical Clamp Machines: Setup and Loading
- Sliding Moulds on Vertical Machines: How Much Cycle Time They Save
- Threaded Brass Inserts in Plastic Parts: Moulding and Pull-Out Strength
Sources & References
- BIS Blog, N. Agarwal: Standards for Plugs-Socket-Outlets and Switches (Feb 2023)
- Covestro: Makrolon 6555 product page
- IEC Webstore: IEC 60695-2-12:2021
- Bayer MaterialScience (now Covestro) via IDES: Makrolon 2558 datasheet
Technical Disclaimer
Disclaimer: The information provided in this document is for general informational and educational purposes only. It is based on technical references and industry information available at the time of preparation and may be subject to change. It does not constitute engineering, technical, commercial or professional advice, nor does it constitute a quotation, specification, warranty or contractual commitment by Pratishna Engineers.
Actual injection moulding machine and process requirements vary according to the component design, material, mould, production volume, machine configuration and operating conditions. The information, examples, calculations and recommendations provided should be independently evaluated and verified for the specific application before making any equipment, process or production decision. Information obtained from third-party sources remains subject to the accuracy and limitations of those sources.
Limitation of Liability: Pratishna Engineers makes no representation or warranty, express or implied, regarding the completeness, accuracy or suitability of the information for any particular application. To the extent permitted by applicable law, Pratishna Engineers shall not be liable for any loss, damage, cost or consequence arising from reliance on or use of the information contained in this document. Final machine selection, configuration and application suitability should be confirmed with Pratishna Engineers based on complete and accurate project requirements.