
Post-mould cooling and handling: preform faults that start after the mould opens
| Fault | What you see | First check |
|---|---|---|
| Surface blemishes | Scratches, smudges and elliptical marks, best seen under polarised light | Surface temperature at ejection; marks grow above about 60 °C |
| Neck finish out of round | Neck ID varies by more than 0.25 mm around the circumference | Water flow to neck inserts and cores, and robot cooling time |
| Wavy body | Warped, rolling or uneven sections along the body | Water flow to the mould and the robot receptacles |
| White or hazy areas | Milky zones at the gate or in thick sections | Mould water, cooling time and nozzle tip heat |
Post-mould cooling and handling decide whether good preforms from the mould stay good in the box. At high output the mould opens before thick walls have cooled through, so preforms finish cooling in robot receptacles and then travel by conveyor into bulk containers. Each step can mark, oval or bend a preform that is still warm.
This article explains why preforms need cooling after ejection, the faults that warm handling causes, how to set chilled water for the mould and robot, and how to collect and pack at high output.
Key Takeaways
- Mould cooling time is typically about 1 to 3 s, depending on the wall, so a preform leaves the cores with a hot interior.
- The PETplanet Rapid Guide says handling marks may be amplified if preforms are ejected above about 60 °C surface temperature.
- Robot cooling time should be maximised but not beyond the machine's cycle time, and receptacle water flow should meet the mould maker's rating.
- Under the FSSAI Packaging Regulations, food businesses need an NABL lab certificate for packaging in direct food contact, so trace every container to its resin lot.
Why Do Preforms Need Post-Mould Cooling and Handling Care?
Because the mould opens before the preform has cooled through. In-mould cooling is typically about 1 to 3 s, depending on the wall, which freezes the skin enough to eject. The inside of a thick wall is still hot, so cooling continues in the robot's receptacles.
Cutting mould-closed time is how a high-output line gains output, so more of the cooling moves out of the mould. A take-out robot with water-cooled tubes holds each shot of preforms while the next shot is moulded. Where a take-out plate carries two or more sets of tubes, each preform stays in a cooled tube for more than one cycle.
For a single set of tubes, the Rapid Guide by Rick Unterlander and Ottmar Brandau gives a clear rule: maximise the robot's cooling time, but do not extend it beyond the machine's cycle time. How much cooling a preform needs in total follows from its wall, as the heavy preforms article in this series explains.
What Goes Wrong When Preforms Are Handled Warm?
Marks, ovality and distortion. Preforms that touch each other or the equipment while warm pick up scratches and smudges, necks can go out of round, and bodies can turn wavy if contact cooling is uneven. Some of these faults only show later, at blow moulding.
The guide's chapter on surface blemishes says preforms get marked whenever they contact each other or other items, through ejection, conveyance, bulk collection, transport and unloading. The marks may be amplified if the preforms are not cooled enough first, especially above a 60 °C surface temperature.
Neck ovality is measured, not seen. The guide treats a range in neck internal diameter above 0.25 mm around the circumference as out of round. Its checks include water flow to the neck inserts and cores, hold pressure and hold time, cooling time and robot cooling time. An oval neck can leak at the closure.
A wavy body comes from poor contact cooling on the outside of the preform, according to the same guide, so check the water flow to the robot receptacles as well as to the mould.
How Should You Set Chilled Water for the Mould and the Robot?
Run mould water at about 7 to 10 °C, as the Rapid Guide recommends, and supply both the mould and the robot receptacles at the flow the mould maker rates for that preform and cavity count. Plan the chiller for both loads together, not for the mould alone.
High output raises the heat load per hour, because more kilograms of PET pass through the cell. A chiller sized for an older, lower-cavity mould can run short when a high-cavity tool arrives, and warmer water and longer cycles are often the first sign.
Cold water also brings condensation on mould and tube surfaces in humid weather, which can mark preforms. Drying the air around the mould area deals with the cause; raising the water temperature costs cycle time instead.
Our view: meter the water flow to the robot receptacles as you would to the mould. They are part of the cooling circuit, and a blocked or starved receptacle marks the same position on every shot until someone traces it.
How Should Preforms Be Collected and Packed at High Output?
Gently and traceably. Keep drop heights short, match the conveyor speed to the robot's discharge rate, and fill containers without preforms sliding into a heap from height. Label every container with the mould, cavity set, resin lot and time, so a fault found later can be traced back.
Cleanliness matters as much as marks. Preforms for drinks and food become packaging in direct food contact, and the FSSAI Packaging Regulations 2018 require food businesses to hold a certificate of conformity from an NABL-accredited lab for such packaging. Your customer will expect resin lot records to support it.
Close containers as soon as they are full, store them off the floor, and use stock in the order it was made. A preform that has picked up dust or scuffs in storage carries them into the bottle.
What Should You Plan Before Raising Preform Output?
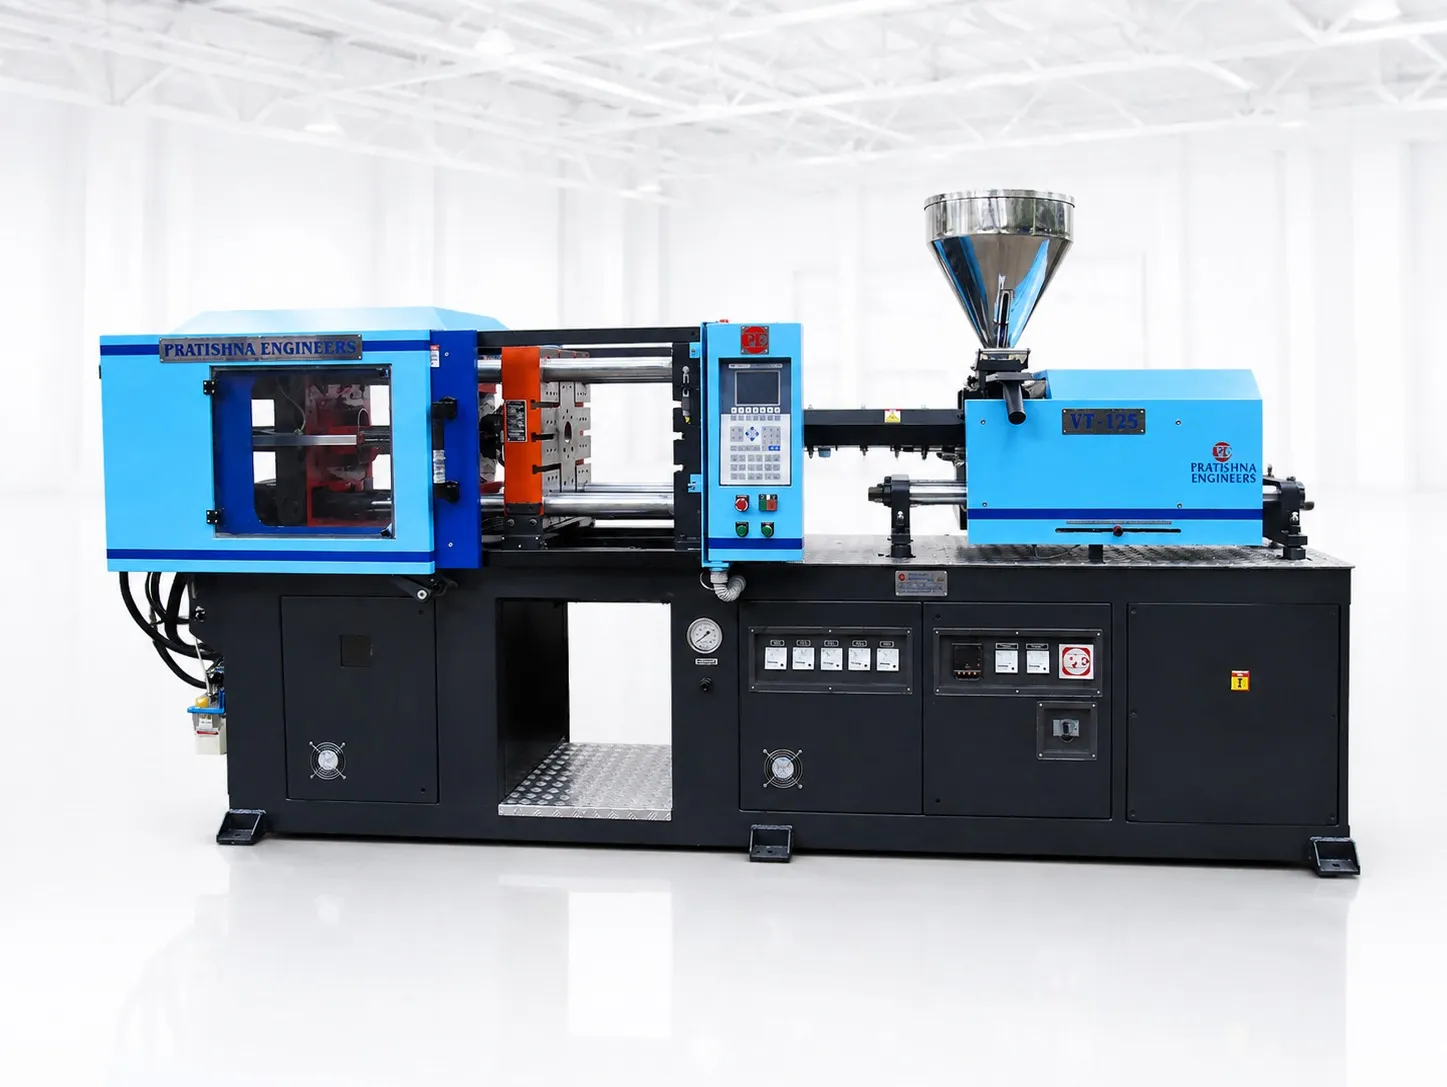
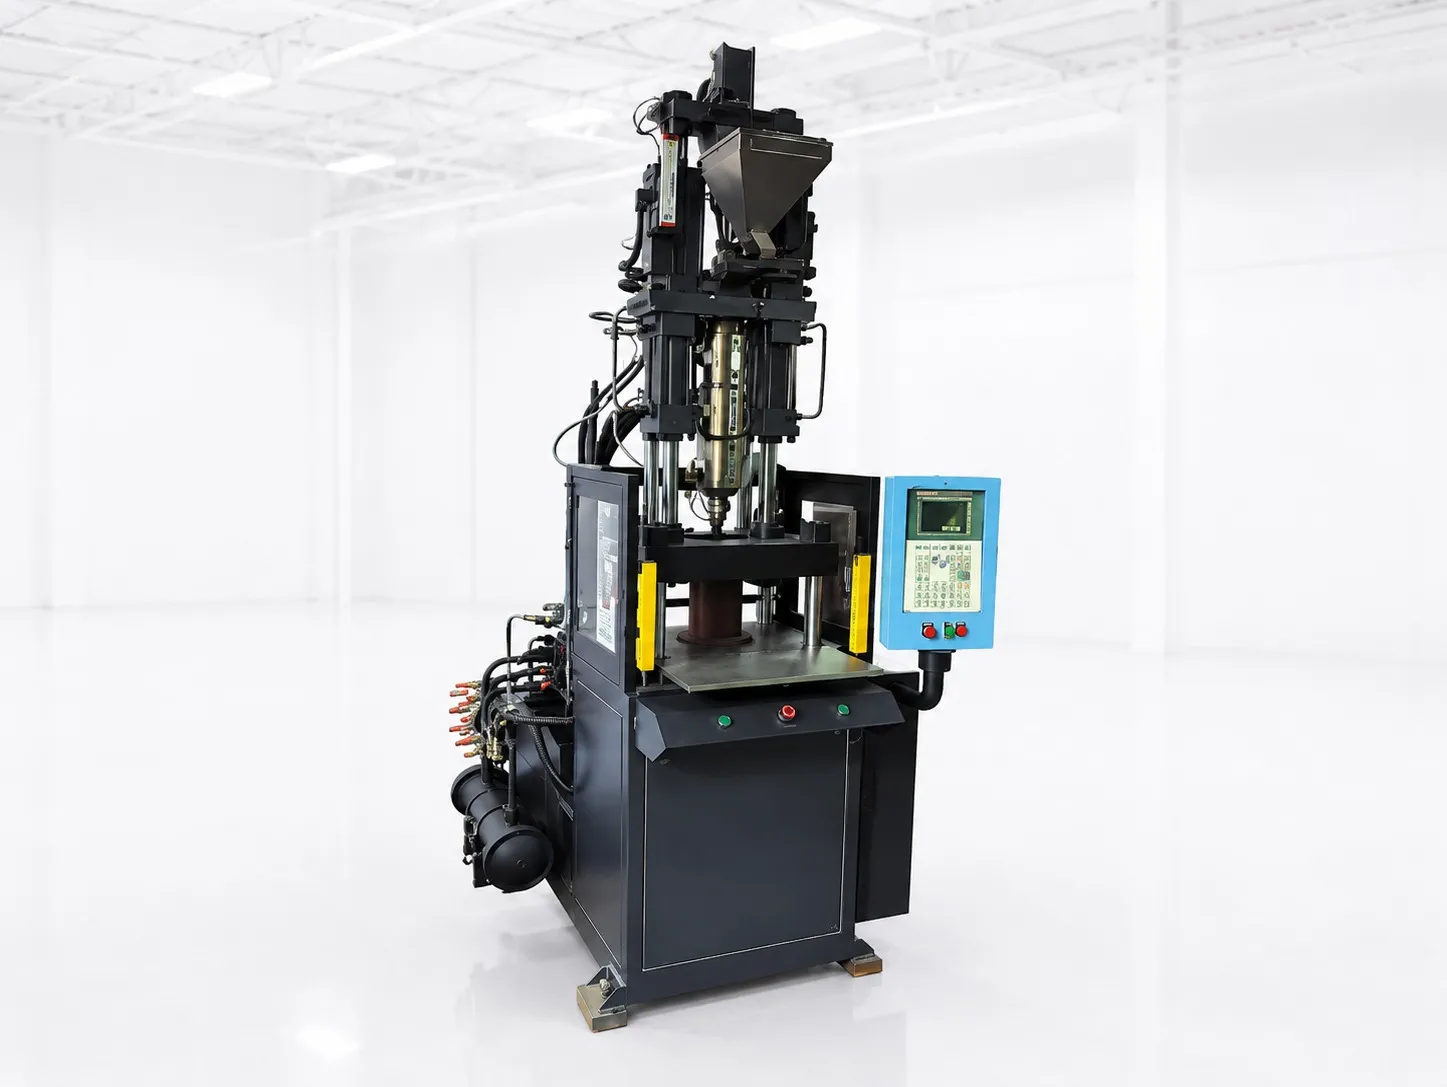
List the preform weights and walls, cavity counts and target cycles, then check robot cooling time, chiller capacity for mould and receptacles, conveyor rate and container handling against them. Send these with your volumes when you size the cell. See the 260 ton PET injection moulding machine page.
Frequently Asked Questions About Post-Mould Cooling and Handling
How hot can a preform be when it drops into the container?
Cool enough that it does not mark or deform when other preforms land on it. The Rapid Guide links stronger handling marks to ejection above about 60 °C surface temperature. Measure surface temperature at the container with a contact or infrared thermometer at the start of a run and after any cycle change.
Can I shorten the cycle by moving more cooling to the robot?
Up to a point. The preform must be solid enough to eject without deforming, so the mould keeps a minimum cooling time set by the wall. Beyond that, extra tube sets let the robot carry more of the cooling, provided water flow to the receptacles keeps up with the shorter cycle.
Why do preforms from the same cavity keep showing marks?
A fault tied to one position points to the hardware for that position: a blocked cooling channel in the core or cavity, a starved or damaged robot receptacle, or a conveyor edge in its path. Track faults by cavity number, if your preforms carry one, and inspect that cavity's route.
Is a single-position take-out robot enough for high output?
It can be, for thin walls and moderate cycles. Its cooling time cannot exceed the machine cycle, so a thick-walled preform on a short cycle may still leave the tube too warm. If surface temperature at the container stays high, a take-out with more tube sets is the usual answer.
How do I stop condensation on the mould in the monsoon?
Condensation forms when mould and tube surfaces are colder than the dew point of the surrounding air. Dry the air around the mould area, keep openings to humid air closed, and avoid running water colder than the 7 to 10 °C the Rapid Guide recommends. Droplets on cores or tubes can mark preforms.
Related Articles
- What PET Products Can You Make on a 260 Ton Machine?
- Heavy Large-Volume Preforms on a 260 Ton Machine
- PET 260 Ton: Sizing a Machine for High-Cavity Preform Moulds
Sources & References
- PETplanet Insider, R. Unterlander and O. Brandau: The Rapid Guide to Perfect Preforms, part 29: Surface Blemishes (Vol. 13, 05/2012)
- PETplanet Insider, R. Unterlander and O. Brandau: The Rapid Guide to Perfect Preforms, part 20: Neck Finish out of Round (Vol. 12, 05/2011)
- PETplanet Insider, R. Unterlander and O. Brandau: The Rapid Guide to Perfect Preforms, part 34: Wavy Body (Vol. 13, 11/2012)
- Food Safety and Standards Authority of India (FSSAI): Food Safety and Standards (Packaging) Regulations, 2018, compendium
Technical Disclaimer
Disclaimer: The information provided in this document is for general informational and educational purposes only. It is based on technical references and industry information available at the time of preparation and may be subject to change. It does not constitute engineering, technical, commercial or professional advice, nor does it constitute a quotation, specification, warranty or contractual commitment by Pratishna Engineers.
Actual injection moulding machine and process requirements vary according to the component design, material, mould, production volume, machine configuration and operating conditions. The information, examples, calculations and recommendations provided should be independently evaluated and verified for the specific application before making any equipment, process or production decision. Information obtained from third-party sources remains subject to the accuracy and limitations of those sources.
Limitation of Liability: Pratishna Engineers makes no representation or warranty, express or implied, regarding the completeness, accuracy or suitability of the information for any particular application. To the extent permitted by applicable law, Pratishna Engineers shall not be liable for any loss, damage, cost or consequence arising from reliance on or use of the information contained in this document. Final machine selection, configuration and application suitability should be confirmed with Pratishna Engineers based on complete and accurate project requirements.