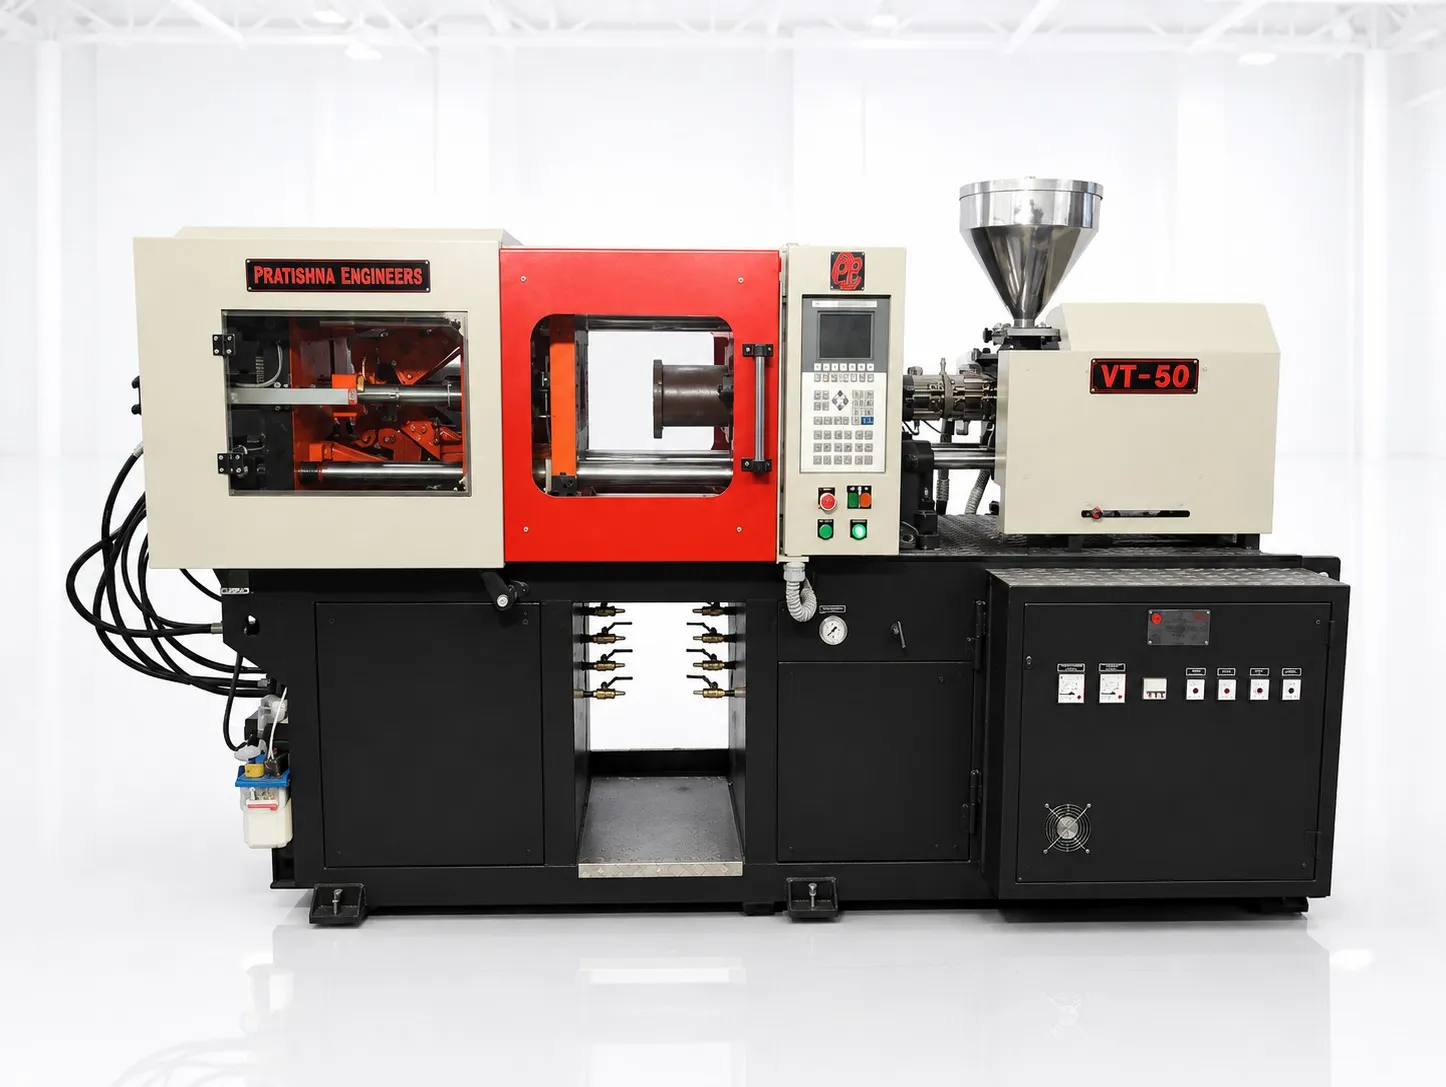
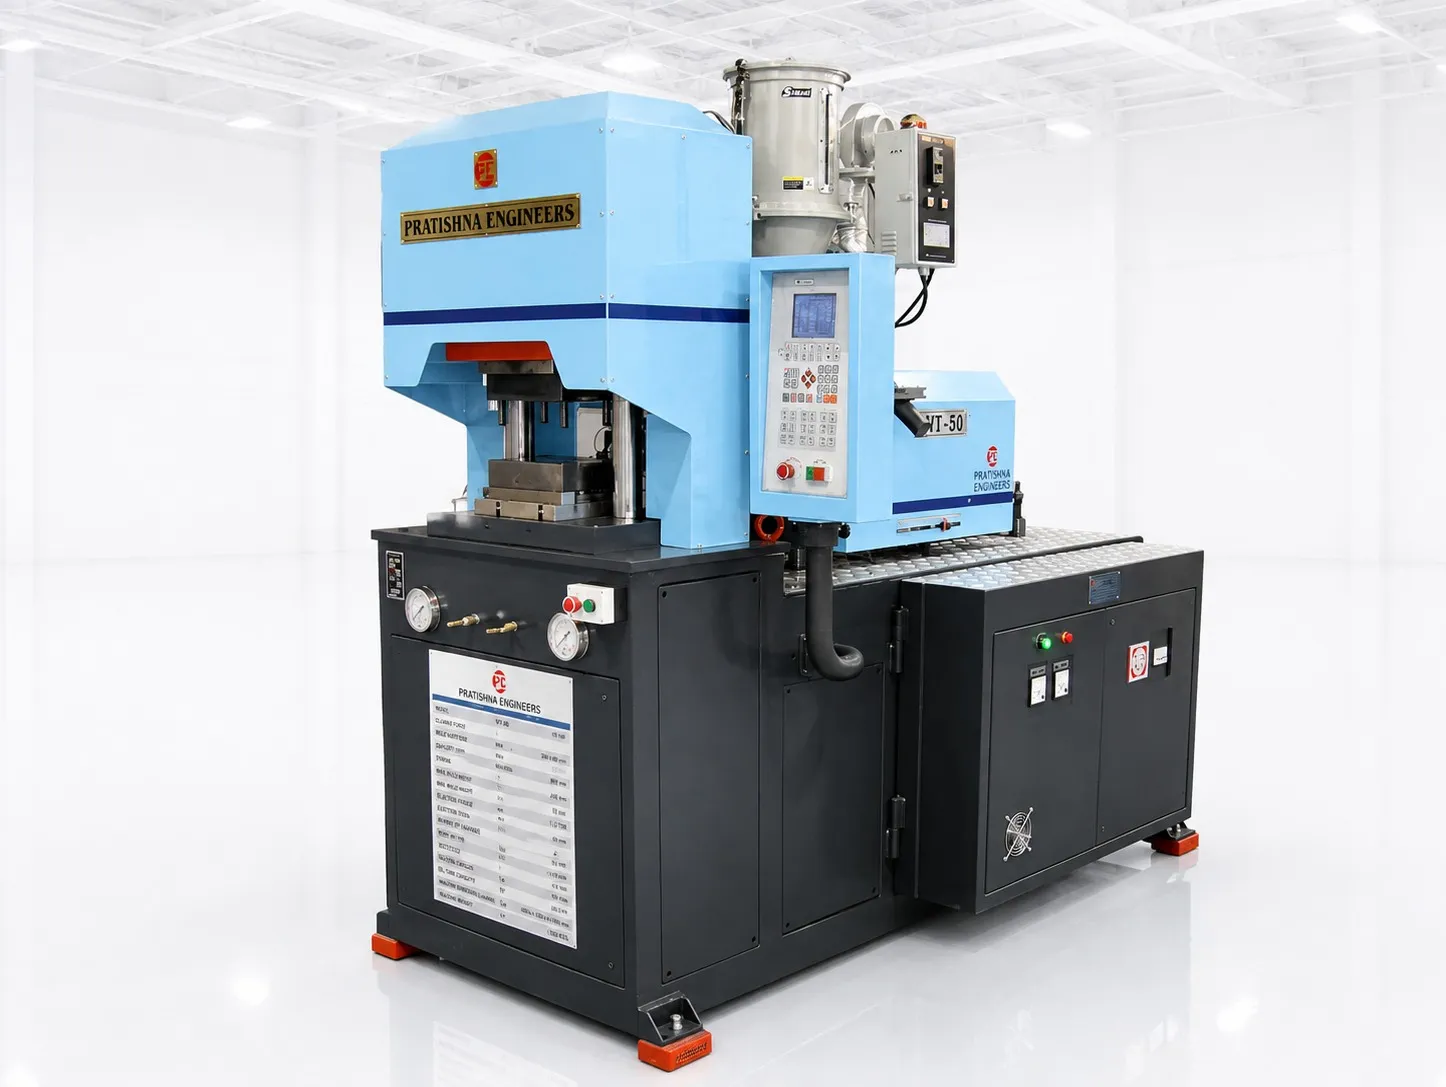
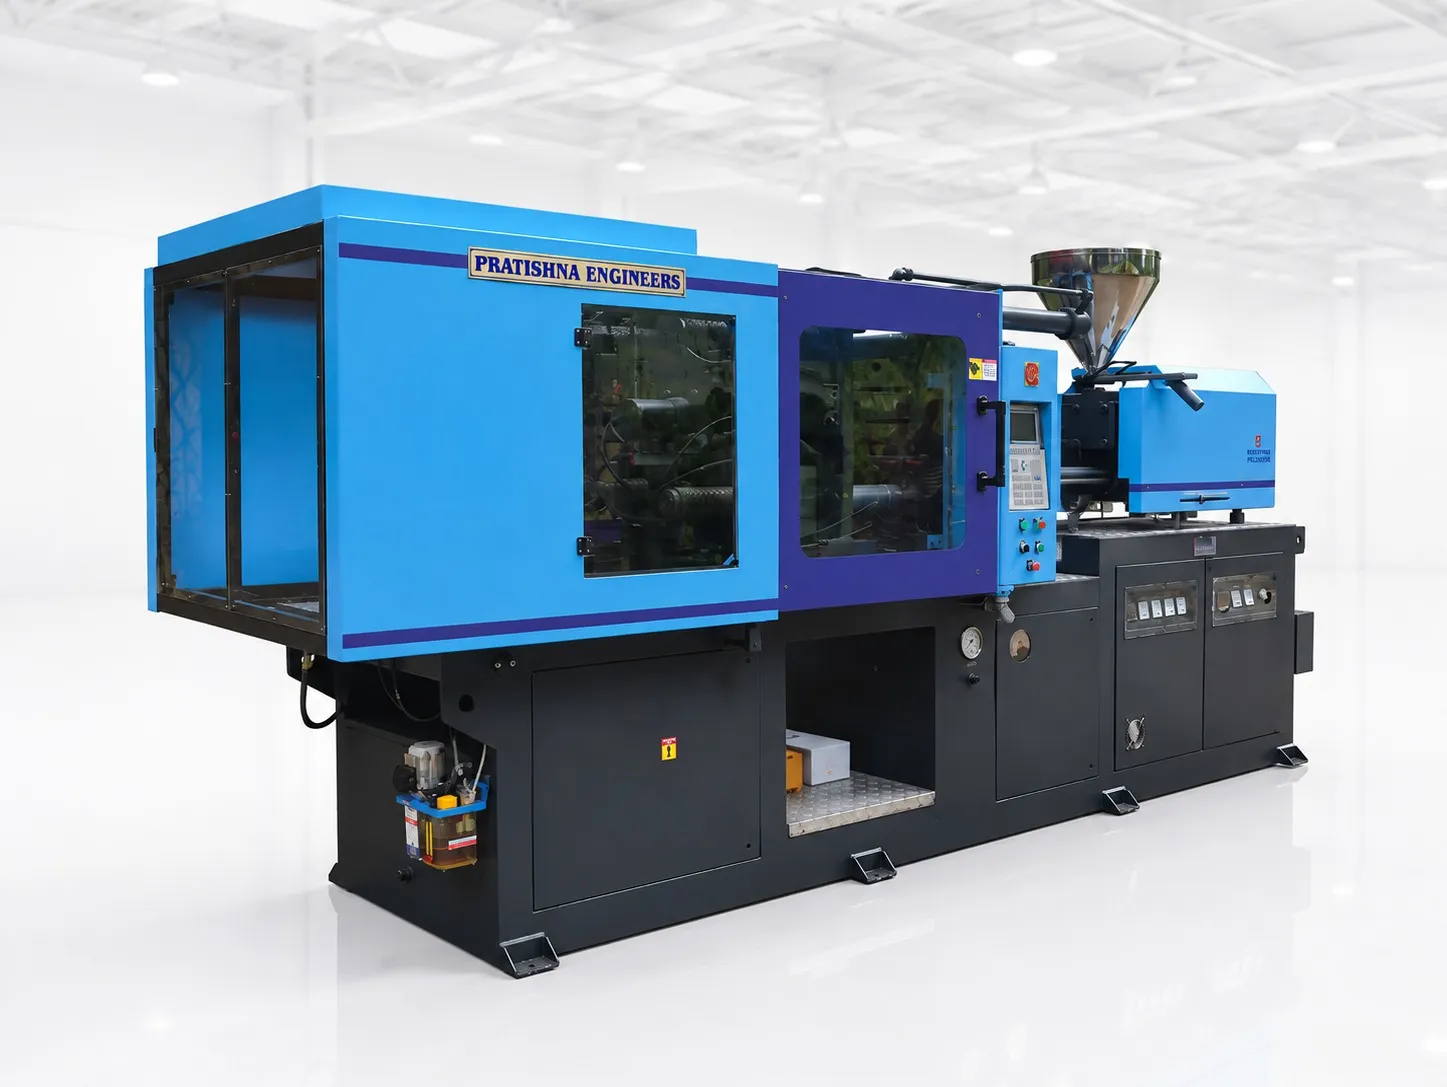
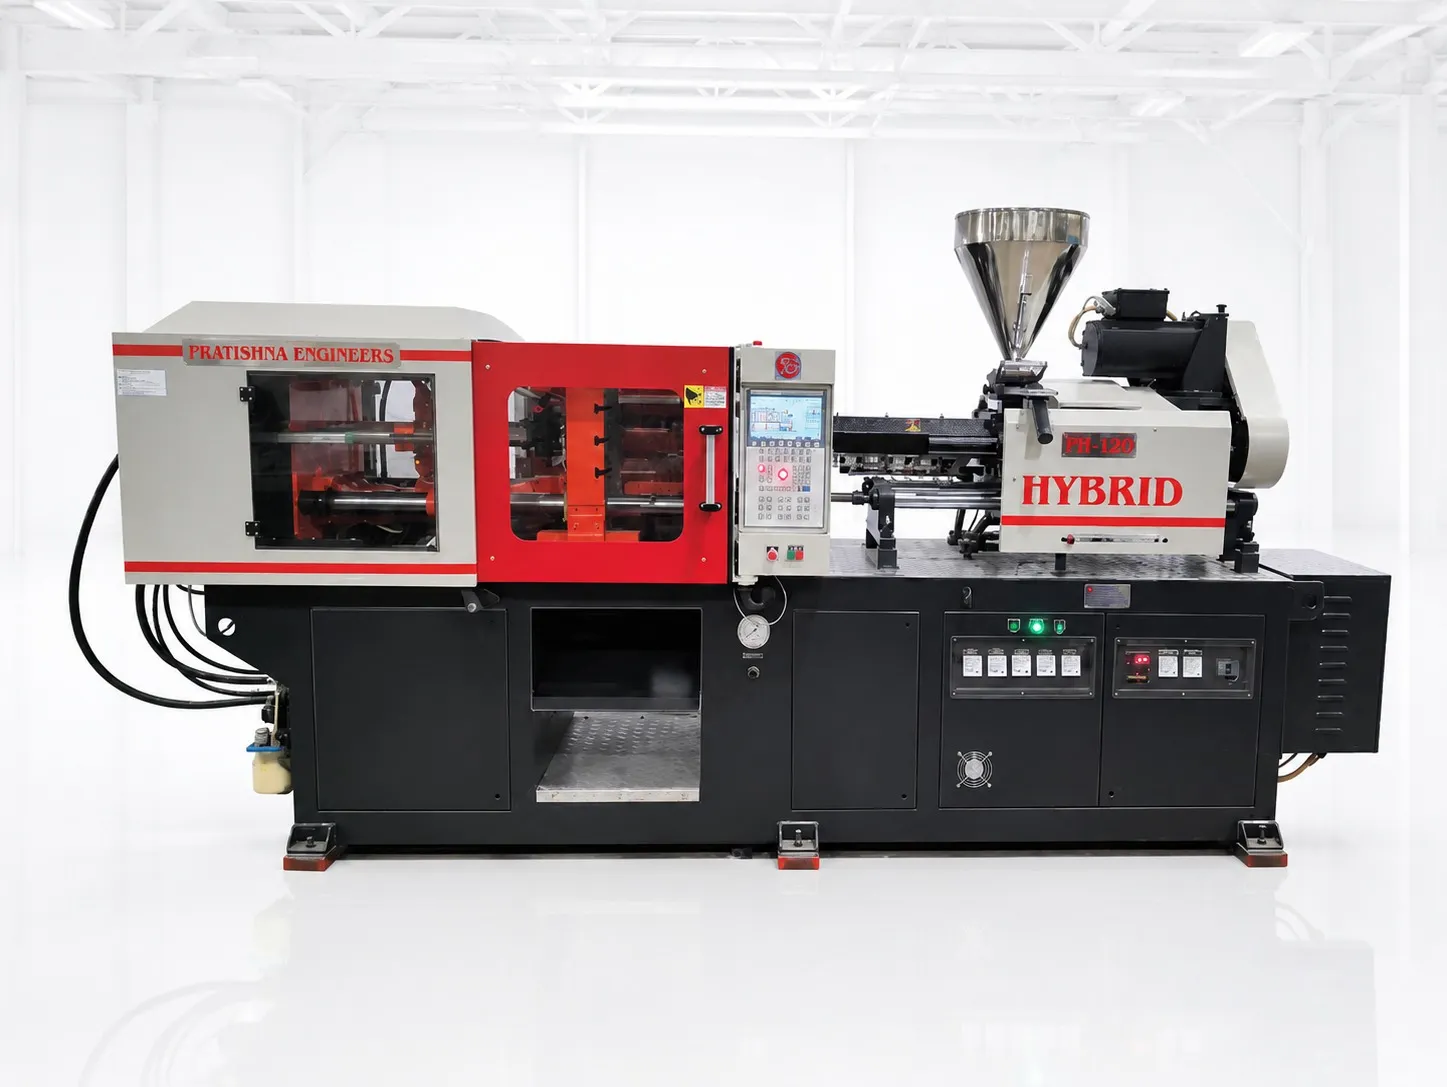
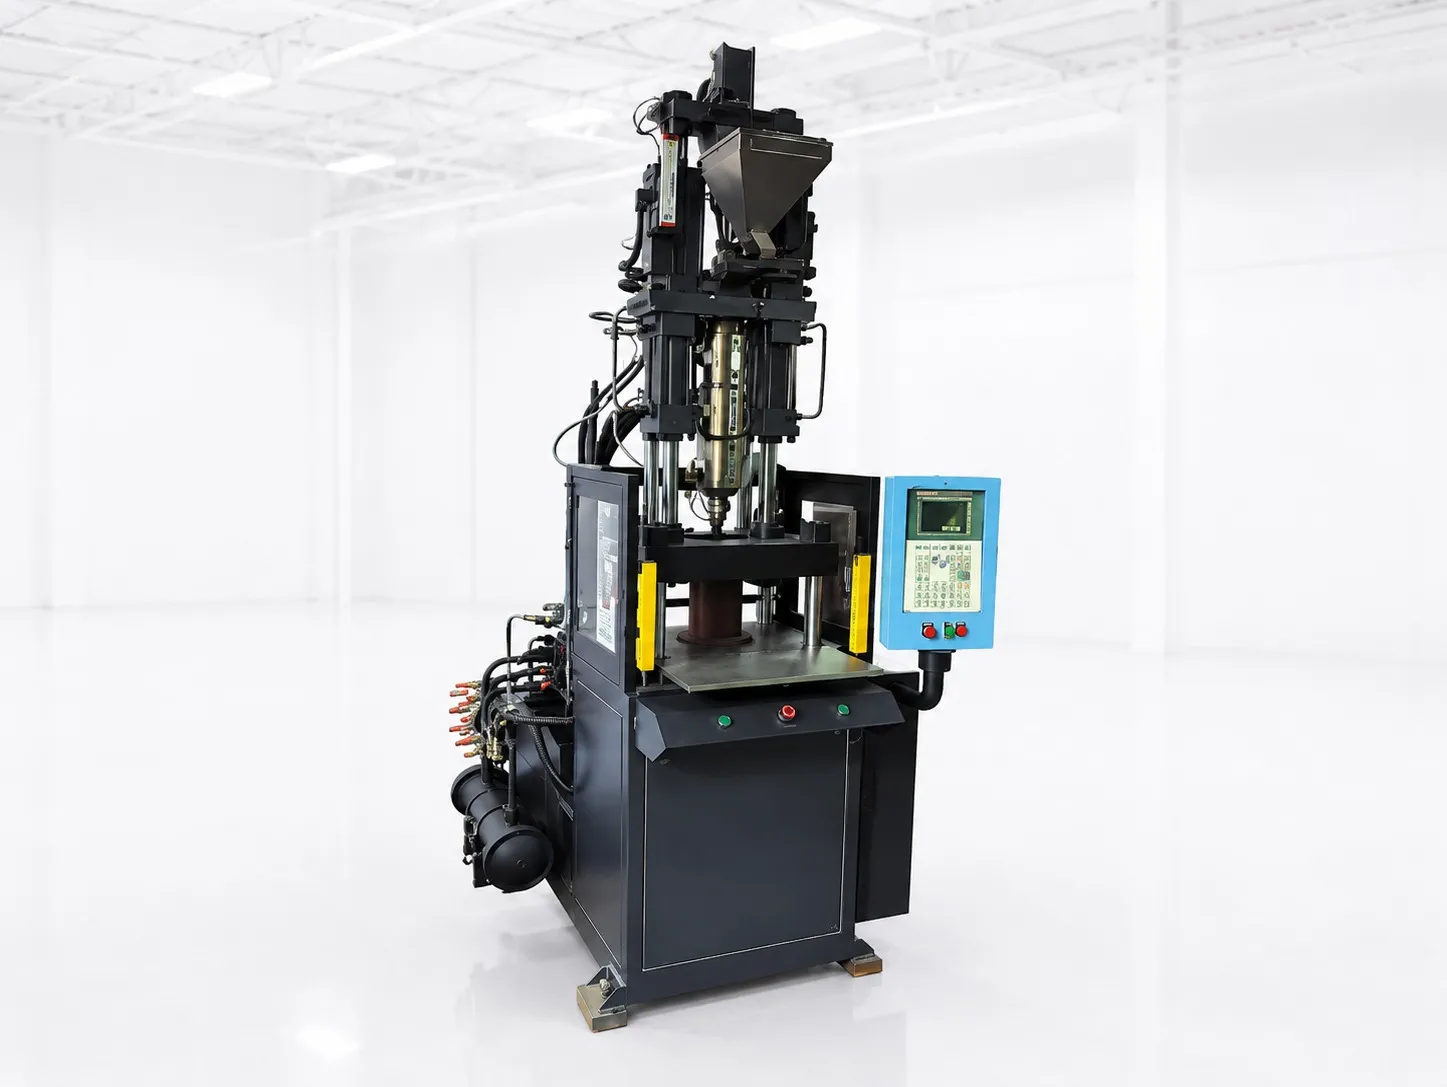
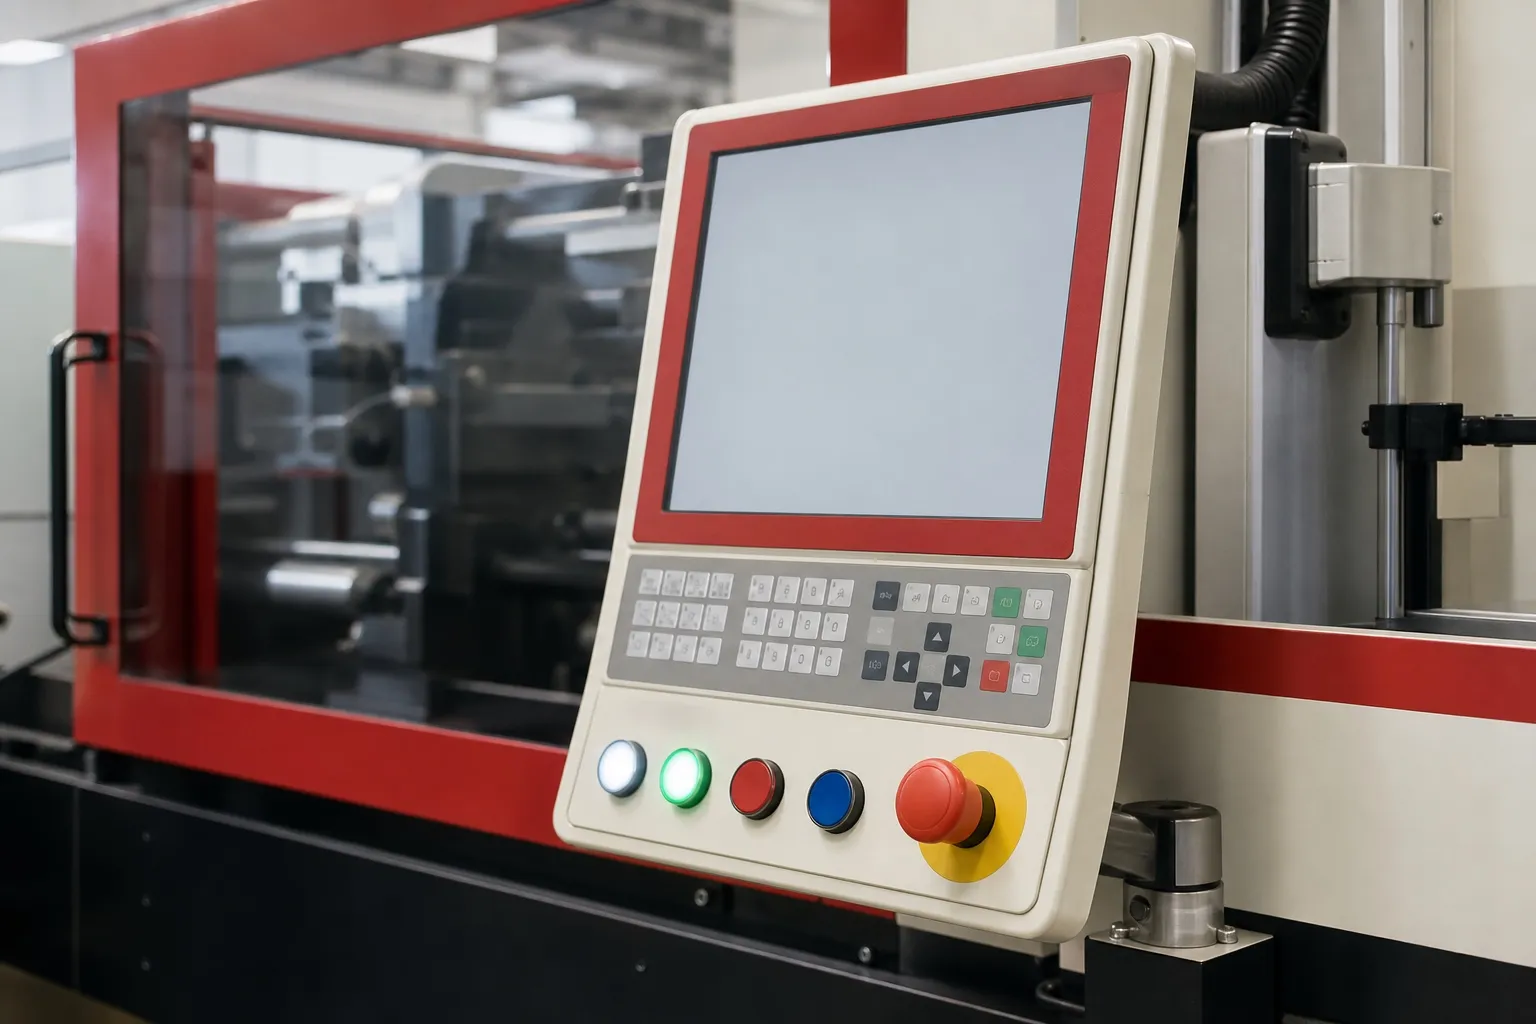

Injection moulding cell automation means the work around the mould, such as part removal, runner separation, insert loading, sorting and checking, is done by a robot and fixed equipment inside one guarded cell, under one sequence. Start with the task that limits the cycle or causes rejects, automate that, and add other steps only when each one fits inside the cycle.
This article covers what a cell includes, which tasks to automate first, how checking works inside the cell and how to judge whether the investment pays.
Key Takeaways
- A cell combines the moulding machine with take-out, runner separation, insert loading, sorting and checking under one control sequence.
- Every task in the cell must finish within the moulding cycle, or the cell slows the machine down.
- Vision can check parts after moulding, and check cavities and insert seating before the mould closes.
- A robot gives the same mould-open time on every shot, which keeps mould temperature steady.
What Does an Injection Moulding Cell Include?
A moulding machine, a robot or take-out unit, a way to separate runners from parts, conveyors or fixtures to receive parts, and the guarding and interlocks that tie them together. Insert feeders, cameras, degating, marking or simple assembly stations are added only where the part needs them.
A case study from the Robotic Industries Association, republished by Smart Molding, shows a complete cell. Its robot picks four moulded circuit plates and the runner together, drops the runner into a scrap chute, places the parts on a four-station index table for inspection, then loads new inserts from a vibratory bowl feeder. The whole sequence had to fit within 30 seconds.
Sorting in a cell can mean separating good parts from rejects, runners from parts and, on multi-cavity moulds, parts by cavity. Sorting by cavity lets a dimensional problem be traced to one cavity instead of a whole batch being held.
Utilities belong in the plan too. A robot, conveyors and cameras need power, compressed air for grippers and room for guarding, so draw the cell layout before fixing the machine position on the floor.
Which Tasks Should You Automate First?
Start with the task that sets the cycle or causes rejects. On one line that may be part take-out or insert loading; on another, runner separation or manual checking. Automating a task that already fits inside the cycle adds cost without adding output, so time each manual step first.
Injection moulding cell automation: common tasks and options
| Task | Done manually | Automated option | Check before buying |
|---|---|---|---|
| Part take-out | Operator opens the guard and removes parts | Take-out robot | Mould-open time and gripper design |
| Runner separation | Hand separation after moulding | Robot drops the runner to a chute or granulator | Runner shape and grip point |
| Insert loading | Operator places inserts each shot | 3-axis or 6-axis robot with a feeder | Insert orientation and presence check |
| Sorting | Visual sorting at a bench | Conveyors and diverters by cavity or result | How each cavity is identified |
| Checking | Gauges at a bench, by sample | Vision or sensor checks in the cell | Which defect is checked, and how small |
Insert loading can be done three ways: by hand, by a 3-axis robot or by a 6-axis robot. A 3-axis robot suits straight in-and-out moves; a 6-axis robot suits inserts that must be turned or placed at an angle, at a higher cost.
Robots are not instant. As default inputs, not measurements, the aPriori costing guide uses 6 s for robotic part removal and 8 s for manual removal on insert machines. Measure your own times on the real part rather than relying on defaults.
Insert loading is often the hardest task to automate, because inserts must arrive the right way round. A vibratory bowl feeder, as in the RIA case, can present them the same way each time; inserts that tangle or nest may need trays or a different feeder.
How Do You Check Parts Inside the Cell?
Put the check where the defect is caught before it costs money. Before the mould closes, confirm cavities are clear and inserts are seated; after moulding, check the parts and divert rejects. In-cell checks replace sampling at a bench with a decision on every shot.
In the RIA case, the robot's vision system confirmed that each empty cavity was free of debris and each insert properly seated before moulding, which protects the mould as well as the part. After moulding, vision inspection meant bad parts did not leave the cell.
Indian product standards can include routine tests and marking. A BIS summary of IS 14772:2020, for boxes and enclosures for electrical accessories, lists type, acceptance and routine tests, and marking that includes the manufacturer, degree of protection, type reference and internal volume. In-cell checks and marking stations can carry part of that load.
A check only helps if its result reaches the process. Tie each reject to the shot and cavity that made it, so the cause can be corrected rather than just sorted out.
Changeovers count as well. A cell built around one part needs new grippers, programmes and fixtures for the next, so include changeover time in the comparison if the machine will run several moulds.
Our view: do not add a camera until you can write down the defect it must catch and how small that defect is. A vague brief buys a camera that passes bad parts.
How Do You Justify Injection Moulding Cell Automation?
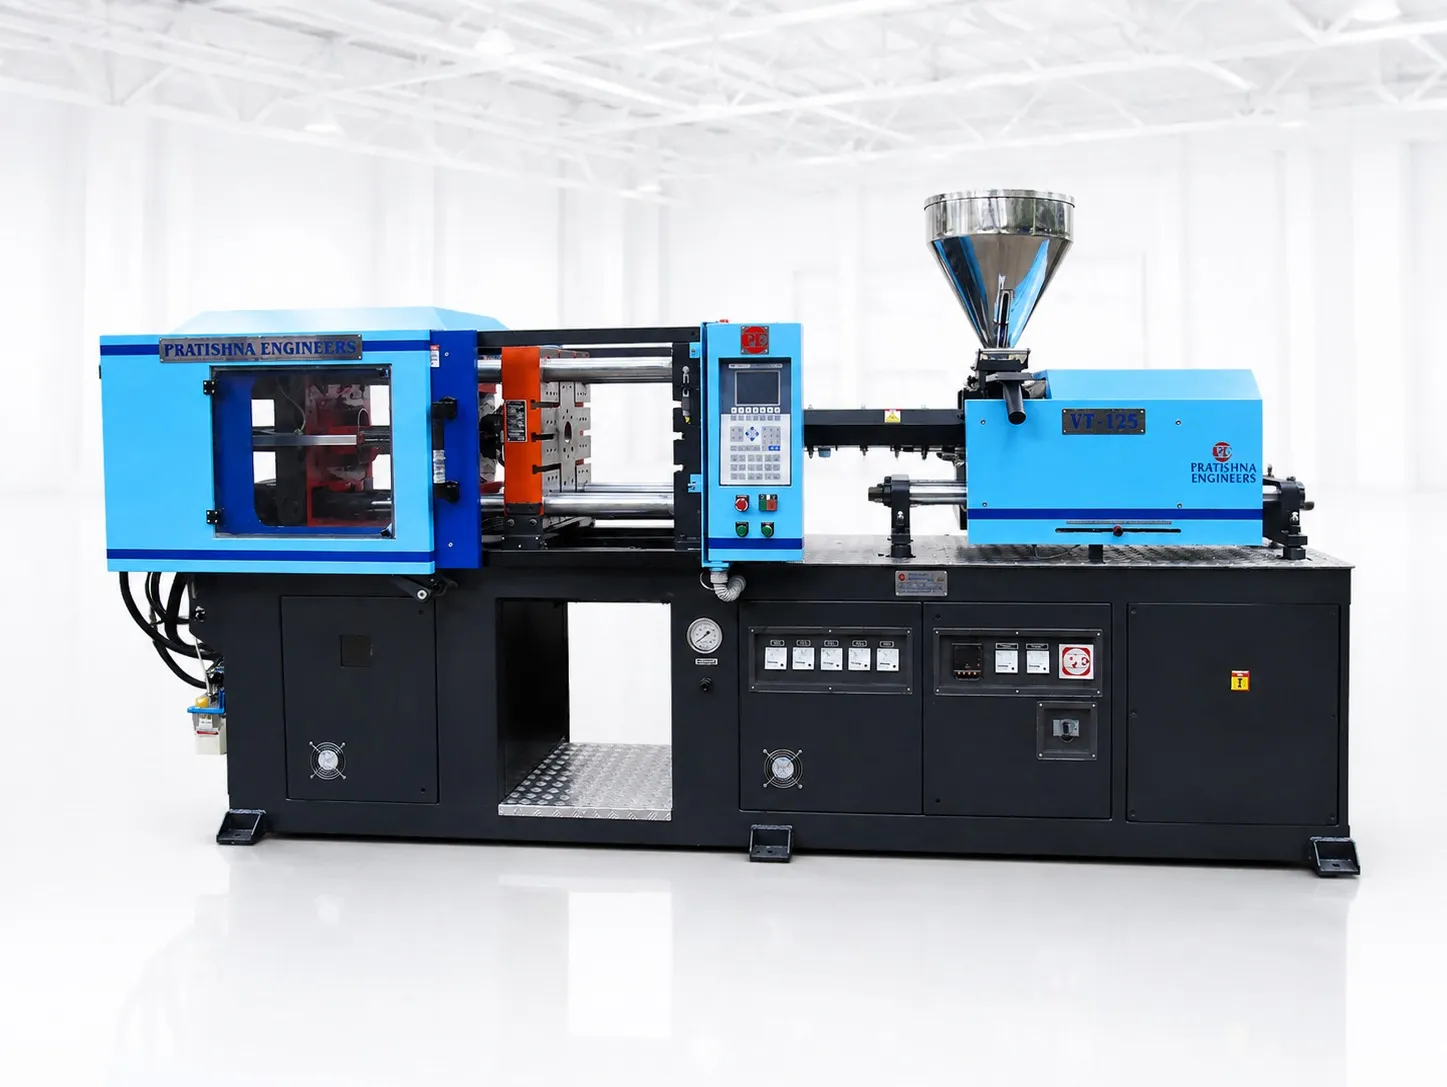
Compare the cell on good parts per day and labour per shift, not on robot price alone. Time the manual cycle over a full shift, including the slow shots, then work out what a steady cycle would give. The RIA case also credits consistent mould-open times with removing mould temperature swings. See the 120 ton special purpose injection moulding machine page.
Frequently Asked Questions About Injection Moulding Cells
Can one robot serve two moulding machines?
It can when both machines run slow enough cycles and sit within the robot's reach, but the robot then becomes a shared limit, and one fault stops both machines. It suits long-cycle parts better than fast ones. Time both cycles together before planning a shared robot, and allow for mould changes on either machine.
Does a cell need a skilled programmer on site?
Someone on each shift should be able to restart the cell, teach a changed position and clear common faults. Deeper programme changes can stay with the supplier. Ask for training, written recovery steps for each fault and a backup of every programme before acceptance, so a minor problem does not stop the cell for long.
What is the difference between a take-out robot and a cell?
A take-out robot removes parts from the mould and drops or places them. A cell adds the steps after that, such as runner separation, sorting, checking, insert loading or simple assembly, all sequenced with the machine. A plant can start with take-out alone and grow it into a full cell step by step.
How is safety handled in a moulding cell?
The cell is fenced or guarded, with interlocked doors that stop the robot and machine movements when opened, and light curtains can protect loading points. Agree the safety layout, stop behaviour and restart routine with the supplier at the design stage, because guarding added afterwards can block access for mould changes.
Should checking be done by camera or by sensor?
Use the simplest check that catches the defect. A presence sensor can confirm an insert is there; a camera can confirm orientation, short shots or flash; a gauge or load cell can check a dimension or a weight. Cameras need steady lighting and part position, so design the fixture together with the camera.
Related Articles
- Special Purpose vs Standard Injection Moulding Machine: How to Decide
- Metal Insert Moulding Around Terminals, Pins and Bushes: What the Machine Needs
- Shuttle Table vs Rotary Table: When Two Stations Pay Off in Insert Moulding
Sources & References
- Robotic Industries Association via Smart Molding, J. Clark: Automated injection molding operation (case study)
- aPriori Technologies, Cost Model Guide: Insert Injection Molding Options
- BIS: IS 14772: 2020 Boxes and Enclosures for Electrical Accessories (summary)
Technical Disclaimer
Disclaimer: The information provided in this document is for general informational and educational purposes only. It is based on technical references and industry information available at the time of preparation and may be subject to change. It does not constitute engineering, technical, commercial or professional advice, nor does it constitute a quotation, specification, warranty or contractual commitment by Pratishna Engineers.
Actual injection moulding machine and process requirements vary according to the component design, material, mould, production volume, machine configuration and operating conditions. The information, examples, calculations and recommendations provided should be independently evaluated and verified for the specific application before making any equipment, process or production decision. Information obtained from third-party sources remains subject to the accuracy and limitations of those sources.
Limitation of Liability: Pratishna Engineers makes no representation or warranty, express or implied, regarding the completeness, accuracy or suitability of the information for any particular application. To the extent permitted by applicable law, Pratishna Engineers shall not be liable for any loss, damage, cost or consequence arising from reliance on or use of the information contained in this document. Final machine selection, configuration and application suitability should be confirmed with Pratishna Engineers based on complete and accurate project requirements.