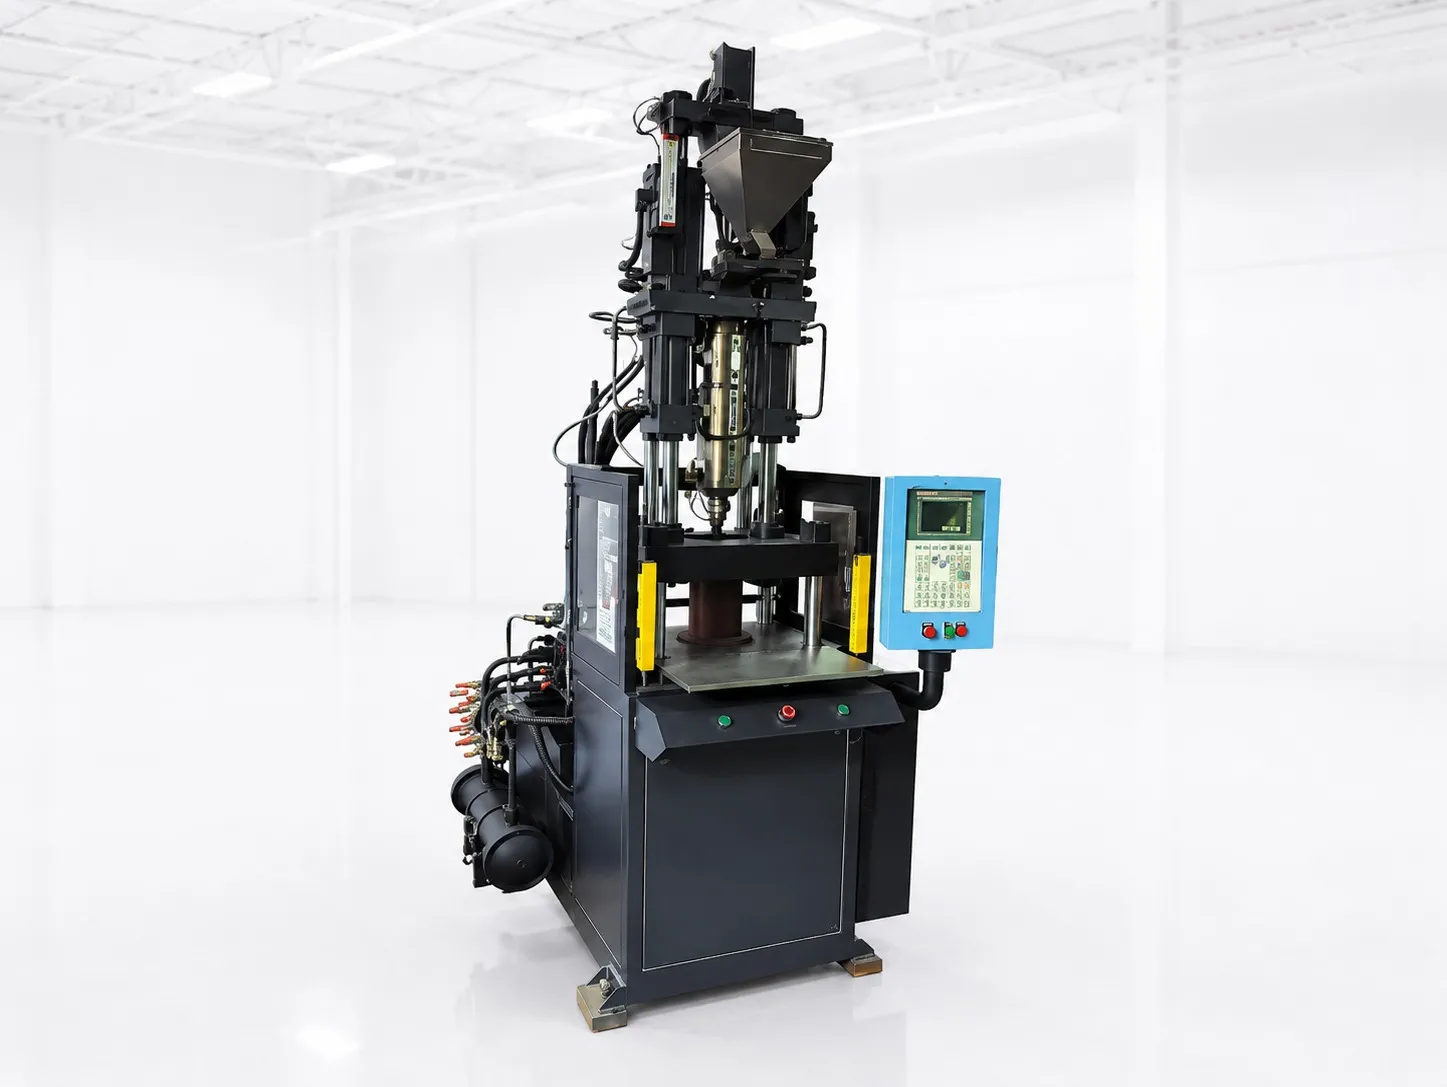

Large tray warpage comes from uneven shrinkage: one face, one region or one direction of the tray shrinks more than the rest, and the flat part bends to relieve it. To keep a tray flat on a 260 t machine, hold the wall even, stiffen with ribs instead of thickness, cool core and cavity alike, pack the far end properly, and consider a nucleated PP.
Clamp sets the size limit. A solid tray has no openings to reduce its projected area, so on 260 t the largest tray is about 560 cm² at a PP factor of 3 and about 840 cm² at 2, with a 10% reserve.
Key Takeaways
- Thick sections cool slower and shrink more, so an uneven wall is the first cause to rule out.
- One design guide puts rib base width at about 75% of the wall and the rib root radius at 25% to 50% of it.
- Nucleated PP does most of its shrinking in the mould, which then acts as a cooling jig for the tray.
- A 300 × 220 mm solid tray needs about 204 t at a PP factor of 2 and fits 260 t up to a factor of about 2.55.
What Causes Large Tray Warpage?
Differences in shrinkage across the tray. Thick areas shrink more than thin ones, the side against the hotter mould face keeps shrinking after ejection, the far end shrinks more if packing does not reach it, and PP can shrink differently along and across the flow.
EnviroTech Molded Products, a custom moulder, explains in its PP design guide that thick sections cool more slowly and therefore shrink more, which is why a constant wall matters. It adds that PP shrinkage happens mostly within the first 48 hours after moulding, through continued crystallisation.
That 48-hour window matters on the shop floor. A tray that looks flat at ejection can bow overnight if it is stacked warm or left on an uneven surface. Measure flatness after the tray has rested, not at the press.
The same guide warns that some pigments act as nucleating agents, naming green, blue and orange among them, so trays moulded in different colours can come out at different dimensions. A tray that is flat in one colour may need its process adjusted for another.
How Should a Tray Be Designed to Stay Flat?
Keep the wall even and stiffen the tray with ribs, not with extra thickness. Where the wall must change, the EnviroTech guide advises thinning it gradually in the direction of flow. Generous radii at corners also help, because they keep the wall even through each change of direction.
PP rib and radius guidelines from the EnviroTech design guide, worked for a 2.5 mm tray wall (the 2.5 mm wall is assumed)
| Feature | Guideline | For a 2.5 mm wall |
|---|---|---|
| Rib base width | About 75% of the wall | About 1.9 mm |
| Radius at the rib base | 25% to 50% of the wall | 0.6 to 1.25 mm |
| Rib taper | 0.5 to 1° per side | 0.5 to 1° per side |
| Rib depth | 1.5 times the wall | About 3.75 mm |
| Inside corner radius | 0.25 to 0.5 times the wall | 0.6 to 1.25 mm |
| Outside corner radius | 1.25 to 1.5 times the wall | 3.1 to 3.75 mm |
The guide also recommends keeping PP walls under 6.4 mm to avoid voids, especially far from the gate, and notes that deeper ribs can cause sink marks and ejection trouble where they meet the wall. On a serving tray, sinks show on the top face, so keep ribs under the tray and modest in depth.
Our view: when a large tray warps, look at the wall drawing before the process sheet. A tray with a thick rim and a thin floor will keep warping however long you cool it, while a tray with an even wall and modest ribs can run flat with ordinary settings.
What Mould and Process Settings Keep a Tray Flat?
Balanced cooling between core and cavity, a gate that fills the tray evenly, enough packing to reach the far edges, and enough cooling time before ejection. Check cooling balance first on a flat part, because the hotter face keeps shrinking after the tray leaves the mould.
If the core runs hotter than the cavity, the tray tends to bow with the core side on the inside of the curve. Check water temperatures in and out of both halves, and look for blocked or looped channels before changing settings. A centre gate, or several gates on a long tray, keeps flow lengths short and packing more even.
Cooling time follows the wall. EnviroTech notes that doubling a wall can need three to four times the cooling, and RJG's cooling guide suggests adding about 20% to the calculated cooling timer as a safety factor. Ejecting too early leaves the tray soft enough to bend on the ejector pins.
Nucleated PP is another lever. The EnviroTech guide explains that nucleated grades do most of their shrinking in the mould, which then acts as a cooling jig and holds the tray to shape. The trade-off is parts that can be harder to strip and slightly lower in impact. Reliance's Repol H110MAS is one nucleated homopolymer for houseware, with IS 10910 food-contact compliance.
How Large a Flat Tray Fits 260 t?
About 560 cm² at a PP factor of 3 and 840 cm² at 2, with a 10% reserve. That is roughly a 280 × 200 mm solid tray at either factor, and up to about 320 × 240 mm when trials confirm a factor near 2.
Clamp for one solid PP tray, sprue gated, at factors of 2 to 3 US t/in² with a 10% reserve (sizes assumed)
| Tray size | Projected area | Clamp needed | Highest factor at 260 t |
|---|---|---|---|
| 250 × 180 mm | 450 cm² | 139 to 209 t | 3.74 |
| 280 × 200 mm | 560 cm² | 173 to 260 t | 3.00 |
| 300 × 220 mm | 660 cm² | 204 to 306 t | 2.55 |
| 320 × 240 mm | 768 cm² | 238 to 356 t | 2.19 |
| 350 × 250 mm | 875 cm² | 271 to 406 t | 1.92 |
Flat tray moulds also test the platens. A Plastics Technology article on mounting moulds, by P. Witaszek and co-authors, gives a rule of thumb that the mould should cover at least 70% of the distance between the tie bars; smaller moulds let the platens bow and flash the centre of the part. The applications article in this series covers the clamp method.
What Should You Check Before Cutting a Tray Mould?
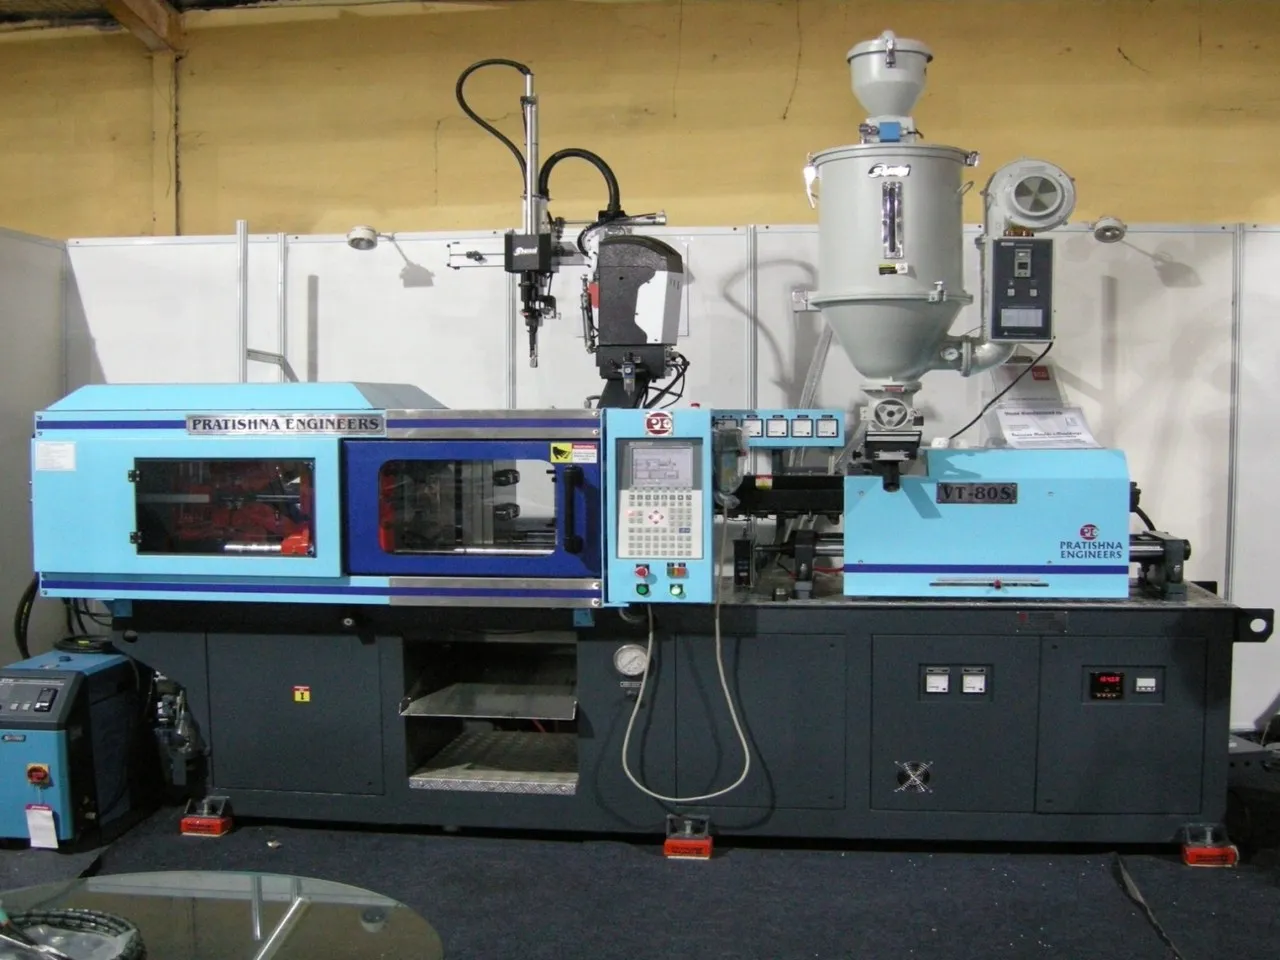
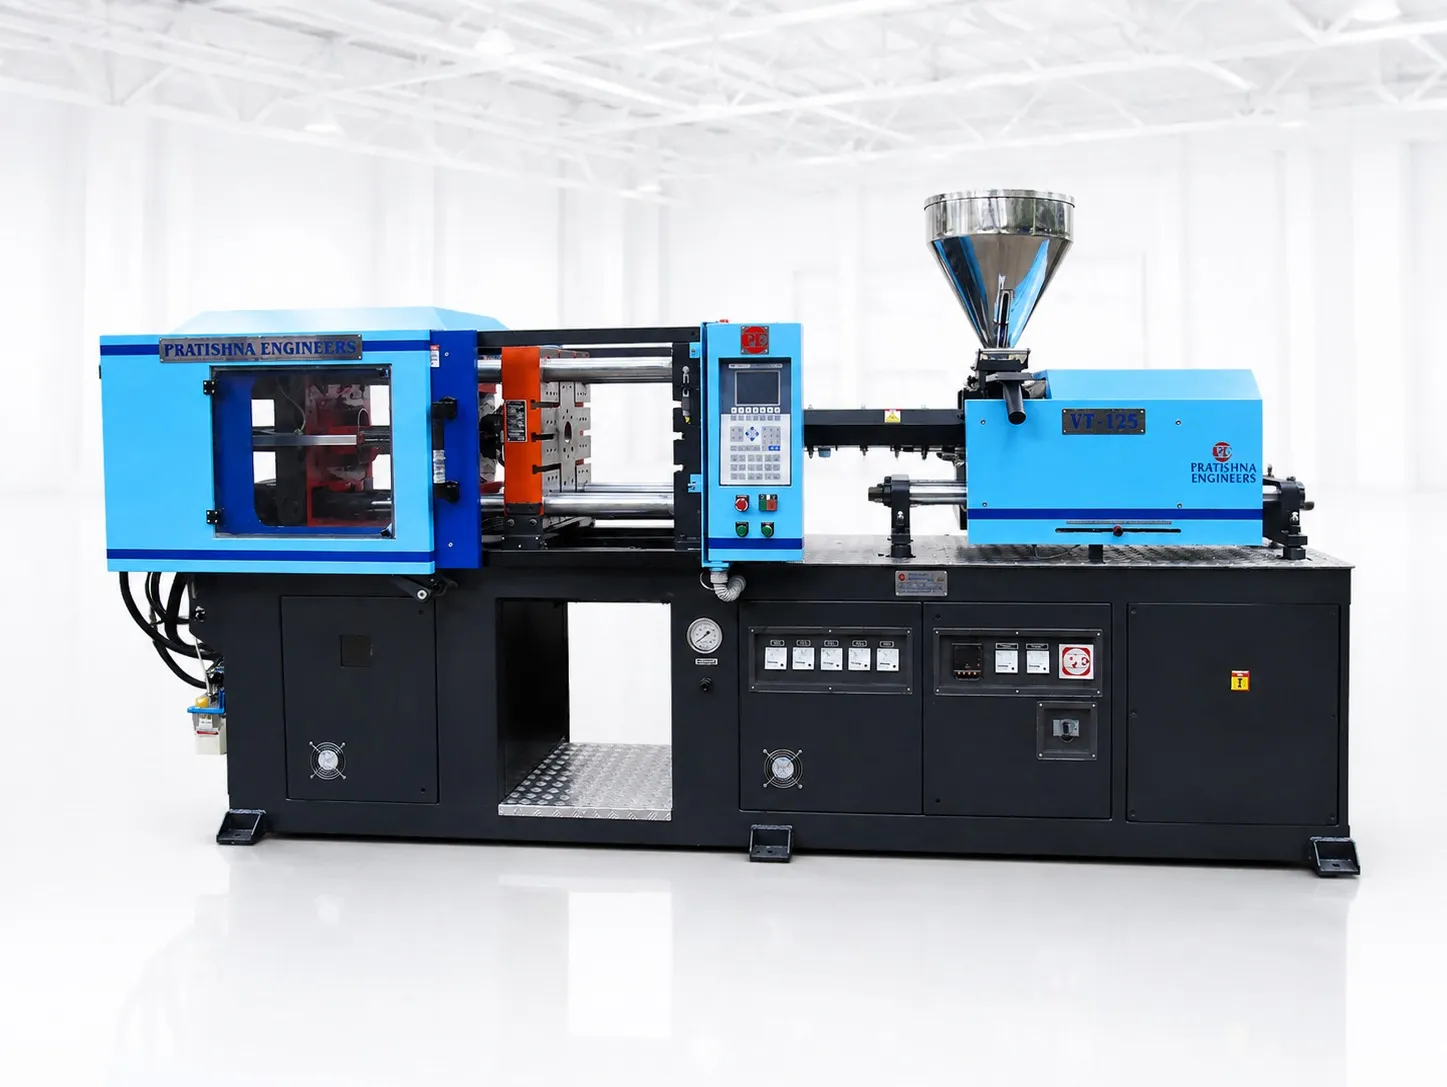
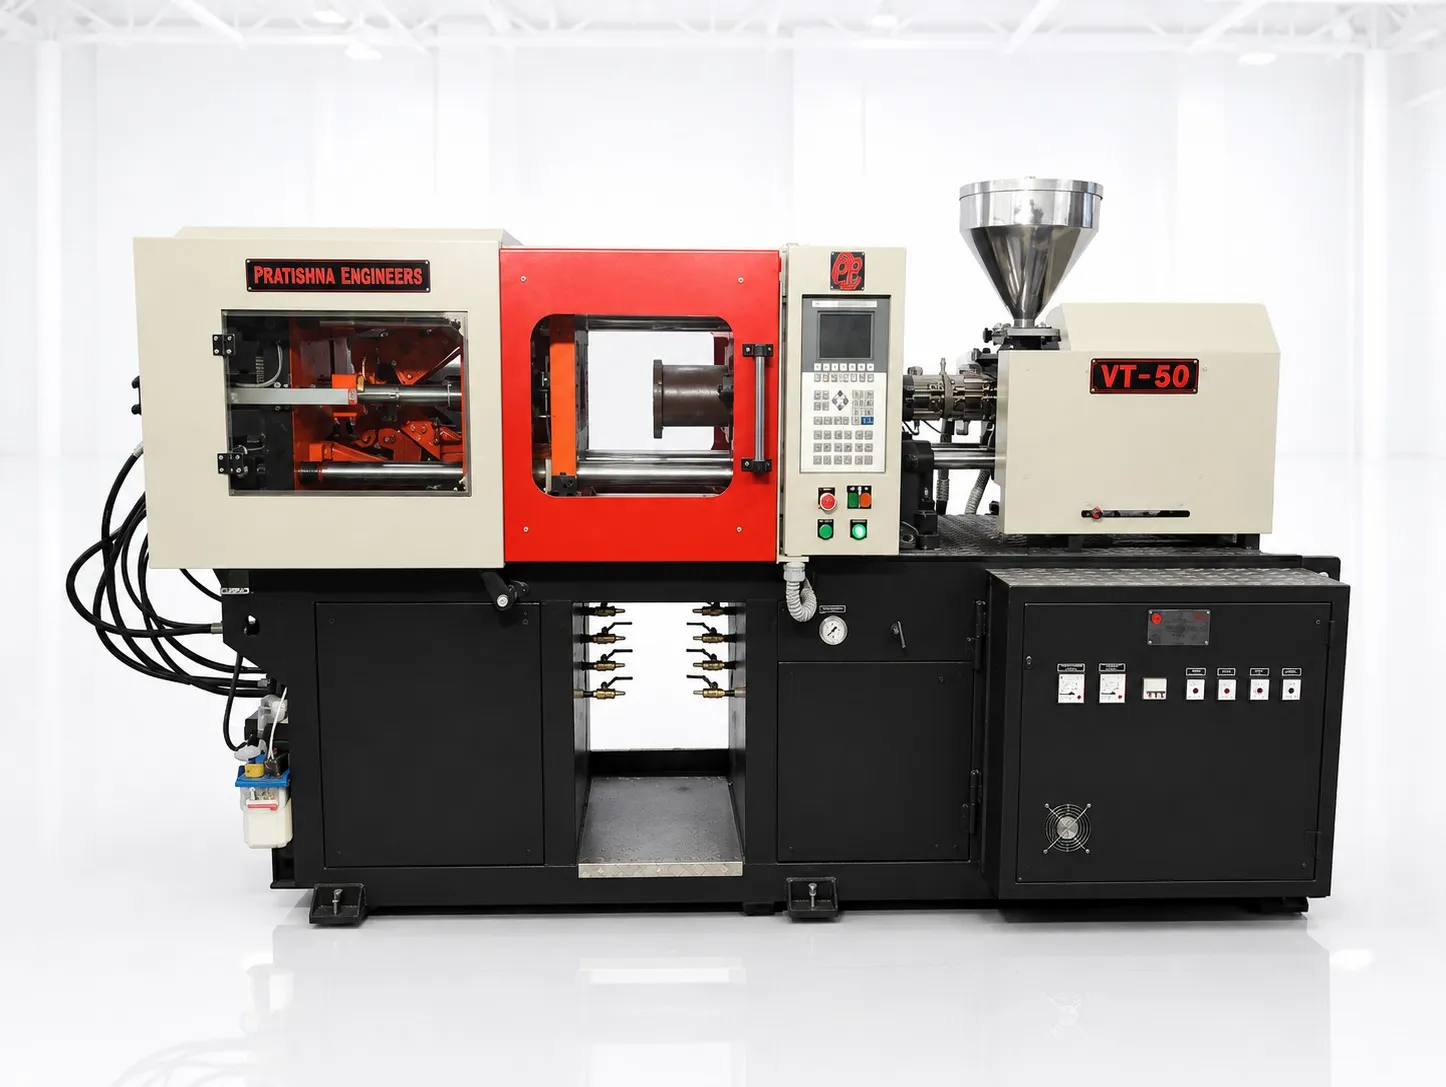
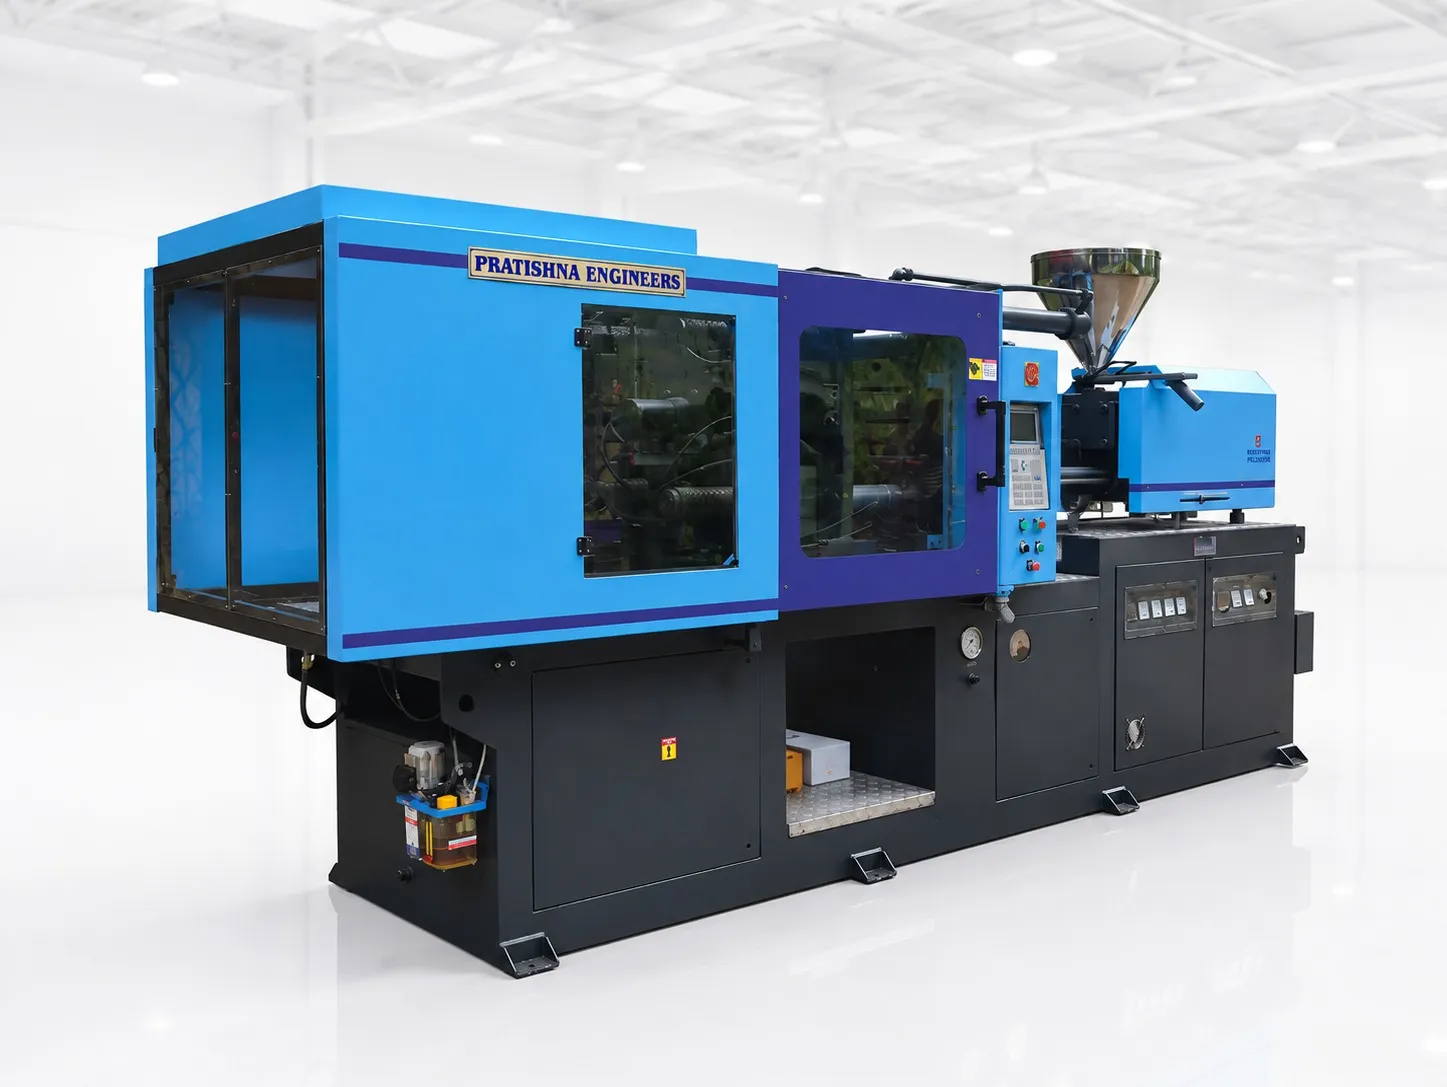
Review the wall drawing for even thickness, the rib sizes against the wall, the gate position and the cooling layout of both halves, then run the clamp check on the full tray area. See the 260 ton horizontal injection moulding machine page.
Frequently Asked Questions About Large Tray Warpage
Can a warped tray be flattened after moulding?
Sometimes, by cooling it on a flat fixture or under a light weight straight from the mould, since PP keeps shrinking for up to about 48 hours. That treats the symptom and adds handling. Fixing the wall, cooling balance or packing in the mould is the lasting cure and saves labour on every shot.
Why does a tray warp in one colour but not another?
Some pigments act as nucleating agents and change how the PP crystallises and shrinks. The EnviroTech design guide names green, blue and orange among them. A tray that runs flat in natural or white may need different cooling or packing in those colours, so trial each colour before production.
Should the gate be in the centre or at one end of a tray?
A centre gate gives the shortest, most even flow paths and usually the most even packing, which helps flatness. An end gate leaves the far end less packed and can set up different shrinkage along and across the flow. Long trays may need two or more gates.
Does higher packing pressure reduce warpage?
It can reduce shrinkage at the far end, but only if pressure actually reaches it before the gate freezes. Too much packing near the gate locks in stress that can release later as warp. Raise packing in steps and measure flatness after the tray has rested, not straight off the press.
Is a flat tray easier to mould than a deep one?
Not for flatness. A deep wall and rim stiffen a tray, while a large flat floor has little to resist uneven shrinkage. Flat trays also use their full area for clamp, so they reach the machine's limit sooner than baskets or containers of the same outline.
Related Articles
- What Can You Make on a 260 Ton Household Moulding Machine?
- Dustbins and Large Storage Boxes on a 260 Ton Machine
- Pump Flow and Cycle Time on Large Household Machines
Sources & References
- EnviroTech Molded Products: Molded Parts Design (polypropylene design guide)
- RJG Inc.: How to Determine Injection Molding Cooling Time
- Plastics Technology, P. Witaszek, J. Klees, J. Fattori, E. Di Siro, J. Bozzelli: How to Mount an Injection Mold (June 2017)
- Reliance Industries: Repol H110MAS Technical Data Sheet
Technical Disclaimer
Disclaimer: The information provided in this document is for general informational and educational purposes only. It is based on technical references and industry information available at the time of preparation and may be subject to change. It does not constitute engineering, technical, commercial or professional advice, nor does it constitute a quotation, specification, warranty or contractual commitment by Pratishna Engineers.
Actual injection moulding machine and process requirements vary according to the component design, material, mould, production volume, machine configuration and operating conditions. The information, examples, calculations and recommendations provided should be independently evaluated and verified for the specific application before making any equipment, process or production decision. Information obtained from third-party sources remains subject to the accuracy and limitations of those sources.
Limitation of Liability: Pratishna Engineers makes no representation or warranty, express or implied, regarding the completeness, accuracy or suitability of the information for any particular application. To the extent permitted by applicable law, Pratishna Engineers shall not be liable for any loss, damage, cost or consequence arising from reliance on or use of the information contained in this document. Final machine selection, configuration and application suitability should be confirmed with Pratishna Engineers based on complete and accurate project requirements.