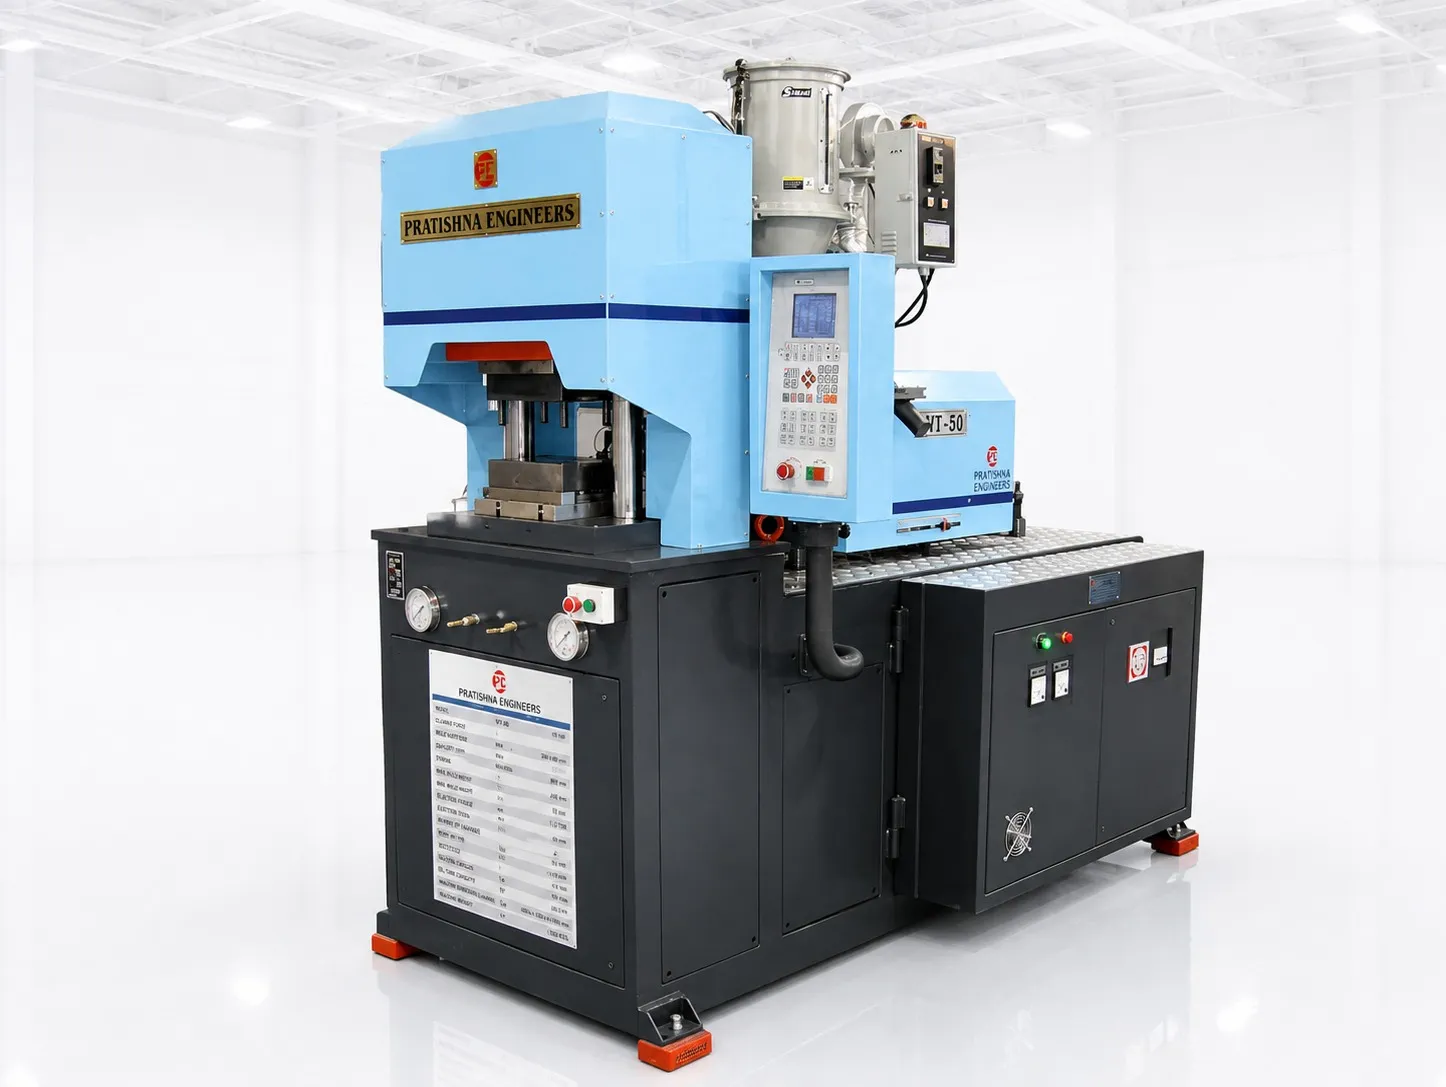
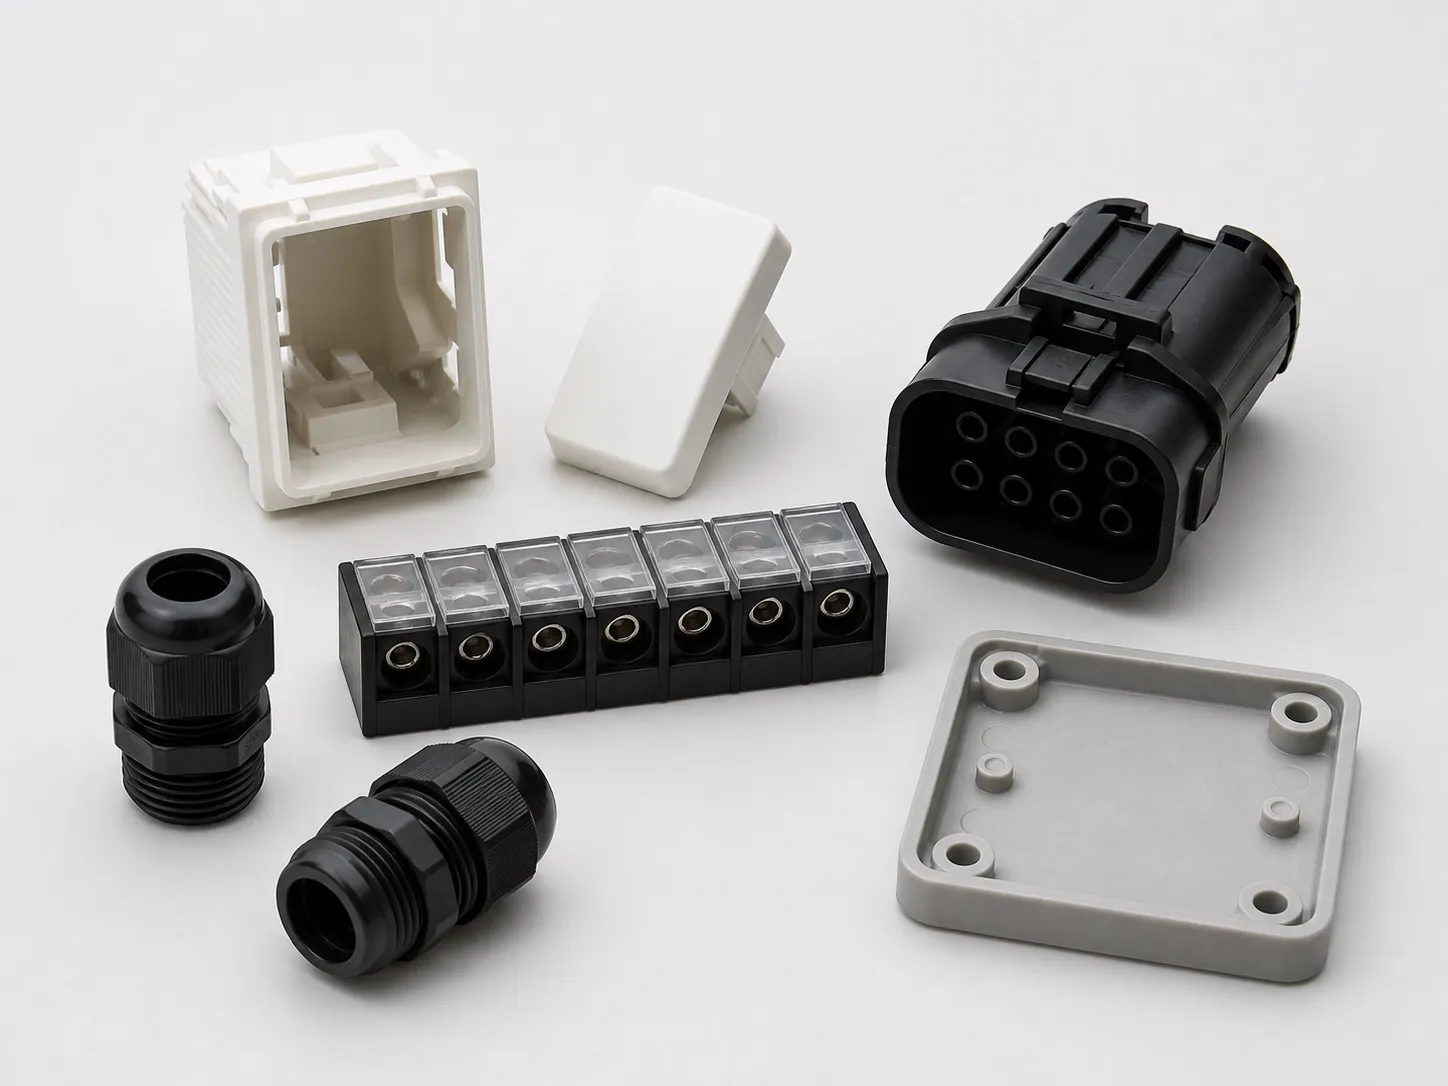

Twelve brass pins per shot. That is what a four-cavity mould for a three-pin plug's pin carrier asks of the operator at a terminal insert moulding machine. If seating and checking each pin takes about 2 s (an assumption for illustration), loading alone takes 24 s. The clamp needed is small by comparison: about 16 to 26 t.
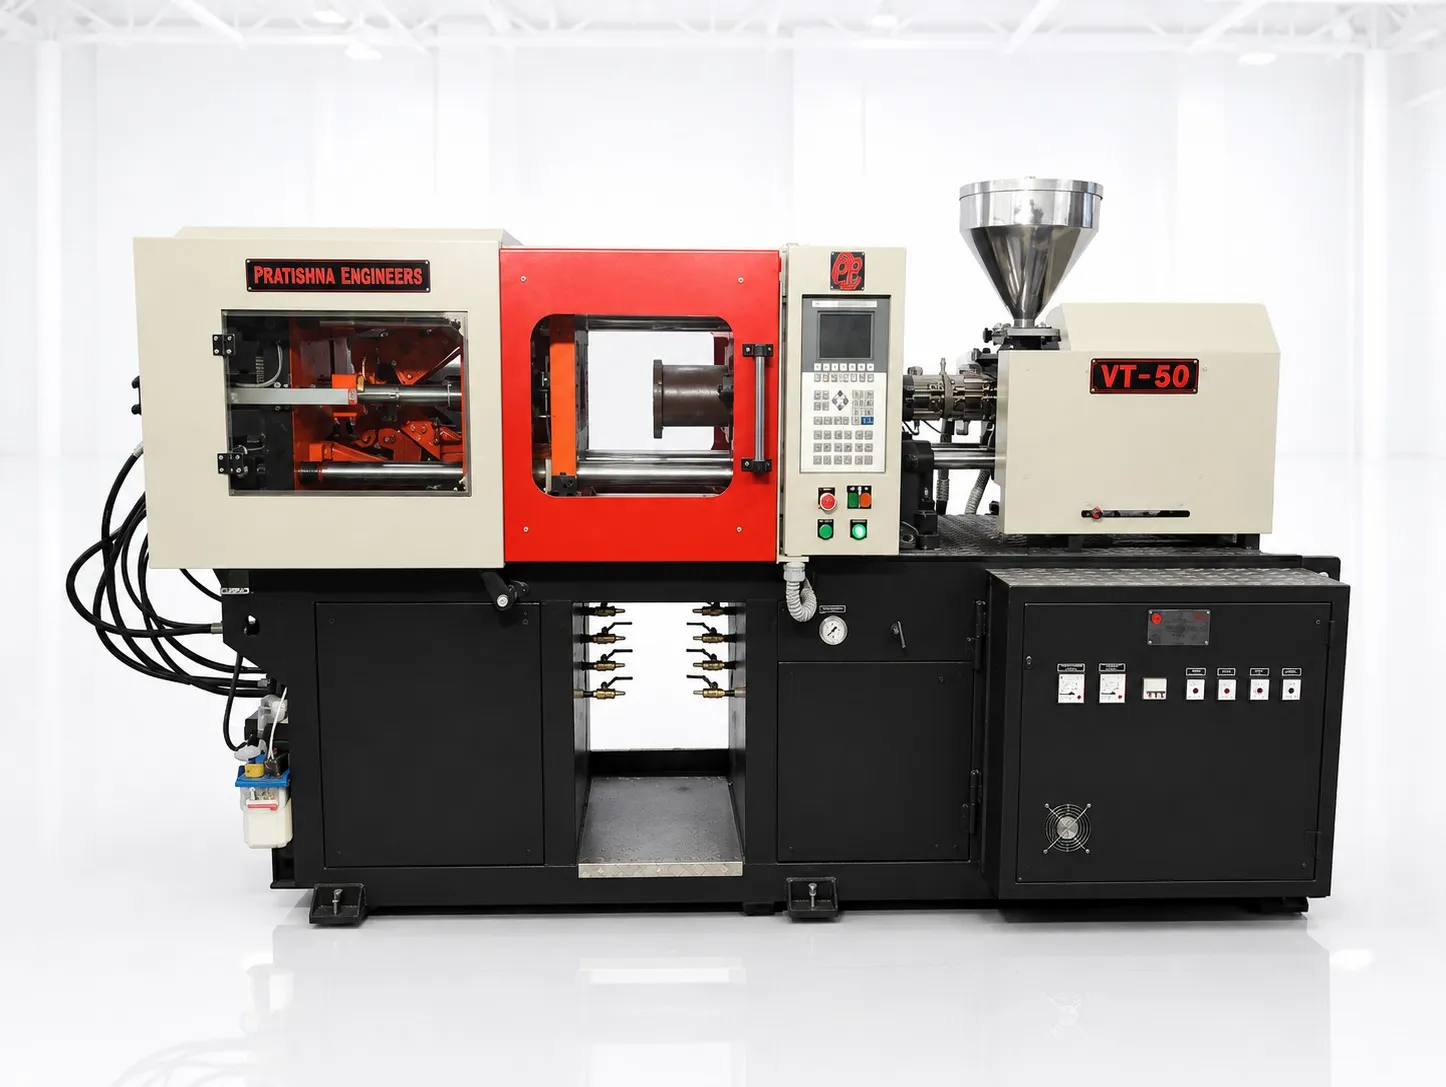
That clamp figure assumes four carriers of 7.5 cm² each plus a 4 cm² runner, 34 cm² in all, at 3 to 5 US t/in² with a 10% reserve (a starting margin, not a rule). On a 40 t vertical machine, pin position, flash control and the plastic around each pin decide the job, not tonnage.
Key Takeaways
- Pin count per shot drives the cycle: four cavities of a three-pin carrier means 12 pins to seat and check every shot.
- DuPont guidance asks for inserts that protrude at least 0.4 mm into the cavity, a boss 1.5 times the insert diameter and rounded knurls.
- Hoop stress from plastic shrinking onto the pin causes delayed cracking; in acetal it can reach about 75% of tensile strength.
- IS 1293 tests plugs for abnormal heat and fire, pendulum hammer strength and 10,000 insertions, and each test traces back to moulding.
What Does a Terminal Insert Moulding Machine Have to Hold?
Every pin or terminal, square and at its exact pitch, while melt flows around it under injection pressure. The pocket in the lower mould sets position, a steel shut-off keeps contact faces clean, and the upward-facing mould keeps each insert seated until the top half closes.
Pocket clearance is a balance. Too loose and the pin tilts or floats as melt arrives. Too tight and the operator struggles to load it, or a slightly oversize pin from a new batch binds. Measure pins from several batches before the pockets are finished.
A PlasticsToday summary of DuPont's insert moulding guidance gives rules for the plastic around the insert. The insert should protrude at least 0.4 mm into the cavity, the plastic beneath it should be at least one sixth of the insert diameter, and a boss should be about 1.5 times the insert diameter, for inserts up to 12.9 mm.
The same guidance asks for rounded inserts or rounded knurling, no sharp corners, and an undercut for pull-out strength. A sharp-edged knurl on a pin is a ready-made crack starter.
How Do You Stop Flash on Pins and Contact Faces?
Seal every exposed pin face with a steel shut-off that fits the smallest pin in the batch, and keep hold pressure no higher than the part needs. Flash on a contact face is a functional fault, because it can stop the pin making contact in a socket.
Common pin and terminal moulding faults, likely causes and what to check
| Fault | Likely cause | What to check |
|---|---|---|
| Flash on a pin contact face | Worn or loose shut-off, undersize pin, hold pressure above need | Shut-off fit against the smallest pin; hold pressure profile |
| Pin tilted or out of pitch | Loose pocket, gate aimed at the pin, insert floating | Pocket clearance, gate position, fill speed near the pins |
| Short shot behind a pin | Trapped air, cold pins chilling the melt | Vents at the last place to fill; insert preheating |
| Crack at the pin weeks later | Hoop stress, sharp knurl, weld line at the pin | Resin toughness, rounded knurl, gate moved off the weld |
| Pin pulls out under load | Shallow undercut, too little plastic around the pin | Undercut depth, boss size, pull test on samples |
Air behind an insert has nowhere to go, so vent the last points to fill and keep those vents clean. A blocked vent next to a pin gives burn marks and short shots that look like a fill problem.
Cold inserts are a second cause. A brass pin at room temperature pulls heat out of the melt flowing past it. DuPont's guidance recommends preheating inserts, which reduces post-mould shrinkage onto the insert and improves weld lines.
Which Plastics Suit Pin and Terminal Carriers?
Grades that pass the product's heat and fire tests and tolerate the hoop stress around each pin. Flame-retardant PC, nylon and other engineering grades can all work; the choice turns on shrinkage, stiffness, toughness and test results. Glass-filled grades shrink less but give weaker weld lines.
Hoop stress is the main risk. As the plastic cools it shrinks onto metal that does not shrink with it. The DuPont guidance names delayed cracking from hoop stress as the most common insert moulding complaint and estimates the stress as mould shrinkage times flexural modulus.
It gives shrinkage of 0.016 mm/mm for nylon against 0.025 for acetal, which puts the stress in acetal at about 52.4 MPa, near 75% of its tensile strength. Glass- or mineral-filled grades shrink 0.005 to 0.010 mm/mm, but heavily filled weld lines may keep only 60% of unfilled strength.
For heat and fire, a flame-retardant PC datasheet shows what to read: UL 94 V-0 at 3.0 mm but only V-2 at 1.0 mm, and a glow-wire flammability index of 960 °C at 1.5 and 3.0 mm. Ratings change with thickness, so check them at your thinnest wall.
Nylon also needs drying. One PA66 datasheet sets processing moisture at 0.2% or below and asks for packing until the gate area has frozen.
What Do IS 1293 and IS 3854 Test in a Moulded Part?
IS 1293 covers plugs and socket-outlets and IS 3854 covers switches. A BIS article on the two standards lists tests for earthing, shock protection, dimensions, resistance to abnormal heat and fire, pendulum hammer strength, and normal operation, where a plug is inserted and withdrawn 10,000 times.
Each test lands on the moulding. Dimensions and earthing depend on pin pitch and seating. Abnormal heat and fire depend on the grade and on any unapproved regrind. The pendulum hammer finds voids and brittle weld lines, and 10,000 insertions find pins that loosen in the carrier.
Switches to IS 3854 are under compulsory ISI certification through the 2003 Quality Control Order for electrical wires, cables, appliances and accessories, so a failed moulded part can hold up a customer's certified product.
Our view: put a pin pull-out check into first-article inspection and into every shift. A pin that moves under thumb pressure on the shop floor will not survive 10,000 insertions in a home.
What Should You Prepare Before Tooling?
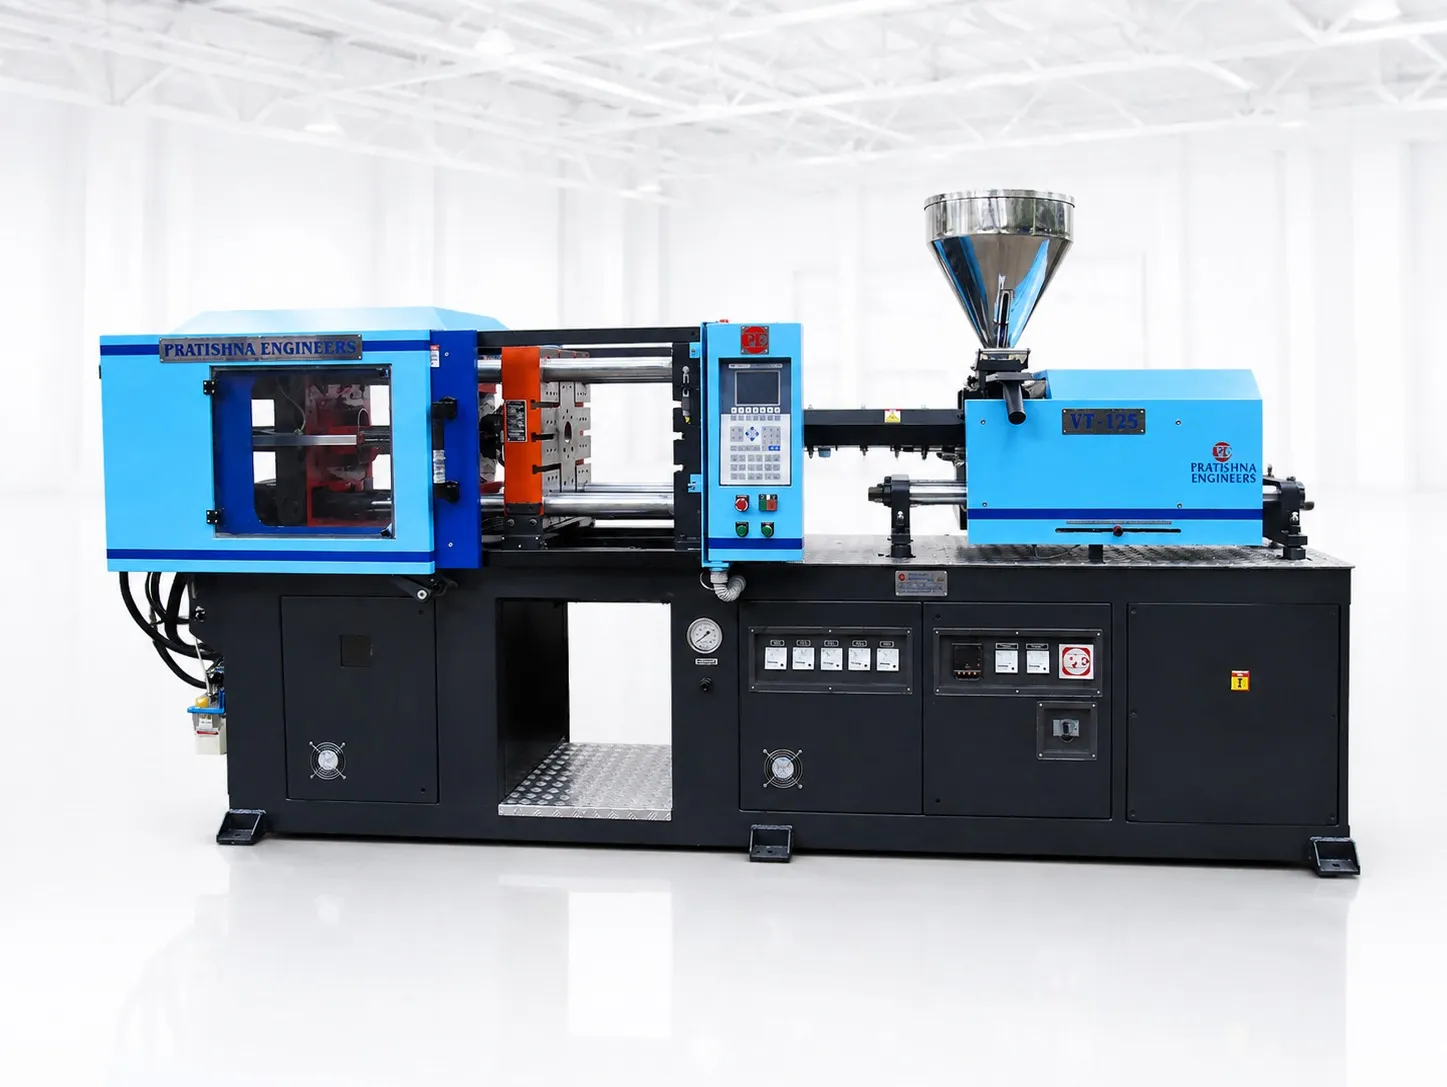
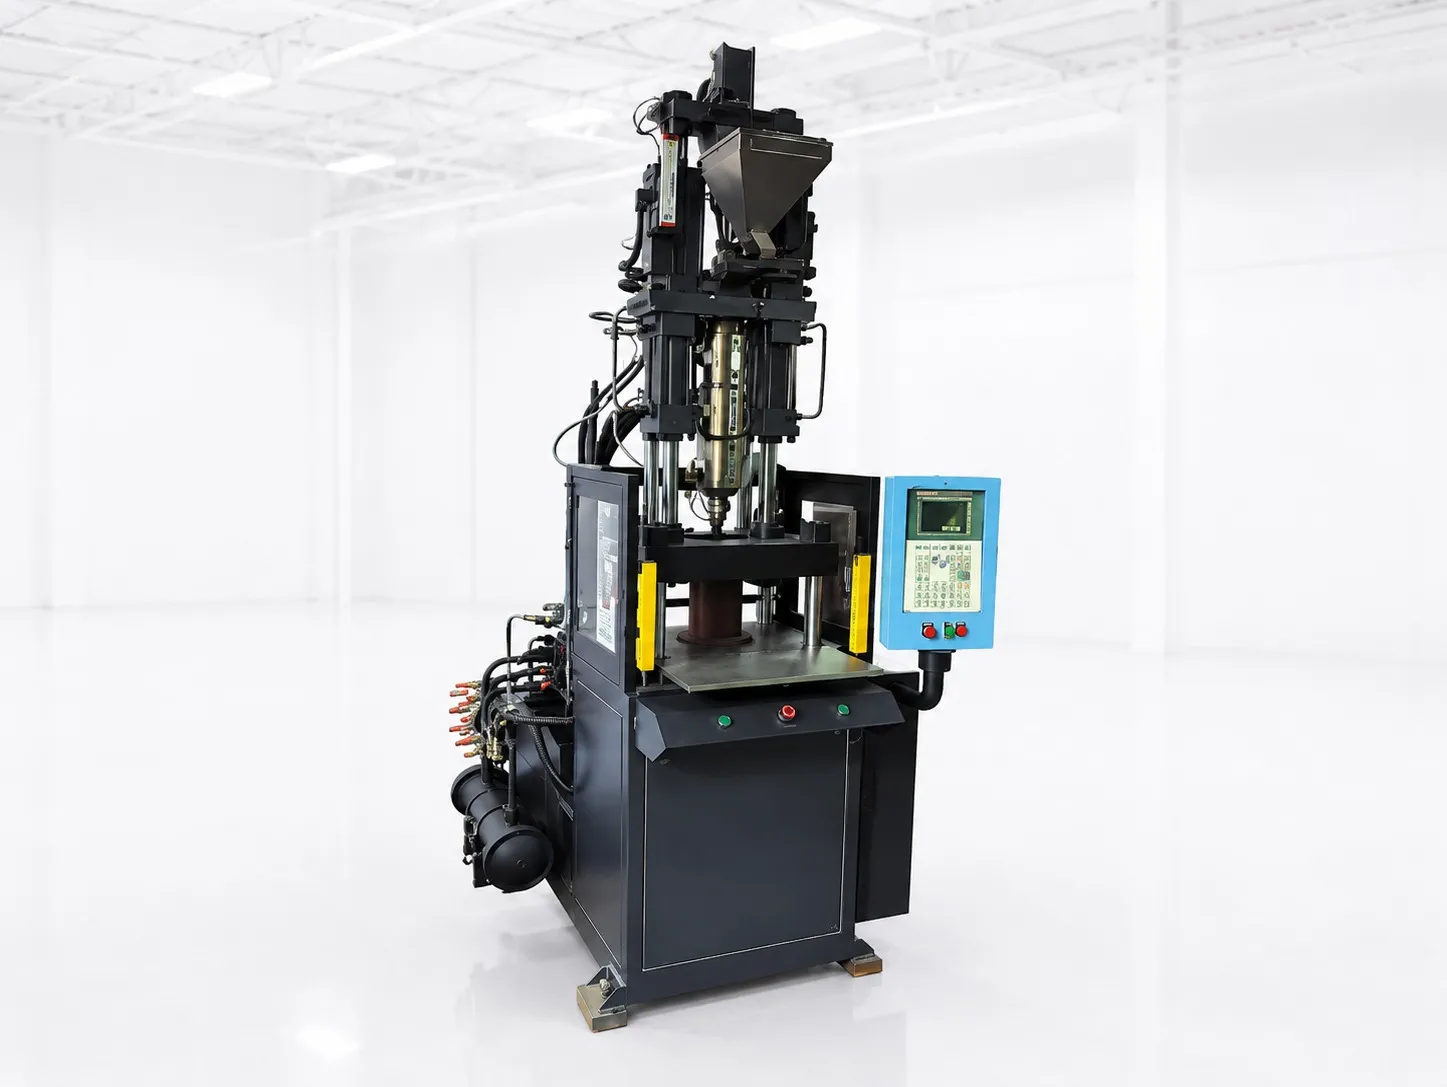
Prepare pin or terminal drawings with tolerances, samples from more than one batch, the carrier drawing with exposed contact faces marked, the resin grade and the product standard. Then time a real operator loading one full shot. See the 40 ton vertical injection moulding machine page.
Frequently Asked Questions About Moulding Plug Pins and Terminals
How tight should a pin pocket be?
Tight enough that the pin cannot tilt or float when melt arrives, and loose enough to load by hand without forcing. Set the pocket from pins measured across several batches, not from the nominal size, and check it again whenever the pin supplier changes. A worn pocket shows up first as pin tilt.
Can terminals be moulded while still on their stamped strip?
Yes. Terminals still joined on their carrier strip can be loaded as one piece, which cuts loading time and holds pitch, and the strip is cut off after moulding. The mould needs a slot for the strip and a cut-off step afterwards, so agree the strip layout with the stamping supplier early.
Should the gate face the pins?
No. Melt aimed straight at a pin can push it out of position and leave a weld line on its far side. Gate onto a wall of the carrier so melt reaches the pins from the side at lower speed, and check pin position on the first shots with a go and no-go gauge.
How do I test pin pull-out strength in-house?
Fix the carrier in a jig, pull the pin along its axis on a force gauge or tensile tester, and record the force at which it moves. Agree the minimum force and sample size with your customer. Test parts from every cavity, since one worn pocket can produce weak pins.
Can regrind go into pin carriers?
Only within the limit the grade supplier and your approved product specification allow, and never with metal fragments in it. One ABS datasheet allows up to 20% regrind. For parts tested for abnormal heat and fire, keep regrind out unless the material approval for the certified product covers it.
Related Articles
- What Can You Make on a 40 Ton Vertical Insert Moulding Machine?
- Needle Hubs on Vertical Machines: Insert Location and Bond Strength
- Small Insert Moulding Cells: Manual or Automated Loading?
Sources & References
- PlasticsToday, summarising A. Miller (DuPont): Design and material advice from the pros, Part 3: Insert molding essentials
- BIS Blog, N. Agarwal: Standards for Plugs-Socket-Outlets and Switches
- Covestro: Makrolon 6555 product page
- BASF via Material Data Center (M-Base): Ultramid A3L HP datasheet
Technical Disclaimer
Disclaimer: The information provided in this document is for general informational and educational purposes only. It is based on technical references and industry information available at the time of preparation and may be subject to change. It does not constitute engineering, technical, commercial or professional advice, nor does it constitute a quotation, specification, warranty or contractual commitment by Pratishna Engineers.
Actual injection moulding machine and process requirements vary according to the component design, material, mould, production volume, machine configuration and operating conditions. The information, examples, calculations and recommendations provided should be independently evaluated and verified for the specific application before making any equipment, process or production decision. Information obtained from third-party sources remains subject to the accuracy and limitations of those sources.
Limitation of Liability: Pratishna Engineers makes no representation or warranty, express or implied, regarding the completeness, accuracy or suitability of the information for any particular application. To the extent permitted by applicable law, Pratishna Engineers shall not be liable for any loss, damage, cost or consequence arising from reliance on or use of the information contained in this document. Final machine selection, configuration and application suitability should be confirmed with Pratishna Engineers based on complete and accurate project requirements.