
Deep container moulds: opening stroke by container depth, using twice the depth plus 50 mm (a starting margin, not a rule)
| Container depth | Opening stroke | Daylight needed |
|---|---|---|
| 100 mm | 250 mm | Mould shut height + 250 mm |
| 150 mm | 350 mm | Mould shut height + 350 mm |
| 200 mm | 450 mm | Mould shut height + 450 mm |
| 250 mm | 550 mm | Mould shut height + 550 mm |
| 300 mm | 650 mm | Mould shut height + 650 mm |
Deep container moulds are decided by how far the mould can open, how far the ejection must push the part off the core, and how much of the cycle those long movements take. Read the opening stroke for your container depth from the table, add the mould's shut height to get the daylight, then check ejection and cycle time.
The twice-depth rule covers the container clearing the cavity and then the core, with a small gap for it to fall or be picked.
Key Takeaways
- Opening stroke grows with depth, so a 200 mm deep pail can need about 450 mm before its mould's own height is counted.
- Daylight must hold the mould's shut height plus that stroke, and deep container moulds are tall before they open.
- Ejector stroke only has to free the part, and air can help, but thin walls need more and larger ejectors than a conventional tool.
- Cooling sets the base cycle and grows with wall thickness squared, while long, slow strokes add time on top.
How Much Daylight Do Deep Container Moulds Need?
Daylight must cover the mould's shut height plus the opening stroke the container needs. Using the twice-depth-plus-50 mm margin, a 200 mm deep container in a 450 mm tall mould needs about 900 mm of daylight. Robot take-out may need a little more for the gripper.
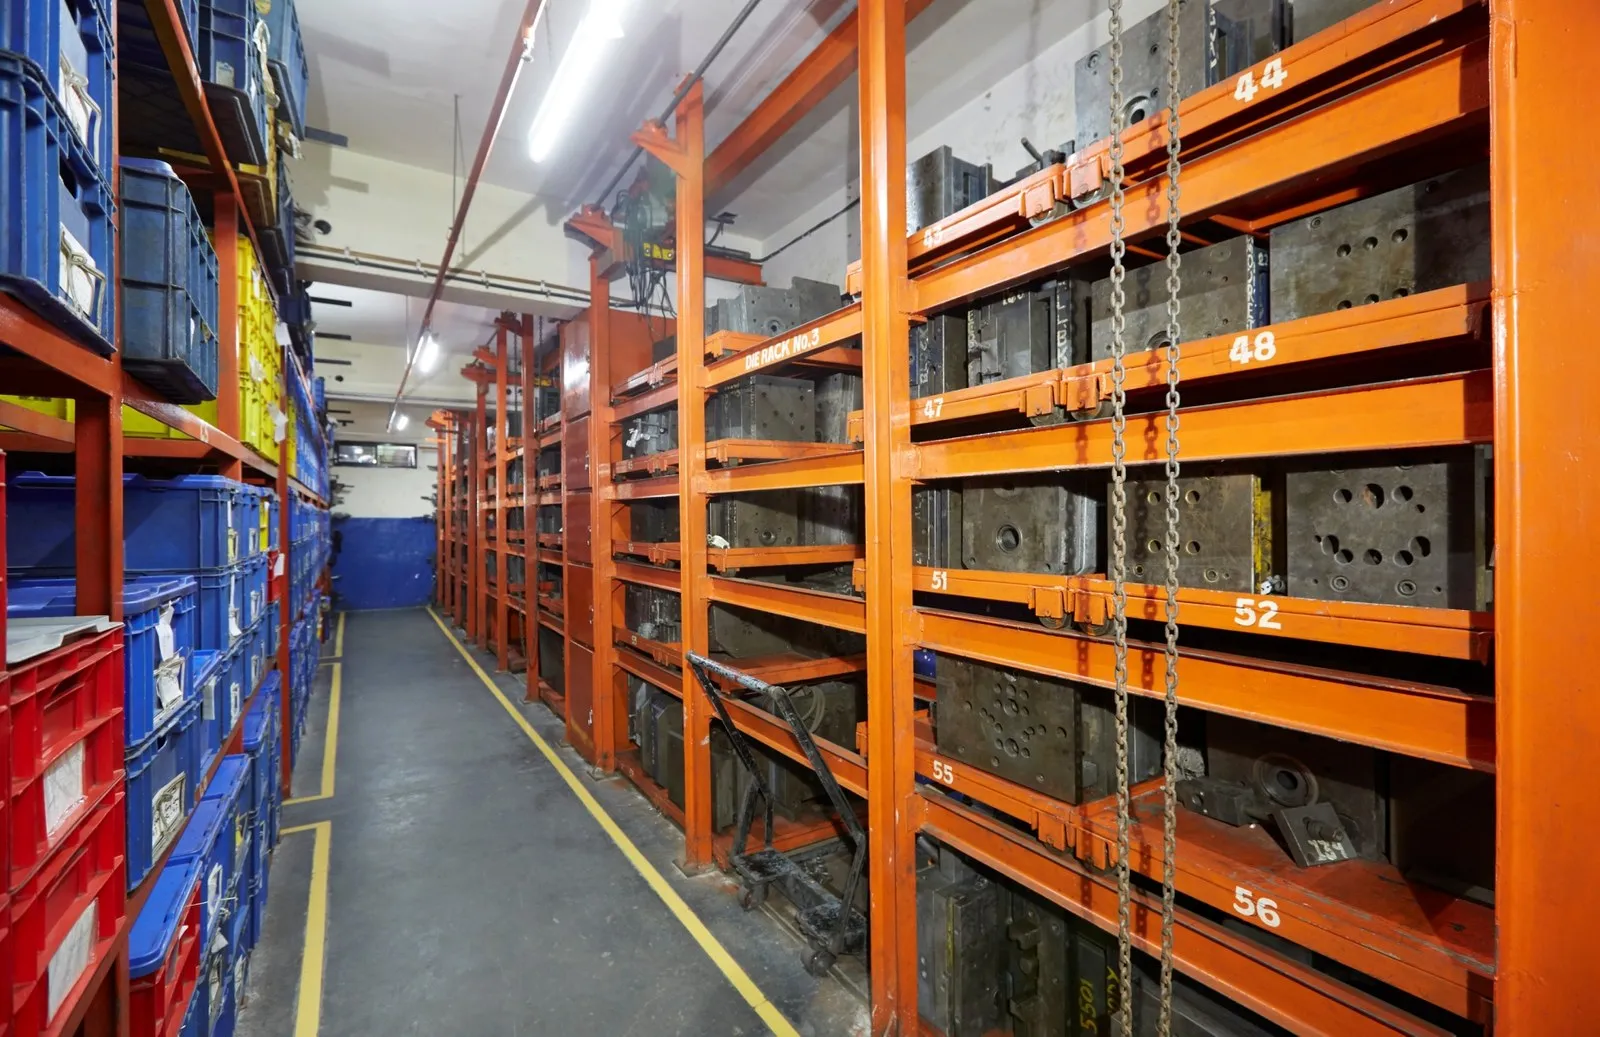
Shut height grows with depth, because the core and cavity must each be as tall as the container, plus plates, cooling and ejection. Ask the toolmaker for it before you look at machines.
Stack moulds, stripper-ring designs and hot runner manifolds all add height again. So check the minimum mould height too: a machine with ample daylight cannot clamp a mould thinner than its minimum without spacers.
Distance is only half of it. A long stroke needs a speed profile: slow as the mould breaks open, fast through the middle, and slow again before full open so the part is not jolted off the core. Ask how quickly a machine covers your stroke, not only how far it travels.
Our view: on deep containers, buy the stroke and daylight the mould needs, then win cycle time in the mould's cooling. No machine setting can cool a core tip that water does not reach.
How Much Ejector Stroke Does a Deep Container Need?
Enough to free the container from the core, not necessarily its full depth. A tapered container can release once it has moved part of the way and air breaks the vacuum under its base. Straight, deep walls and textured surfaces need longer stroke, more ejector area, or both.
Thin walls make ejection harder. In a PlasticsToday article, Sabic engineer Greg Tremblay notes that thin walls and ribs damage easily, and that low shrinkage through a thin wall can hold the part on the core. His rule of thumb is a thin-wall tool with twice as many ejector pins, each twice as large, as a conventional tool, plus blade or sleeve ejectors on ribs and bosses.
Stripper rings push on the rim and spread the load, which suits round containers. Where a stripper plate is driven by the machine ejector, check both its stroke and its force.
Cooling and ejection interact. A container that has shrunk hard onto a cold core needs more force to push off than one ejected a little warmer, so a cooling change can show up as an ejection problem.
Air valves in the core can help break the vacuum under the base, so check that the machine has free air circuits and control signals for them.
Ejection methods for deep containers and what they need from the machine
| Method | Where it suits | What to check |
|---|---|---|
| Ejector pins | Shallow or ribbed parts | Pin count and size, ejector stroke |
| Stripper ring or plate | Round, thin-walled containers | Ejector stroke and force |
| Air ejection | Tapered containers held by vacuum | Air circuits, valves, control signals |
| Pins or ring plus air | Deep, thin containers | All of the above, timed in sequence |
Where Does the Cycle Time Go on a Deep Container?
Into cooling first, then into the long opening, ejection and closing movements. As walls get thinner, cooling shrinks and the movements take a larger share. Shorten whatever dominates: thinner, even walls for cooling, and faster, smoother platen moves for the strokes.
RJG notes that cooling time depends most on wall thickness, which is squared in the cooling equation, and suggests adding about 20% to a calculated cooling time as a safety factor.
Deep cores are hard to cool, because water has to reach the tip. For short cycles, Tremblay suggests non-looped cooling lines, larger channels to raise flow rather than colder water, and inserts of high-conductivity metal where needed.
Mould temperature sets the pace as well. Reliance lists a mould temperature of 20 to 50 °C for its Repol H110MAS, a nucleated PP homopolymer for rigid packaging and houseware. Running near the cool end shortens cooling, but a deep core can run hotter than its cavity, so measure both.
The movements can overlap. Air ejection can start before the mould is fully open, and a robot can enter as the ejectors move forward. Each overlap saves a fraction of a second, which adds up over a shift on a mould running two or more cavities.
What Should You Send for a Deep Container Check?
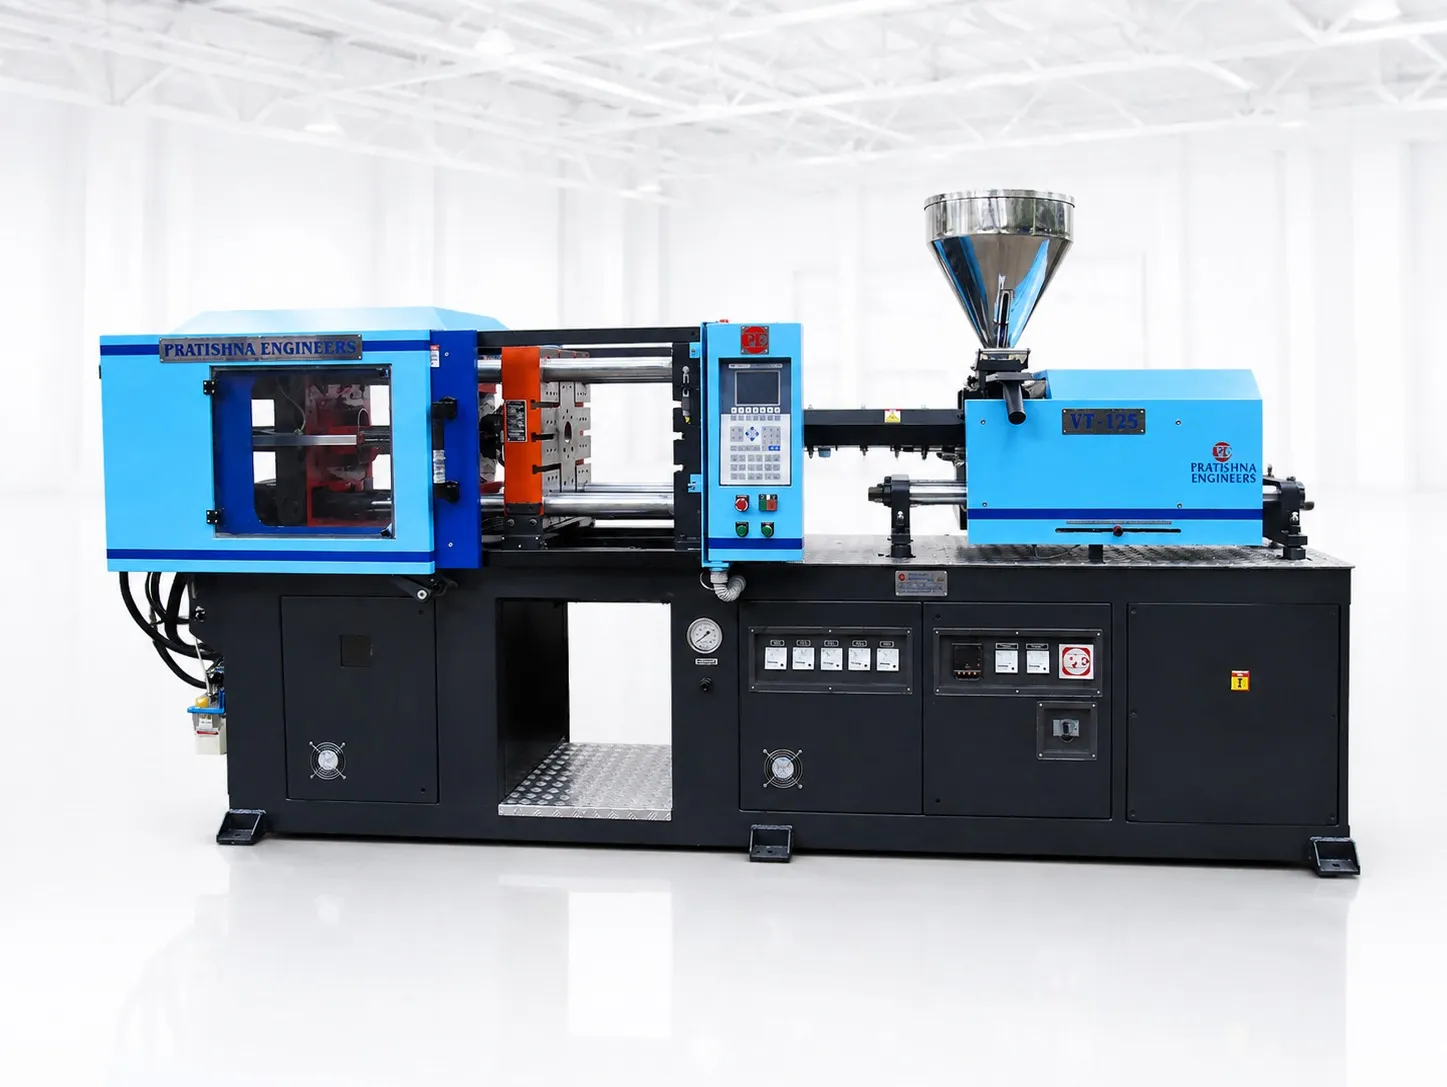
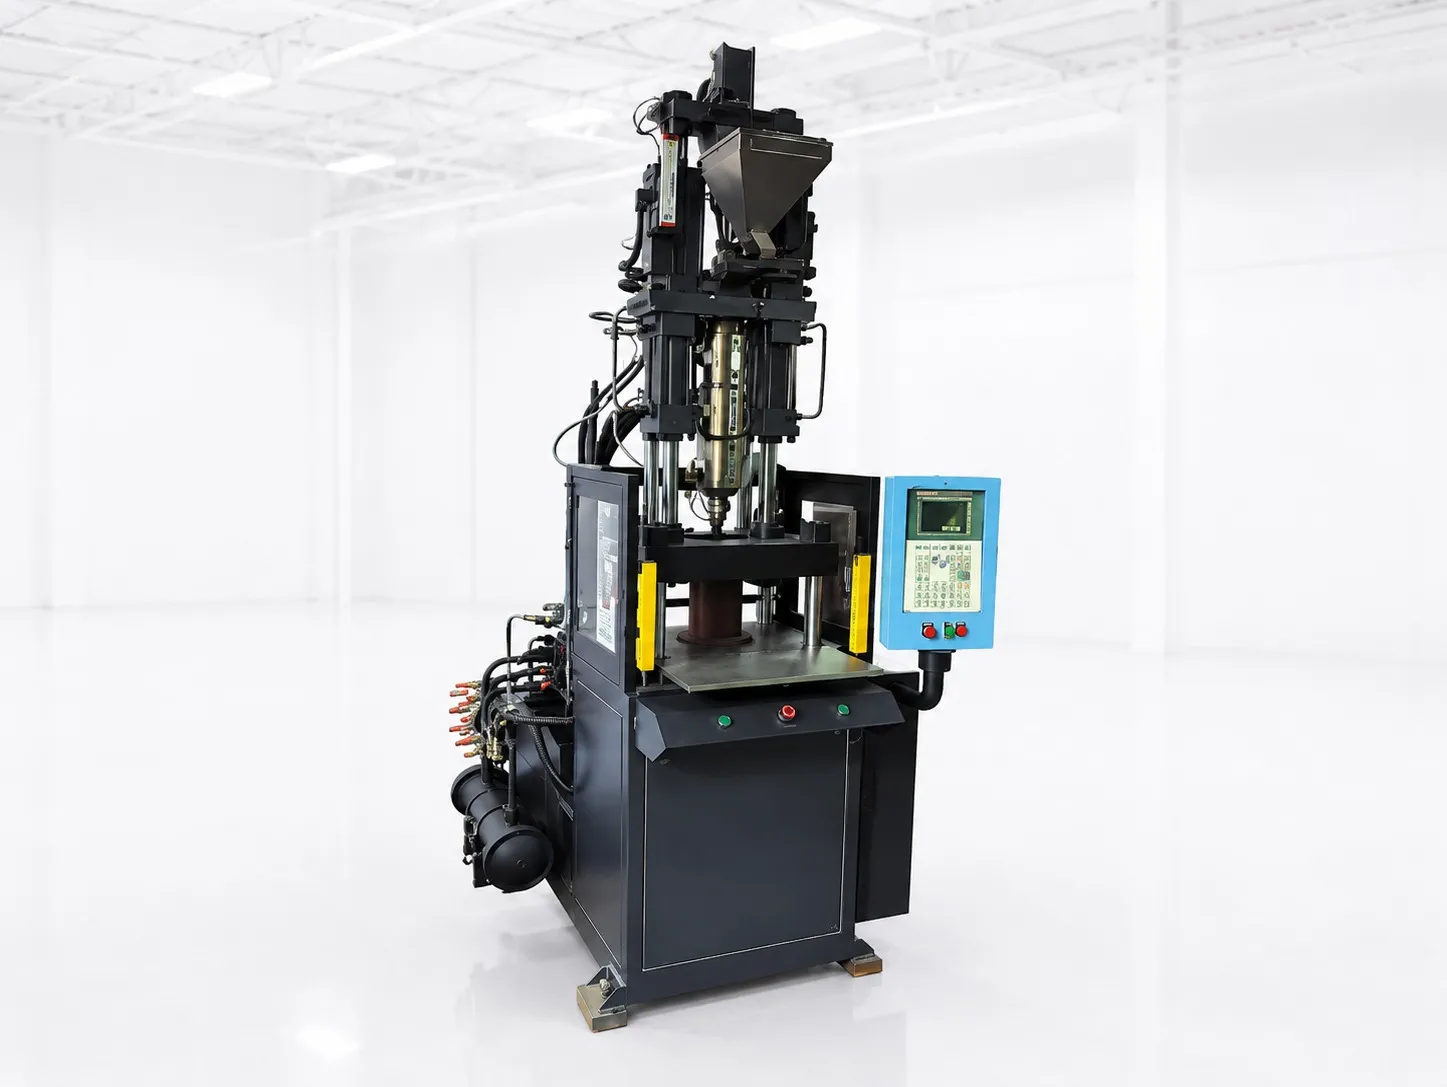
Send the container drawing with depth, wall thickness and draft, the resin grade, the cavity count, the mould's shut height, the ejection method and your target output. Daylight, stroke, ejection and cycle can then be checked together. See the 140 to 320 ton container injection moulding machine page.
Frequently Asked Questions About Deep Container Moulds
What happens if the opening stroke is too short?
The container cannot clear the core with room to drop, so it hangs in the mould, needs hand removal or gets crushed when the mould closes. Each of these adds cycle time or scrap. Check the stroke against twice the depth plus a clearance before the mould is built, not at the first trial.
Is a stripper ring better than ejector pins for containers?
For round, thin-walled containers, a stripper ring can be the better choice, because it pushes on the whole rim and spreads the load instead of pressing a few points on the base. Pins still suit ribbed or shallow parts. Deep container moulds can also combine a ring or pins with air ejection.
Why does my deep container stick on the core?
Likely causes are too little draft, a vacuum forming under the base, a core running hotter than the cavity, or texture on the core side. Low shrinkage through a thin wall also grips the core. Check draft and core temperature first, then add or open an air valve to break the vacuum.
Can a robot shorten the cycle on deep containers?
It can, where parts would otherwise need hand removal or a slow drop. A side-entry or top-entry robot can take the part as soon as it is free, and lets the mould close sooner. It needs space between the open mould halves, so include the gripper in the daylight check.
How do I find where cycle time goes on a running job?
Use the controller's cycle breakdown, or time each step on a stopwatch over several shots: injection and hold, cooling, opening, ejection, closing. Compare each step with its calculated or expected value. The step furthest above its expected time is where to start, whether that is the mould or the machine.
Related Articles
- Container Making Machines: Injection Rate, Stroke and Tonnage
- Thin-Wall Container Moulding on 140 to 320 Ton Machines
- Caps and Closures Moulding on 140 to 320 Ton Machines
Sources & References
- RJG Inc.: How to Determine Injection Molding Cooling Time
- PlasticsToday, G. Tremblay (Sabic Innovative Plastics): Never too thin (October 2007)
- Reliance Industries Limited: Repol H110MAS technical data sheet (July 2024)
Technical Disclaimer
Disclaimer: The information provided in this document is for general informational and educational purposes only. It is based on technical references and industry information available at the time of preparation and may be subject to change. It does not constitute engineering, technical, commercial or professional advice, nor does it constitute a quotation, specification, warranty or contractual commitment by Pratishna Engineers.
Actual injection moulding machine and process requirements vary according to the component design, material, mould, production volume, machine configuration and operating conditions. The information, examples, calculations and recommendations provided should be independently evaluated and verified for the specific application before making any equipment, process or production decision. Information obtained from third-party sources remains subject to the accuracy and limitations of those sources.
Limitation of Liability: Pratishna Engineers makes no representation or warranty, express or implied, regarding the completeness, accuracy or suitability of the information for any particular application. To the extent permitted by applicable law, Pratishna Engineers shall not be liable for any loss, damage, cost or consequence arising from reliance on or use of the information contained in this document. Final machine selection, configuration and application suitability should be confirmed with Pratishna Engineers based on complete and accurate project requirements.