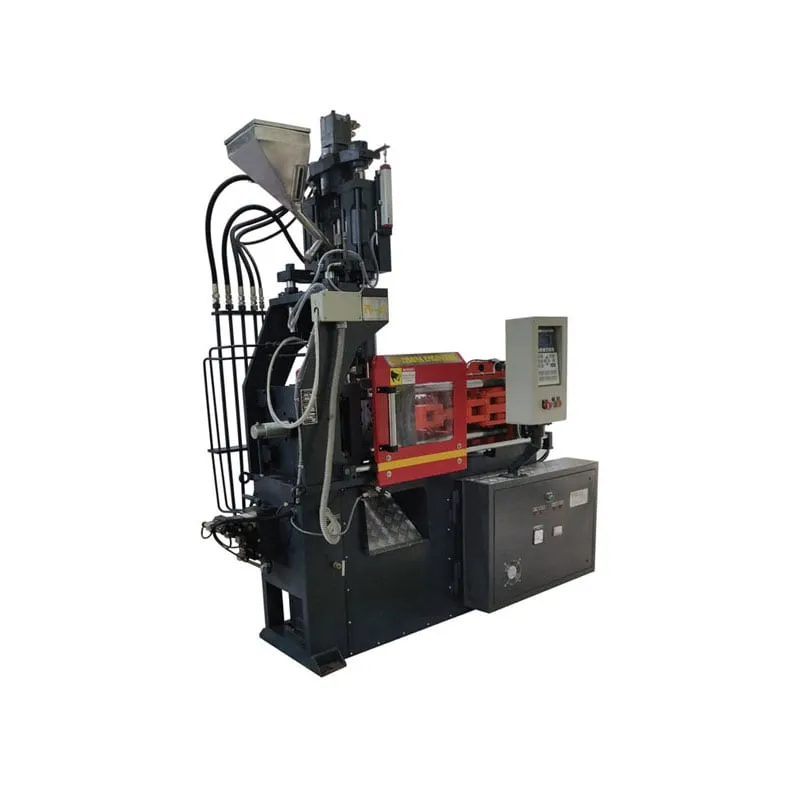

A new order lands on the planning desk: a PP storage box, two cavities, food contact, two shifts a day. The tempting first question is which tonnage machine is free. That is the wrong place to start. Learning how to choose an injection moulding machine begins with the part, not the catalogue. Work in a fixed order: component, material, mould, production requirement and only then machine configuration. Each step produces a number or a constraint that the next step needs, so skipping ahead means guessing. Pratishna Engineers uses this same five-step order with its customers in Mumbai, and the worked example on this page follows it for the PP box from clamp force to barrel size.
Key Takeaways
- Choose in a fixed order: component, material, mould, production requirement, machine configuration. Each step feeds a number to the next, so skipping ahead means guessing.
- Clamp force comes from projected area times a material tonnage factor; 3 US tons/in², about 0.422 t/cm², is a common starting point.
- Size the barrel so your shot uses 25% to 65% of its capacity, working in melt volume rather than in grams of polystyrene.
- The mould must fit the tie bars, shut height and opening stroke, and should cover at least 70% of the tie-bar distance.
Why should the component decide the machine, not the brochure?
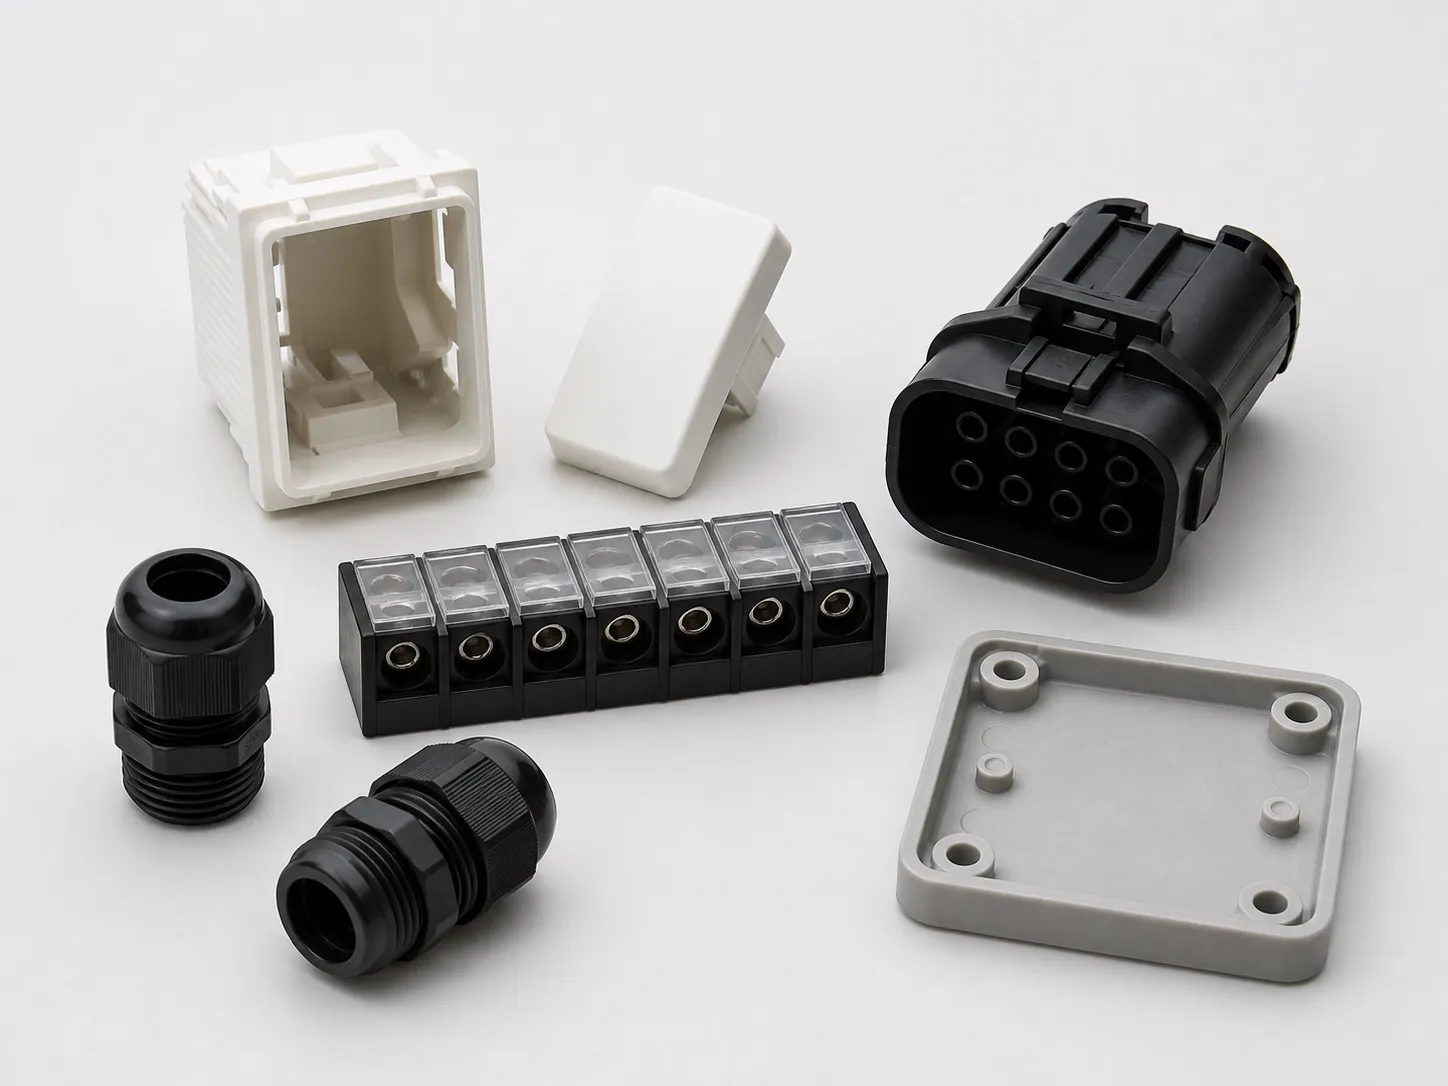
The component sets every load the machine must carry: projected area drives clamp force, part and runner weight drive shot size, and wall thickness drives cooling time and cycle. Start with the part drawing, measure these three, and the machine requirement begins to write itself before any catalogue is opened.
Here is a flat rule: never start with tonnage. A free 250 t machine running a part that needs 120 t wastes energy and can damage the mould, because excess clamp force can crush vents, roll the parting line and crack cavity blocks.
Projected area is the part's shadow on the parting line, minus any through holes, multiplied by the number of cavities. Add the full cold-runner area; with a hot runner, only the cavities count. Measure it from the drawing, not from a similar part you ran last year. Check the flow length to wall ratio as well; below 150:1 the risk of short shots and sinks is low.
Wall thickness matters as much as area. Cooling time depends most on wall thickness, which is squared in the cooling equation, so a wall 20% thinner needs about 36% less cooling. In one trial on a 3.3 mm ABS part, about 85% of the cycle was cooling.
The five-step selection order
| Step | Question to answer | What it gives the next step |
|---|---|---|
| Component | What are the projected area, weight and wall thickness? | Clamp and shot inputs |
| Material | Which grade, tonnage factor and melt density? | Clamp force and shot volume |
| Mould | What size, shut height, stroke and ejection? | Platen, tie-bar and daylight needs |
| Production requirement | What output per shift, at what cycle? | Number of machines and automation |
| Machine configuration | Horizontal, vertical, two-platen or hybrid? | The shortlist |
How does the material change the machine you need?
Material sets the tonnage factor, the shot volume and the processing window. Tonnage factors range from about 2 to 8 US tons/in², with polyethylene at the low end and polycarbonate toward the high end, so the same part can need very different clamp force in different resins.
PP sits at 2 to 3 tons/in². Do not compare melt flow index across resin types; polycarbonate behaves as a high-viscosity melt whether its MFI is 2 or 25 g/10 min. Use the grade's datasheet, not a figure borrowed from another polymer. Higher-viscosity grades need more clamp per square centimetre and more injection pressure.
Take a common Indian grade as an example. Reliance Repol H110MAS, a nucleated PP homopolymer for rigid packaging and houseware, lists MFR 11 g/10 min, melt 200 to 250 °C, mould 20 to 50 °C, and compliance with IS 10910 for food contact. Those figures set your barrel heating and mould temperature control.
Material also changes shot sizing. Shot ratings are usually given in grams of polystyrene, but PP melt density is about 0.74 g/cm³ against 0.945 for PS. Convert your shot to volume, add 10% for check-valve leakage, then pick a barrel that keeps the shot between 25% and 65% of capacity.
What does the mould tell you about platen, tie bars and daylight?
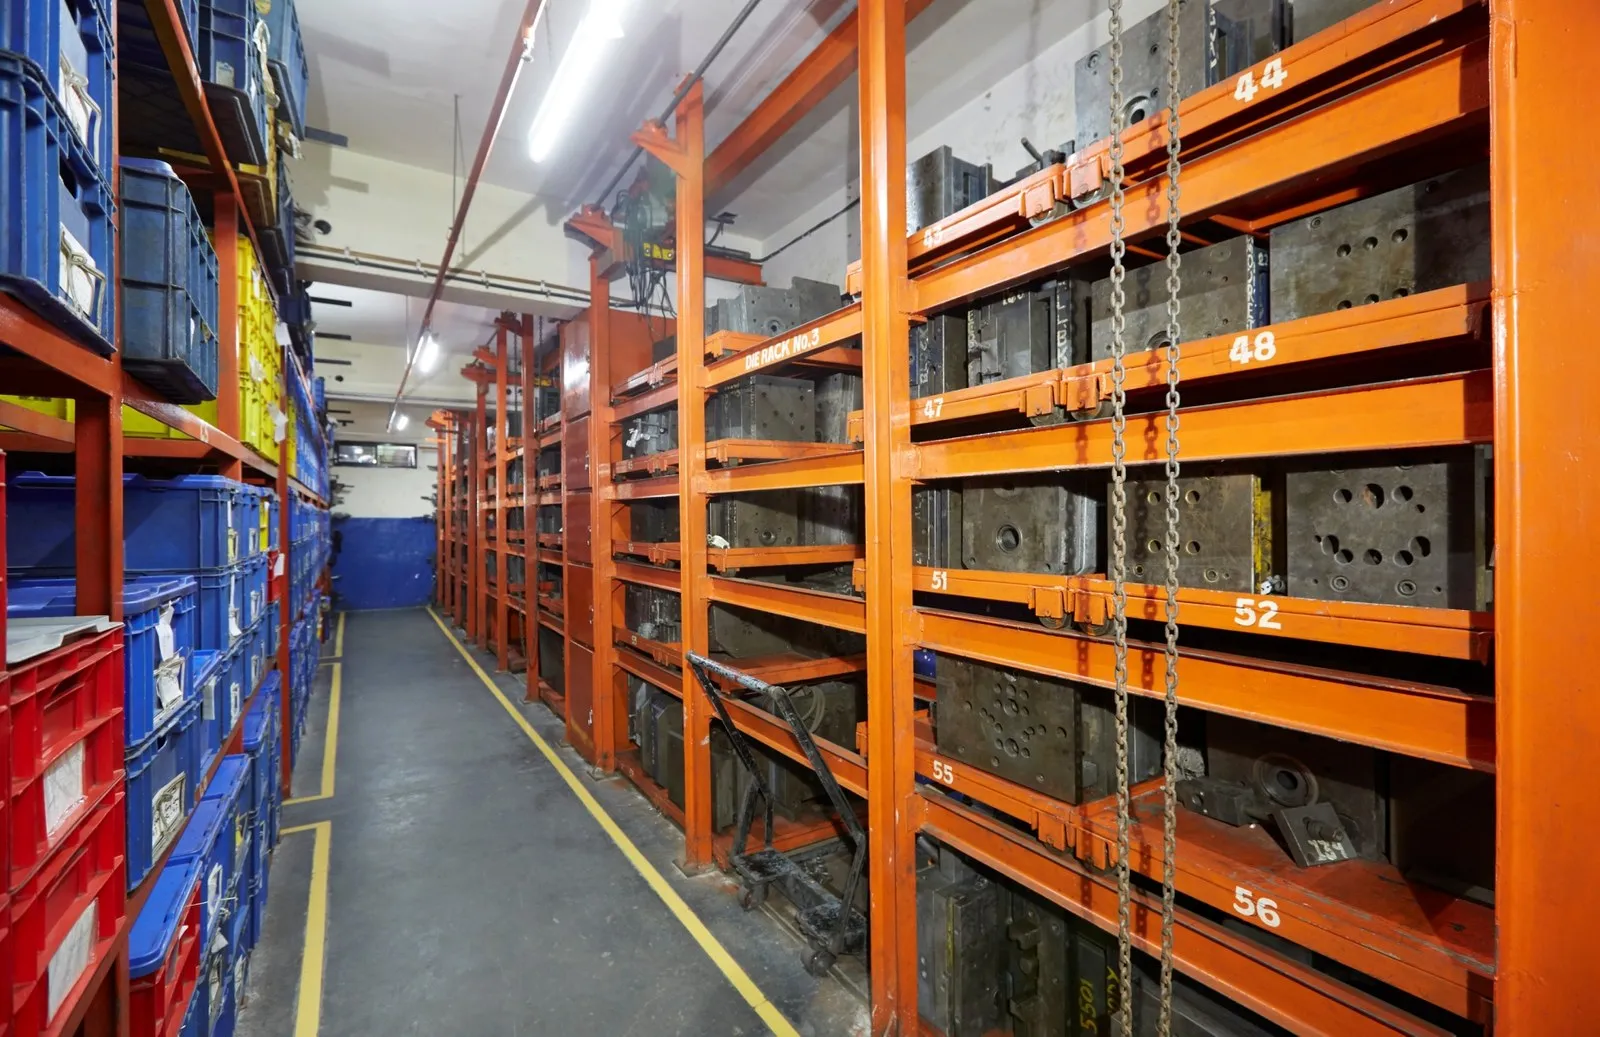
The mould sets the machine's envelope. It must fit between the tie bars, sit within minimum and maximum shut height, open far enough to release the part, and match the platen's mounting and ejector patterns. A mould that fails any of these needs a different machine or a changed tool.
Size the mould against the platen as well as the tie bars. As a rule of thumb, the mould should cover at least 70% of the distance between the tie bars. Smaller moulds let the platens bow under clamp, which shows up as flash in the centre of the mould.
Opening stroke should be at least 2.5 times the part height so the part can drop or be picked cleanly. Tall parts can push you toward a two-platen machine or a longer-stroke build; the companion page on custom builds works through that daylight calculation. If the stroke is short, the part may need to be twisted out, which slows every cycle.
Check the small items before you sign. Most moulds use a 101.6 mm or 120 mm locating ring, and mould weight must be within the platen rating. A mismatch in ejector pattern may need an ejector box, which adds to shut height. Ask for the platen drawing, not just the brochure.
How to choose an injection moulding machine for your output and layout?
Work out output from cycle time, cavities and the share of good shots, then compare it with demand per shift. That tells you how many machines you need and whether automation pays. Only then choose the configuration: horizontal, vertical, two-platen or hybrid, based on part, mould and loading.
The output formula is short: parts per hour = 3,600 ÷ cycle in seconds × cavities × good-shot share. At an assumed 30 s cycle, two cavities and 98% good shots, that is 3,600 ÷ 30 × 2 × 0.98 = 235 parts per hour. Treat the cycle as an estimate until a trial confirms it.
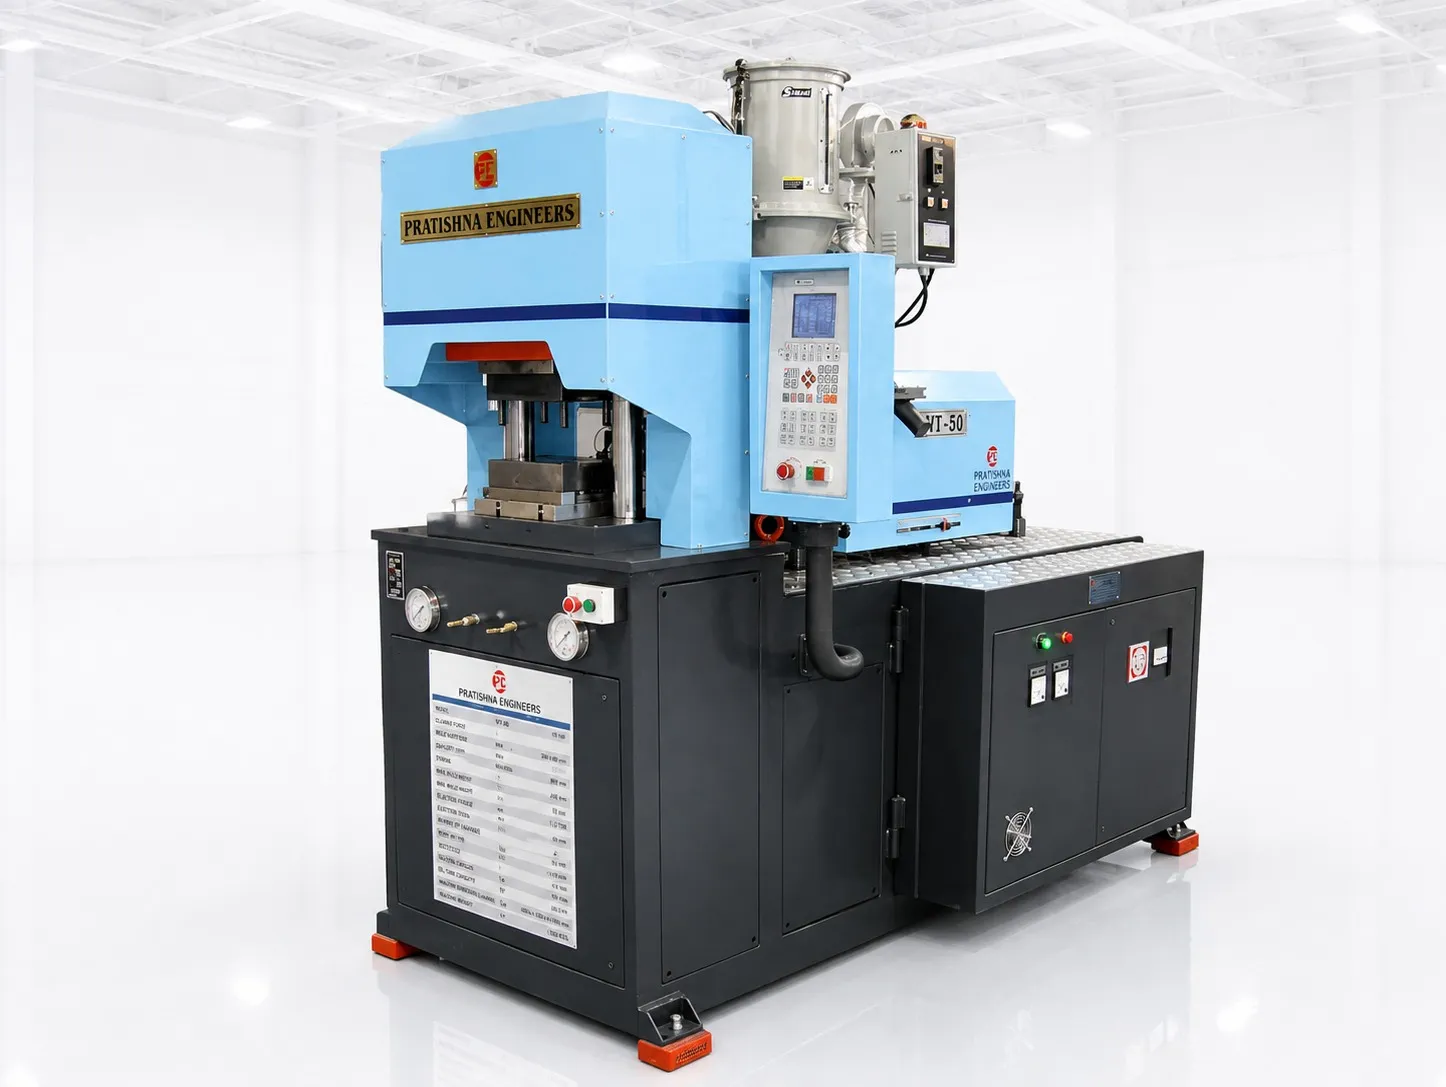
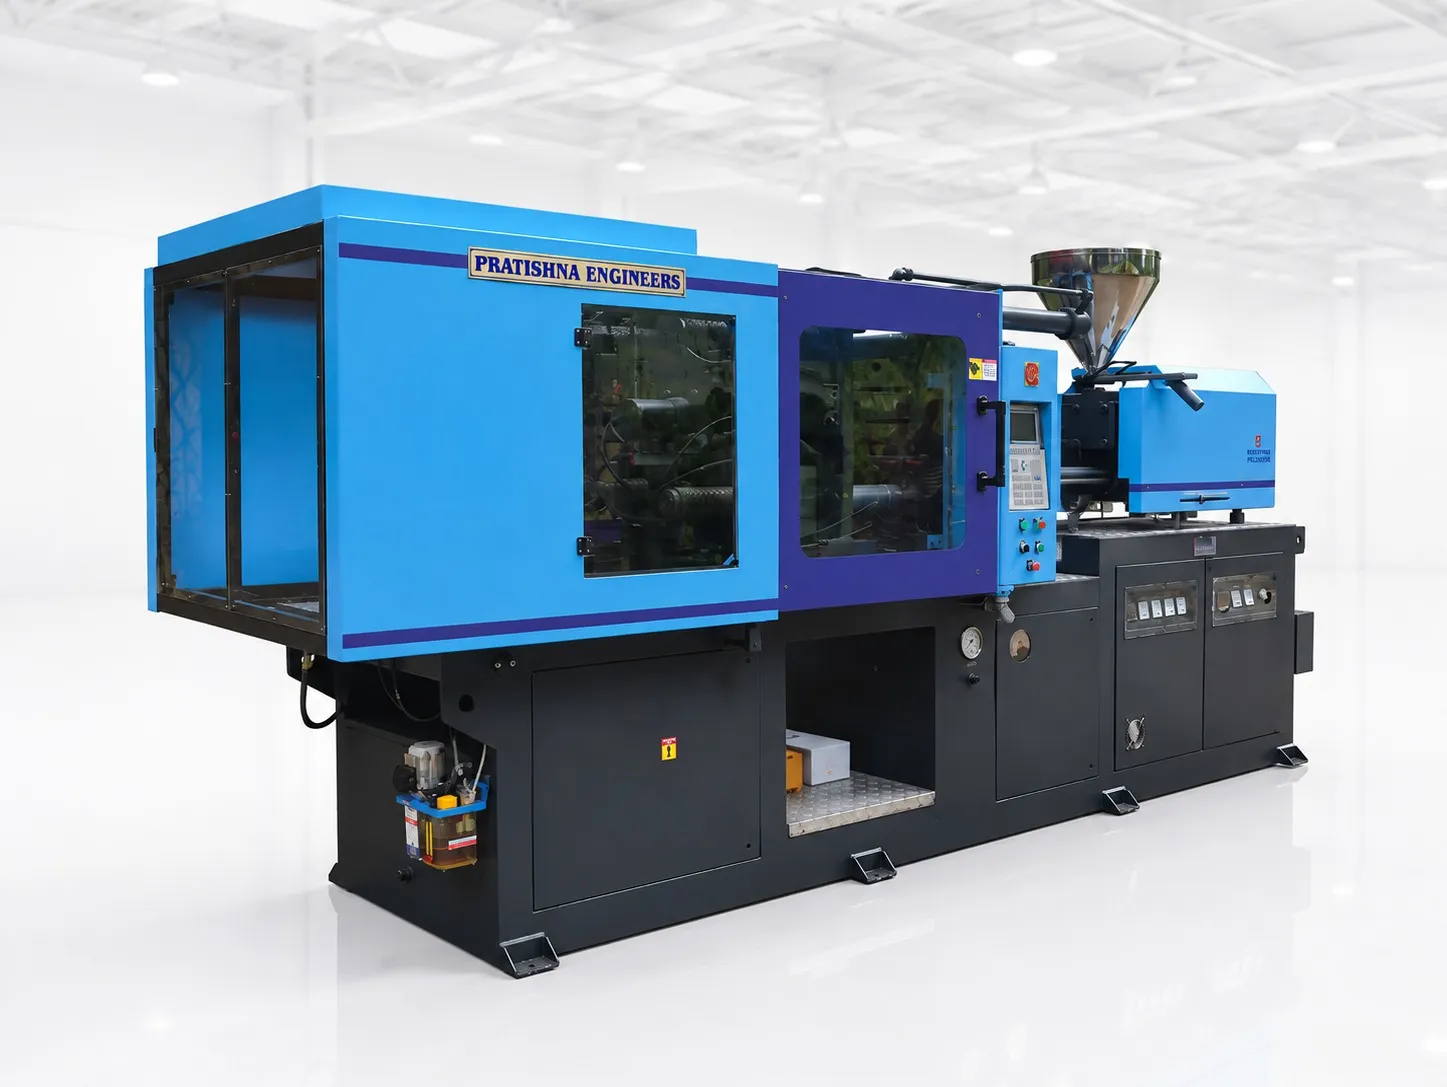
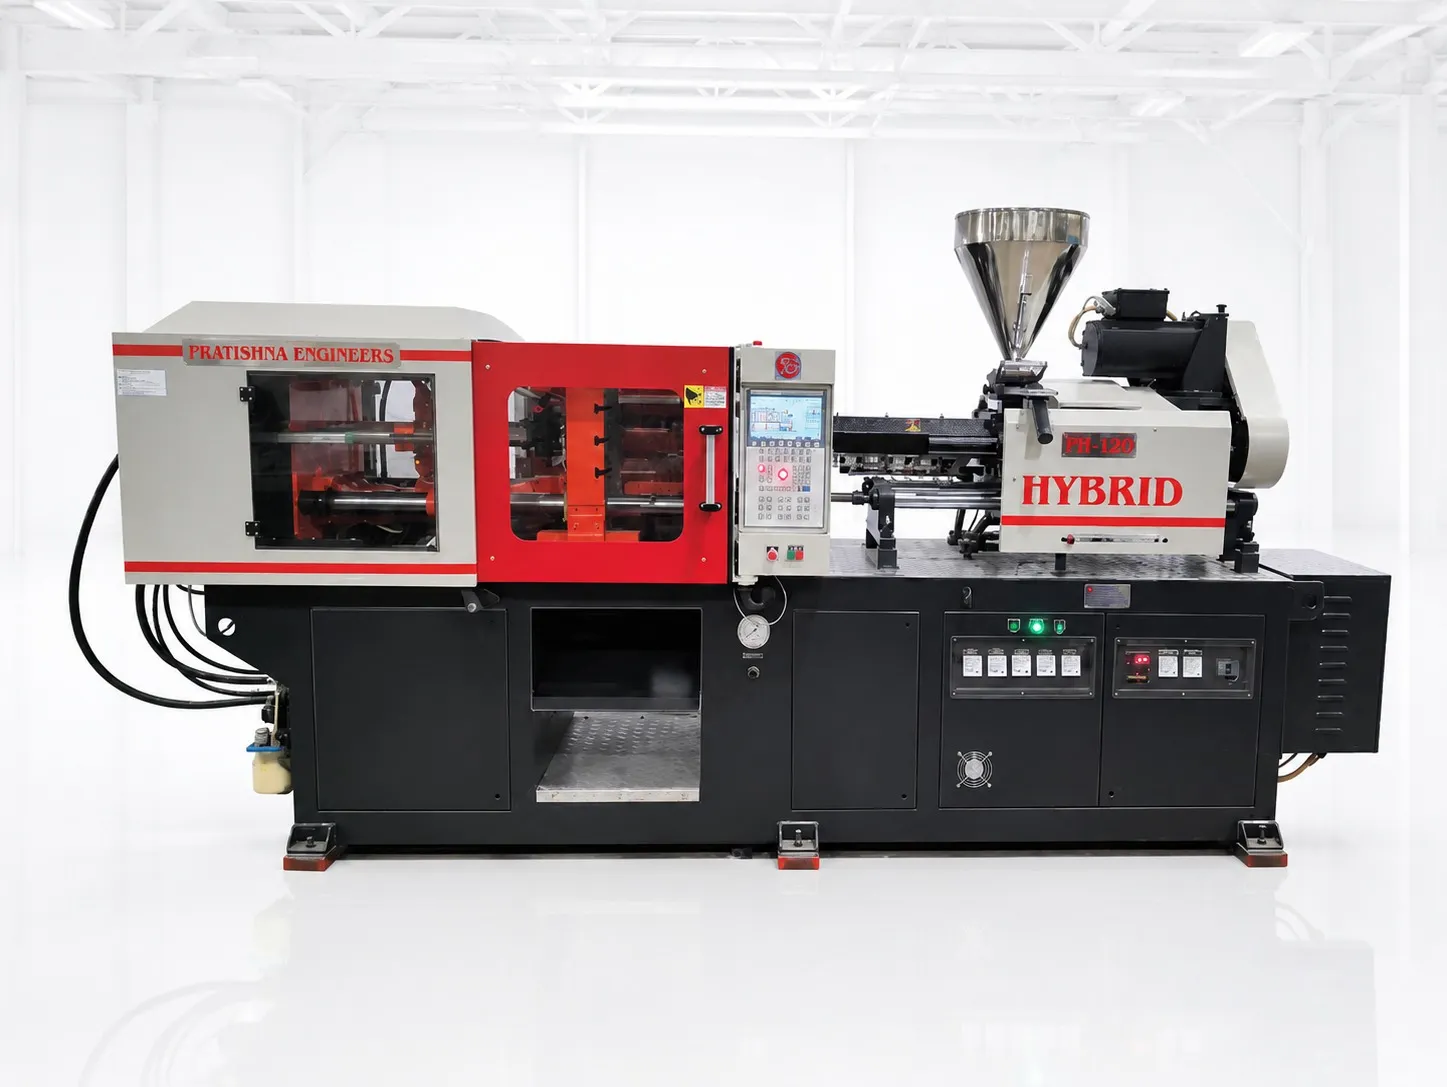
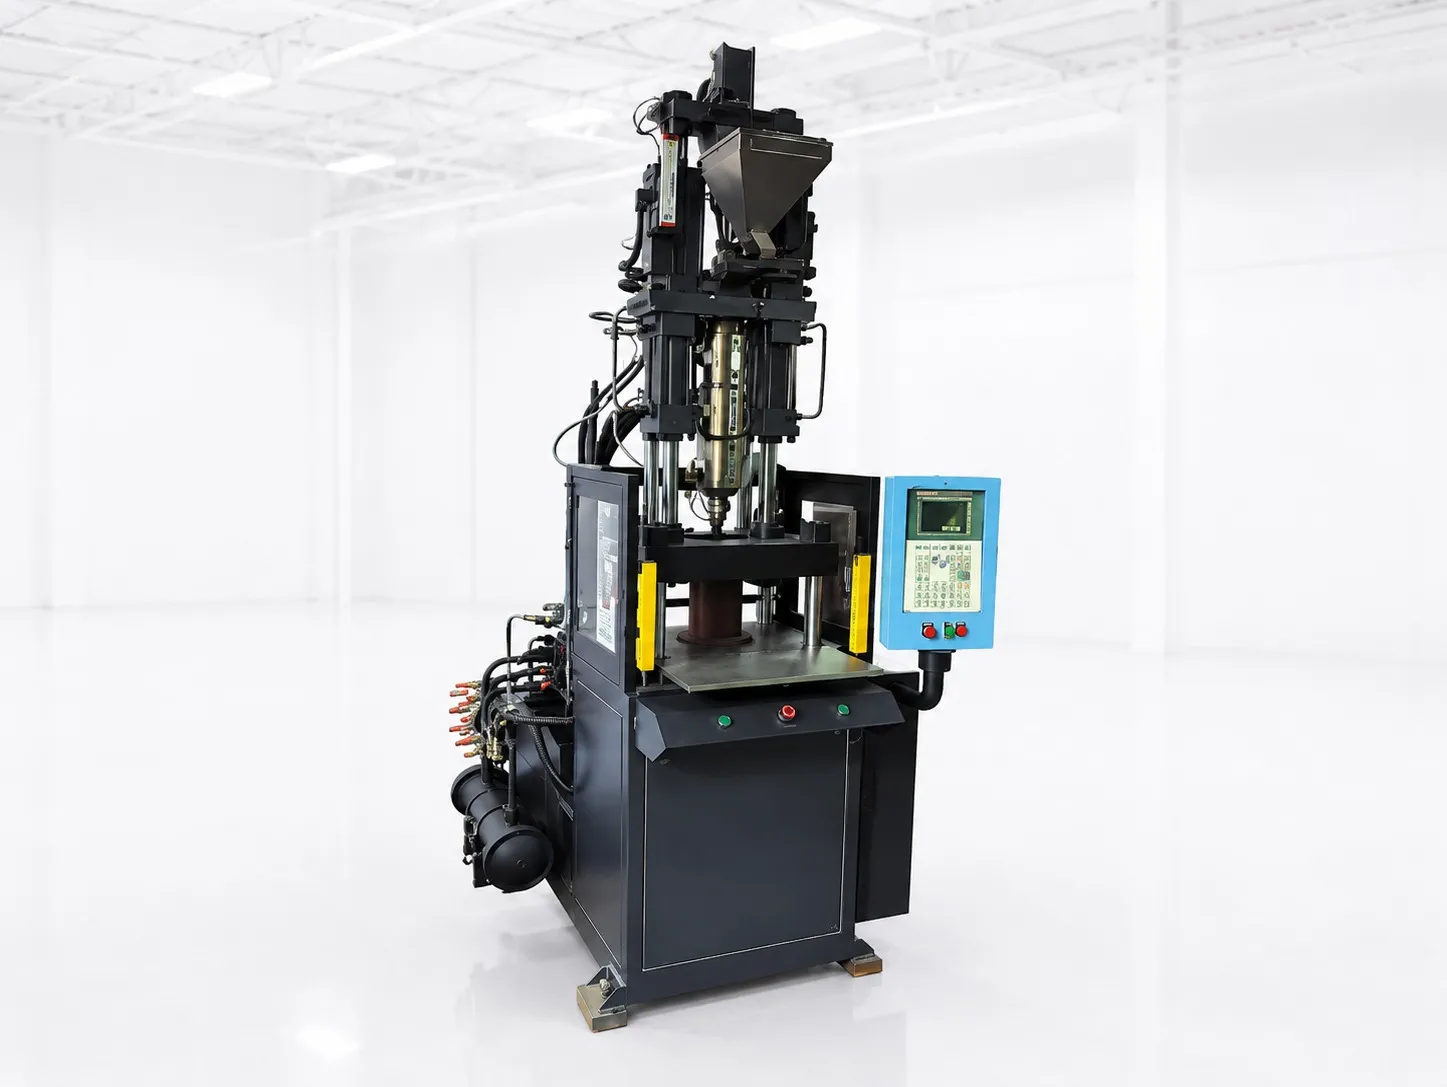
Configuration follows the part. Horizontal machines suit high-volume work where parts drop or are picked by a robot. Vertical clamps suit insert moulding, where gravity holds inserts in place. Two-platen machines suit large moulds that need long strokes in a shorter footprint. Hybrids pair hydraulic clamping with electric injection.
Energy should shape the choice of drive too. A standard hydraulic machine can spend most of its energy on base load, while hybrid and all-electric machines run far lower base loads. If the machine will run two or three shifts on one job, drive type deserves as much attention as tonnage. Ask for the expected connected load as well as the clamp rating.
How Pratishna Engineers applies the same selection order
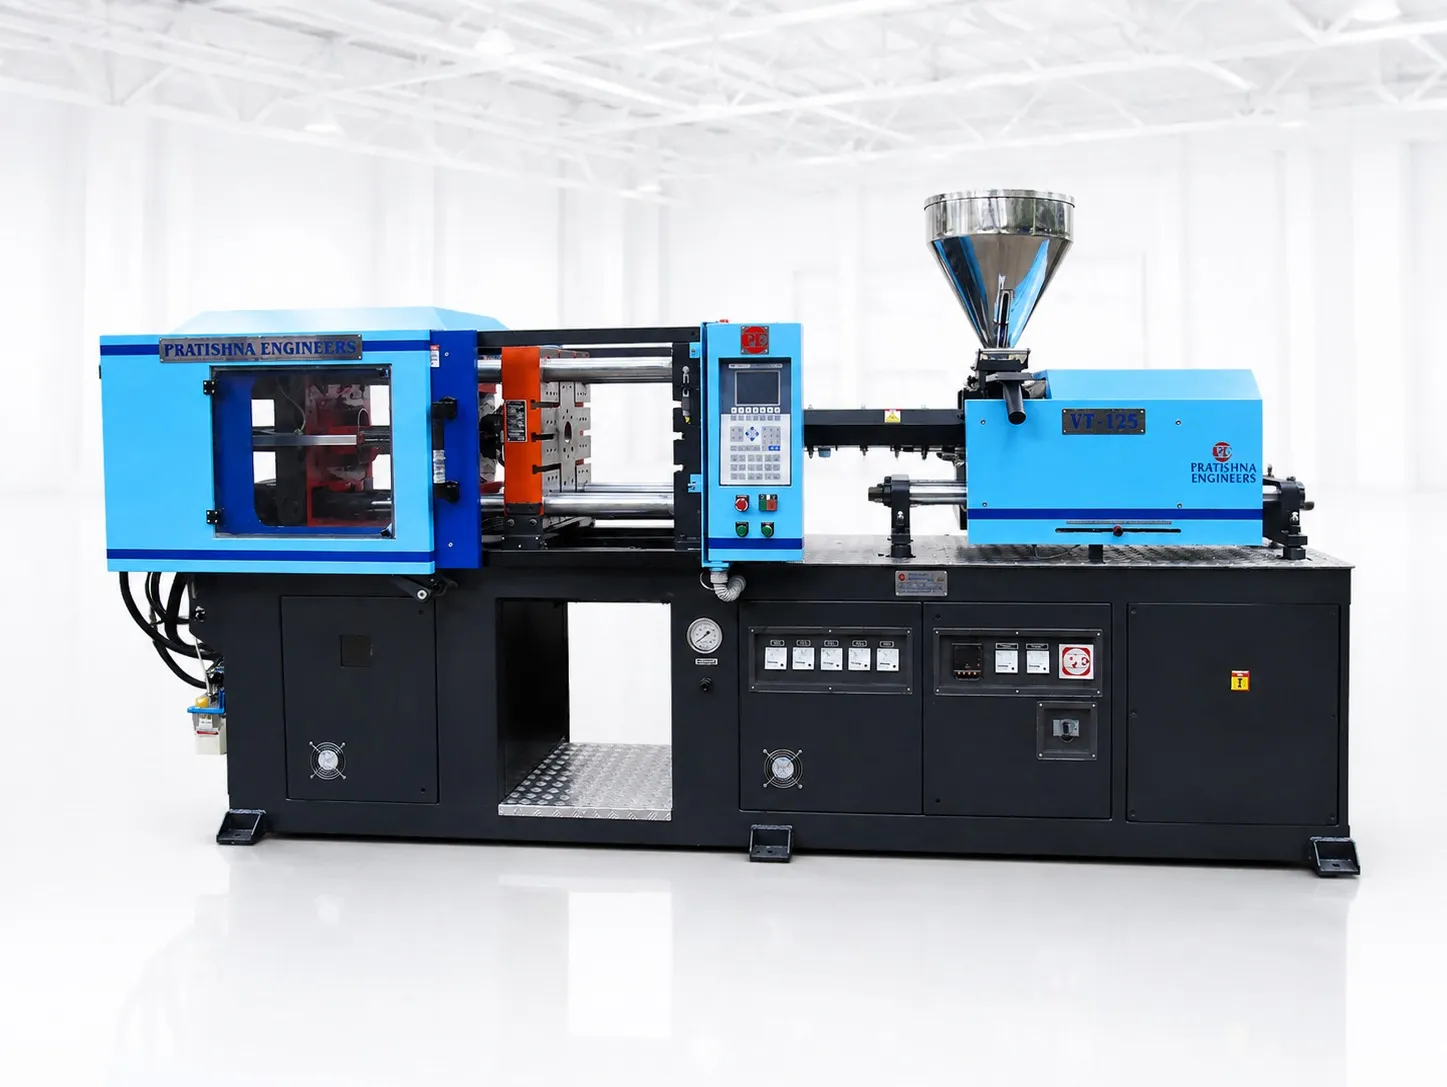
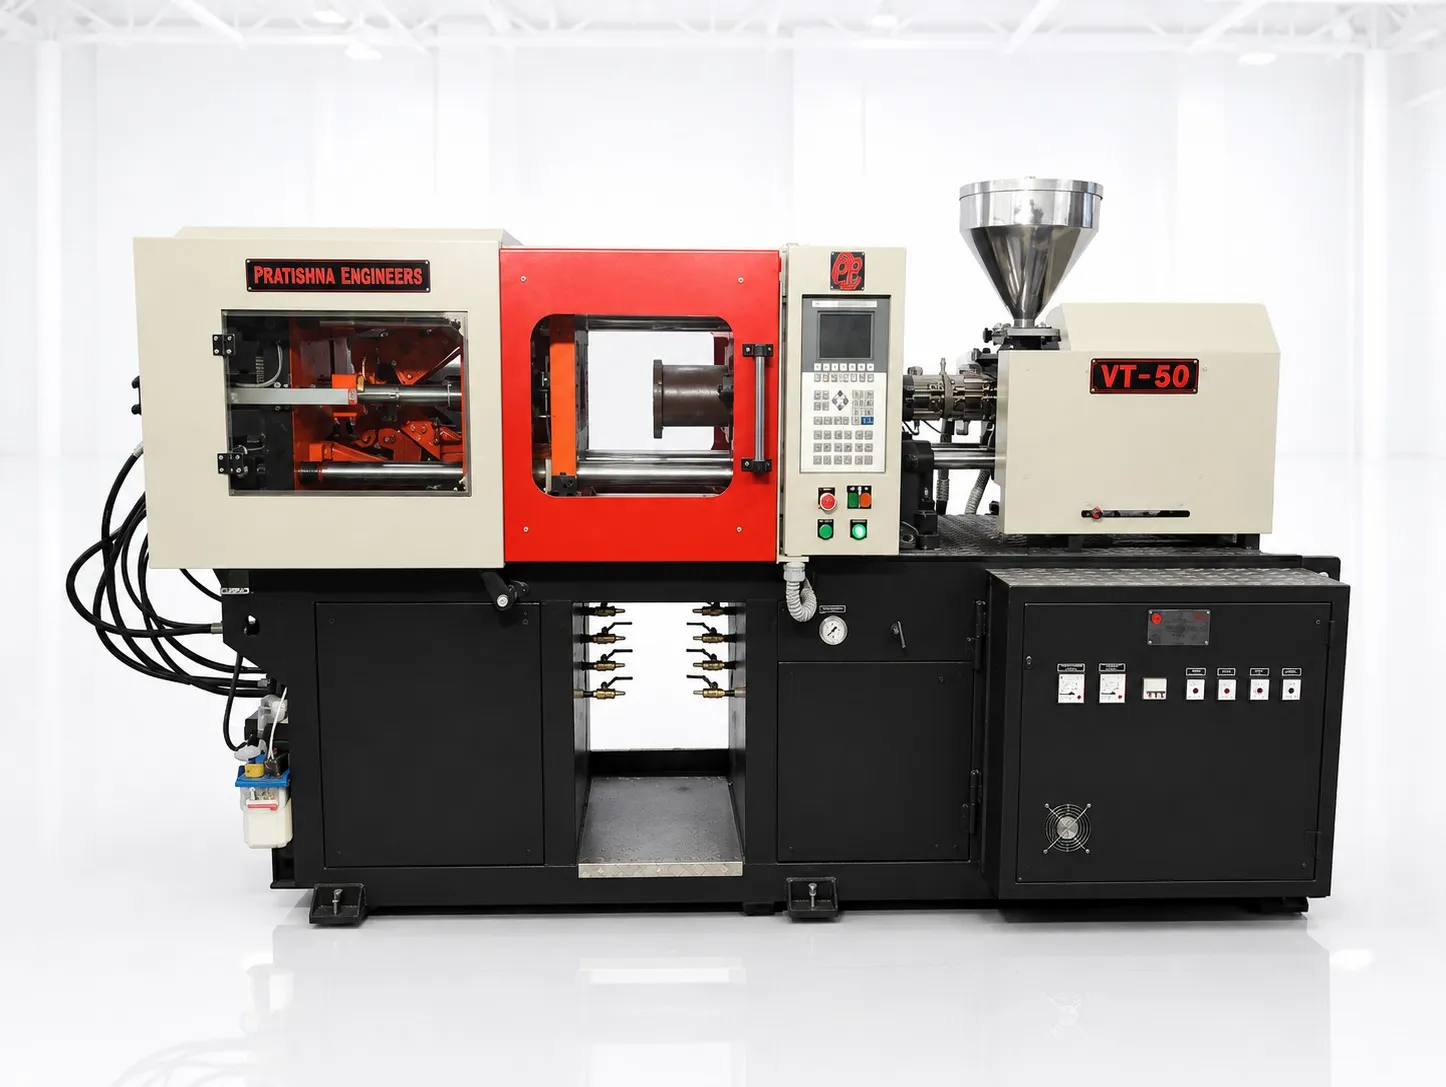
Pratishna Engineers uses the same five-step order with its customers: component, material, mould, production requirement, machine configuration. The company was founded in Mumbai in 1991, and design, manufacturing, assembly, testing and service are done in-house, so the answers from each step go straight to the people who design and build the machine.
The horizontal range spans several clamp bands, quoted from the series data. The E series runs from 75 t to 165/180 t, the C series from 125 t to 320 t, and the H series from 120 t to 320 t. The PHM two-platen series covers 160 t to 350 t, and the hybrid PH models are 120 t and 140 t.
- Vertical PV and PVDL series cover insert moulding layouts, and PET machines cover preform work.
- Special-purpose builds are available where the mould or process falls outside a standard frame.
What should you bring to the first machine discussion?
Bring the part drawing, material grade, mould drawing or size, target output per shift and any inserts or automation you plan. With those five inputs, a supplier can work through clamp, shot, platen and configuration instead of guessing. Compare shortlisted machines in the injection moulding machine range.
Frequently Asked Questions About Choosing an Injection Moulding Machine
What is the first step in choosing an injection moulding machine?
Start with the component. Measure its projected area, weight, wall thickness and flow length from the drawing. Those figures set the clamp force, shot size and cooling time, which are the first three numbers any machine must meet. Choosing tonnage before measuring the part is guesswork.
How do I calculate clamping force?
Multiply the projected area of all cavities, minus through holes, plus the cold-runner area, by a tonnage factor for the material. A factor of 3 US tons/in², about 0.422 t/cm², is a common starting point. Adjust it for flow length, wall thickness, gate design and resin viscosity.
Why is shot size given in grams of polystyrene?
Injection units are usually rated in grams or ounces of PS as a common reference. Other resins have different melt densities, so the same barrel holds a different weight of them. Convert your shot to volume, using about 0.74 g/cm³ for PP melt, before comparing it with the rating.
What happens if a machine has too much clamp force for the mould?
Excess clamp force can crush vents, roll the parting line, break inserts and crack cavity blocks. On the machine side, it can crack cylinder mounting plates and deform platens. It also wastes energy, because a large machine on a small job carries a high base load.
How much of the tie-bar space should the mould fill?
The parts' projected area must sit fully inside the tie bars, and as a rule of thumb the mould should cover at least 70% of the tie-bar distance. Very small moulds let platens bow under clamp, which causes flash in the centre of the mould and can damage the platens.
Can Pratishna help me select a machine for a new part?
Yes. Pratishna Engineers works through component, material, mould, production requirement and machine configuration with each enquiry. Share the part drawing, resin grade, mould size and target output, and the team can suggest a clamp band and configuration from its horizontal, vertical, two-platen and hybrid range.
Related Articles
- Custom Injection Moulding Machine Manufacturer
- Indian vs Imported Injection Moulding Machines in Mumbai
- Servo Driven Injection Moulding Machine
- Injection Moulding Machine for Small Business
Sources & References
- SPE Plastics Engineering, A. Urbina: Mastering Clamping Force Calculation (Mar 2024)
- Plastics Technology, J. Williams (RJG): Clamp Tonnage: More Is Better...Right? (May 2017)
- Plastics Technology, J. Bozzelli: A Simpler Way to Calculate Shot Size vs. Barrel Capacity (2017, updated 2022)
- Reliance Industries: Repol H110MAS technical data sheet (July 2024)
Technical Disclaimer
Disclaimer: The information provided in this document is for general informational and educational purposes only. It is based on technical references and industry information available at the time of preparation and may be subject to change. It does not constitute engineering, technical, commercial or professional advice, nor does it constitute a quotation, specification, warranty or contractual commitment by Pratishna Engineers.
Actual injection moulding machine and process requirements vary according to the component design, material, mould, production volume, machine configuration and operating conditions. The information, examples, calculations and recommendations provided should be independently evaluated and verified for the specific application before making any equipment, process or production decision. Information obtained from third-party sources remains subject to the accuracy and limitations of those sources.
Limitation of Liability: Pratishna Engineers makes no representation or warranty, express or implied, regarding the completeness, accuracy or suitability of the information for any particular application. To the extent permitted by applicable law, Pratishna Engineers shall not be liable for any loss, damage, cost or consequence arising from reliance on or use of the information contained in this document. Final machine selection, configuration and application suitability should be confirmed with Pratishna Engineers based on complete and accurate project requirements.