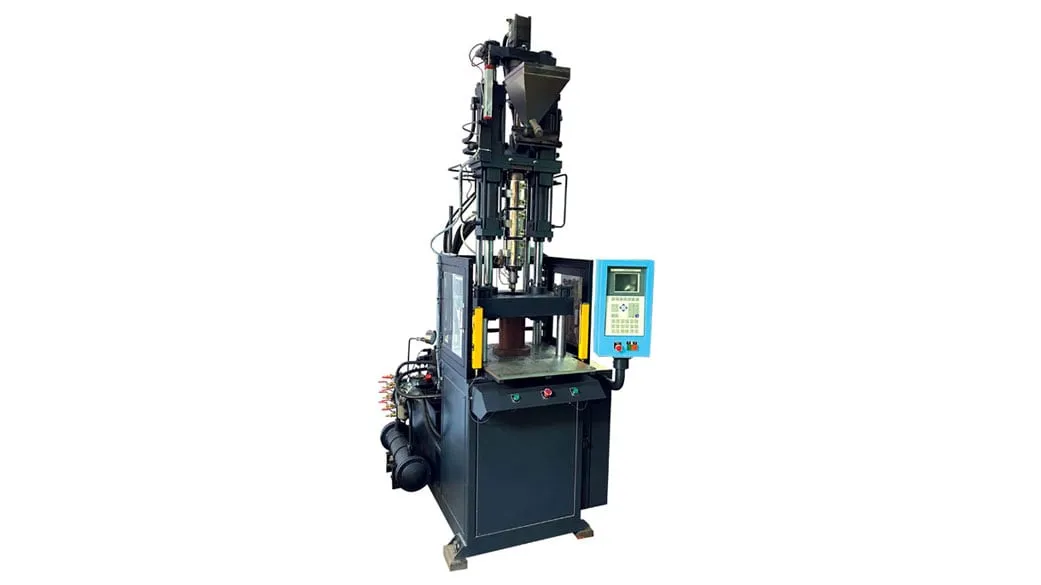

Choosing an injection moulding machine for plastic tiles comes down to five checks, in this order:
1. Projected area of one tile, minus its open grid, times the cavities.
2. A tonnage factor for your resin and wall, plus a reserve.
3. Mould width against the gap between the tie bars.
4. Shot volume against the barrel window.
5. Cooling and packing that keep a wide, flat part from warping.
Interlocking floor tiles, grass pavers and drainage grids are large, flat and thin, so clamp and warpage usually set the machine before shot size does.
Key Takeaways
- Clamp tonnage for a tile follows its projected area after subtracting through openings, so an open grid tile can need far less clamp than a solid one.
- A 300 mm square tile with a 40% open grid needs roughly 167 to 251 t at PP tonnage factors 2 to 3, with a 10% reserve added.
- The mould should cover at least about 70% of the tie bar gap, or the platens can bow and flash the centre of a flat part.
- Warpage in PP tiles comes mainly from uneven wall, uneven cooling and uneven packing, and even the pigment can shift shrinkage.
How do you size an injection moulding machine for plastic tiles?
Size it from the tile's projected area. Measure the outline, subtract the through openings in the grid, multiply by cavities, add any cold runner, then multiply by a tonnage factor for your resin and wall. Add a reserve and pick the clamp that covers it.
Clamp for single-cavity PP tiles at tonnage factors 2 and 3, with a 10% reserve (calculated)
| Tile and open share | Projected area | Factor 2 (0.281 t/cm²) | Factor 3 (0.422 t/cm²) |
|---|---|---|---|
| 250 × 250 mm, solid | 625 cm² | 193 t | 290 t |
| 300 × 300 mm, 40% open | 540 cm² | 167 t | 251 t |
| 400 × 400 mm, 50% open | 800 cm² | 247 t | 371 t |
| 500 × 500 mm, 50% open | 1,250 cm² | 386 t | 580 t |
Plastics Technology describes this projected area method and gives typical tonnage factors of 2 to 10 US tons per square inch, with 3 as a common first figure. SPE Plastics Engineering puts PP at 2 to 3. Converted, factor 2 is 0.281 t/cm² and factor 3 is 0.422 t/cm².
The 10% reserve in the table is a starting margin, not a rule. Long flow from a single gate, thin ribs and stiff grades push the factor up; short flow from several gates pulls it down. A trial on your own tool settles where in the band the tile sits.
Flow length counts on tiles because they are wide and thin. Plastics Technology notes that a flow length to wall ratio below 150:1 carries low risk of short shots and size problems. A 300 mm tile gated at the centre has a 150 mm flow path, so a 2 mm wall sits near 75:1.
Shot volume rarely limits a single tile, but check it: convert tile and runner weight to melt volume and keep it between 25% and 65% of the barrel.
Will the tile mould fit the machine?
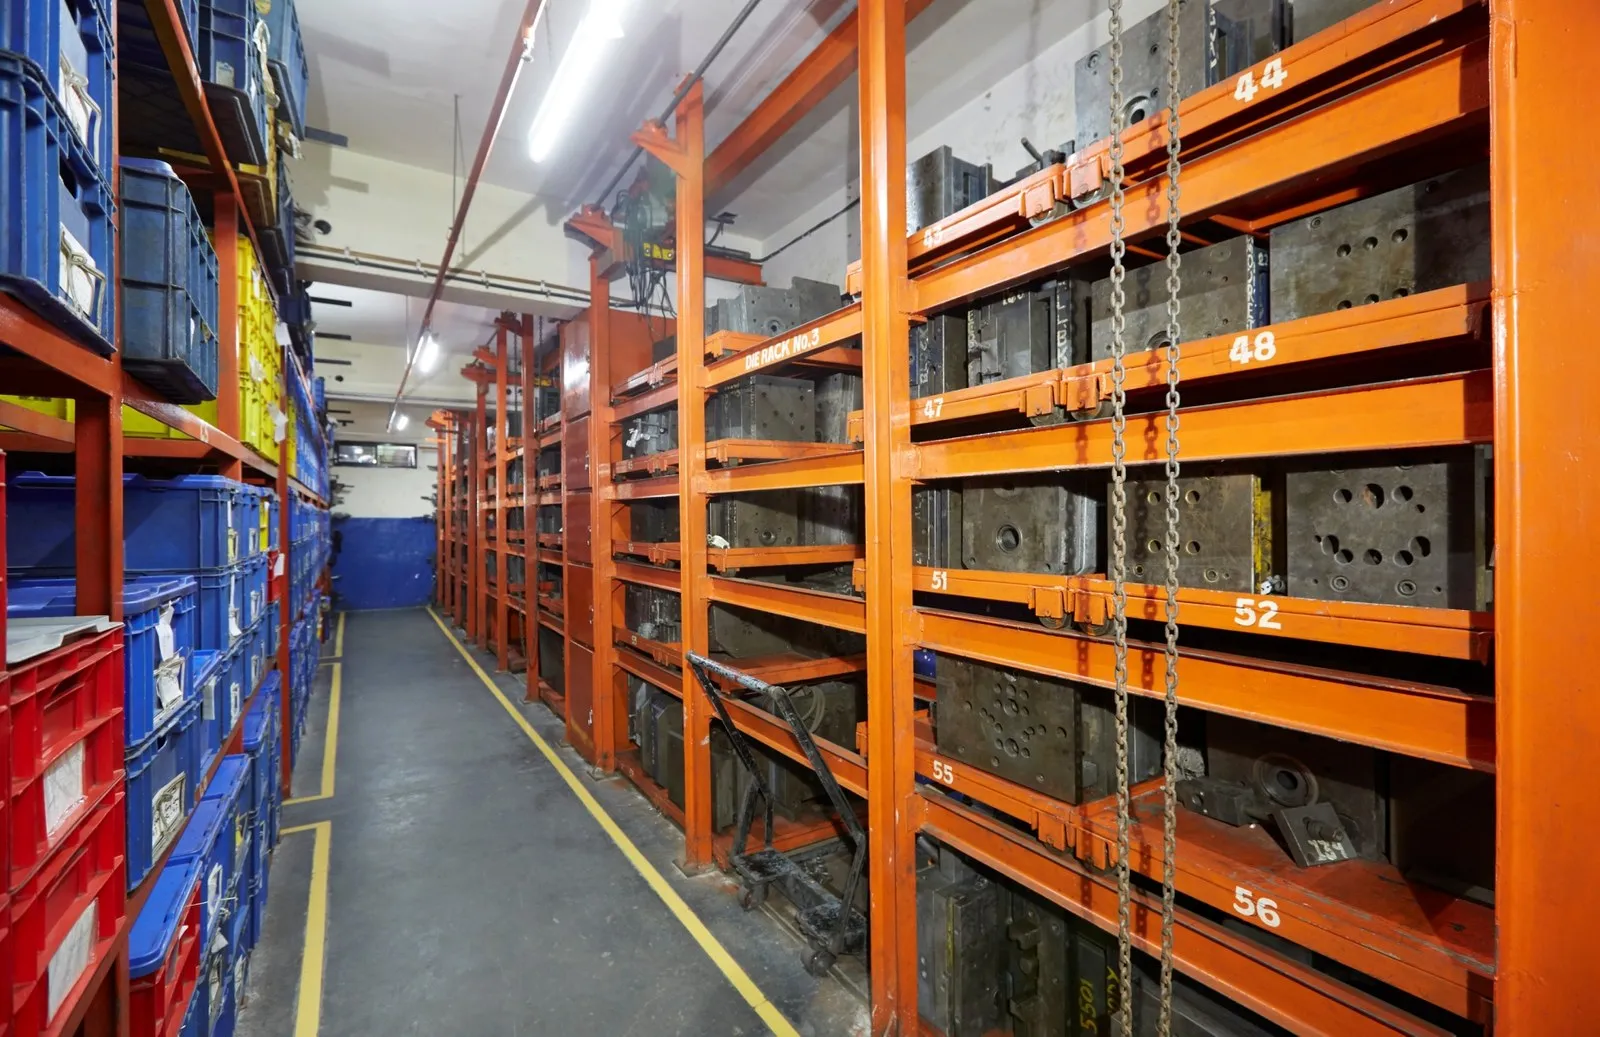
It fits when the projected area of the cavities sits inside the tie bars, the mould covers at least about 70% of the tie bar gap, and its height falls between the machine's minimum and maximum mould height. Opening stroke must also clear the tile for removal.
Tiles push toward the tie bars because they are wide. MoldMaking Technology warns that platens can pull in near the tie bars and wear the parting line when part area spills past them. A single square tile mould is easy to place; a two-cavity layout for long edge strips may not be.
The opposite problem is a mould too small for its platens. Plastics Technology gives the 70% cover rule of thumb and notes that small moulds let platens bow under clamp, which flashes the centre of the mould. On a flat tile, that flash lands on the visible face.
As a number: with a 560 mm gap between tie bars, the mould should be at least about 392 mm wide. Check the mounting pattern and ejector layout at the same time, since a mismatch may need an ejector box and adds mould height.
Mould height matters too. The mould must be thick enough for the minimum shut height and thin enough for the maximum. A tile mould with deep rib cores can grow taller than first drawn, so confirm its height early.
How do you stop large flat tiles from warping?
Keep the wall uniform, cool both mould halves evenly and pack consistently. PP shrinks more in thick sections and in hotter areas, so any difference across a flat tile turns into bow or twist. Grade, colour and ejection temperature also shift the result.
LyondellBasell lists PP mould shrinkage at 1.0% to 2.5%, against 0.4% to 0.9% for ABS, because crystals shrink more than amorphous regions. Holding pressure only cuts shrinkage while the gates stay open, so gate size and position decide how well a wide tile can be packed.
EnviroTech notes that PP does most of its shrinkage within 48 hours, that nucleated PP shrinks more inside the mould where it is held flat, and that some pigments act as nucleators. A green tile and a grey tile from one mould can therefore measure differently.
For trials, Indian impact copolymer grades such as Reliance Repol B120MA list a melt range of 190 to 240 °C and industrial components among their uses. Our flat view: fix tile warpage in mould cooling and rib layout first, because process changes alone rarely hold flatness across every colour.
What should you send before choosing a tile machine?
Send the tile drawing with its open area, wall and rib layout, plus the resin grade, cavities and the daily output you need. With those, clamp, mould fit and shot can be checked against real numbers instead of rough guesses. See building and construction moulding solutions.
Frequently Asked Questions About Moulding Plastic Tiles
Can one machine mould tiles in several colours?
Yes, but expect each colour to behave a little differently. Some pigments act as nucleating agents and change shrinkage, so a tile that is flat in grey may bow in green. Plan colour changes with purging time, and measure each colour after it has rested, before you release the mould for production.
Why do open grid tiles need less clamp than solid tiles?
Clamp holds the mould shut against melt pressure acting on the projected area. Openings that pass right through the tile carry no melt, so they are subtracted from the area. A 300 mm tile with a 40% open grid has 540 cm² of projected area instead of 900 cm², which cuts the clamp requirement by the same 40%.
What wall thickness suits an interlocking plastic tile?
The drawing and load case set the wall, but keep it as uniform as possible. EnviroTech advises keeping walls under about 6.4 mm to avoid shrink voids and reducing thickness gradually along the flow where it must vary. Ribs on the underside should be about 75% of the adjacent wall at the base.
How long should tiles rest before they are measured?
PP does most of its shrinkage within the first 48 hours after moulding, through continued crystallisation. Measure flatness and interlock dimensions after that period, at a steady room temperature, and compare against parts measured straight off the machine. The difference tells you how much shrinkage your process leaves outside the mould.
Is a toggle or a two-platen machine better for tiles?
Tile moulds are wide but not usually tall, so the choice rests on platen size, tie bar gap and tonnage more than opening. Two-platen designs mostly reduce overall machine length, which helps with very large tiles. For smaller tiles, a toggle with enough platen area does the job.
Related Articles
- Injection Moulding Machine for Shipping Pallets
- Applications of Two-Platen Injection Moulding Machines in Large-Scale Projects
- Types of Injection Moulding Machines
Sources & References
- Plastics Technology, J. Williams (RJG): Clamp Tonnage: More Is Better...Right?
- Plastics Technology, P. Witaszek et al.: How to Mount an Injection Mold
- LyondellBasell: Technical Tip: Mold Shrinkage
- EnviroTech Molded Products: Molded Parts Design
Technical Disclaimer
Disclaimer: The information provided in this document is for general informational and educational purposes only. It is based on technical references and industry information available at the time of preparation and may be subject to change. It does not constitute engineering, technical, commercial or professional advice, nor does it constitute a quotation, specification, warranty or contractual commitment by Pratishna Engineers.
Actual injection moulding machine and process requirements vary according to the component design, material, mould, production volume, machine configuration and operating conditions. The information, examples, calculations and recommendations provided should be independently evaluated and verified for the specific application before making any equipment, process or production decision. Information obtained from third-party sources remains subject to the accuracy and limitations of those sources.
Limitation of Liability: Pratishna Engineers makes no representation or warranty, express or implied, regarding the completeness, accuracy or suitability of the information for any particular application. To the extent permitted by applicable law, Pratishna Engineers shall not be liable for any loss, damage, cost or consequence arising from reliance on or use of the information contained in this document. Final machine selection, configuration and application suitability should be confirmed with Pratishna Engineers based on complete and accurate project requirements.