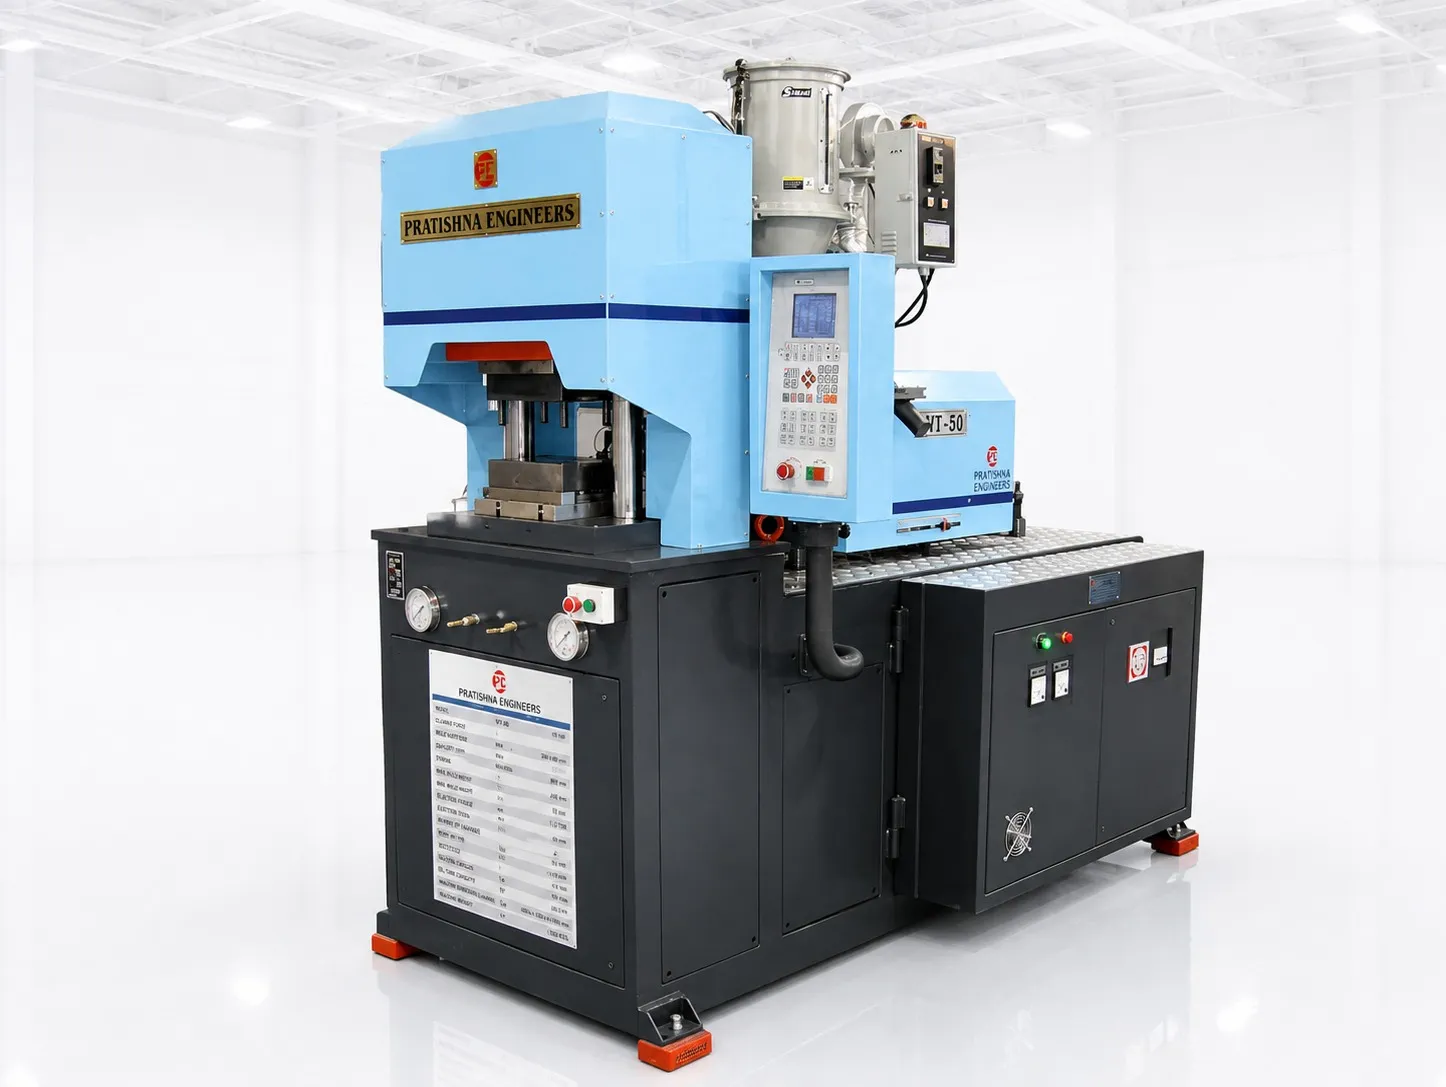
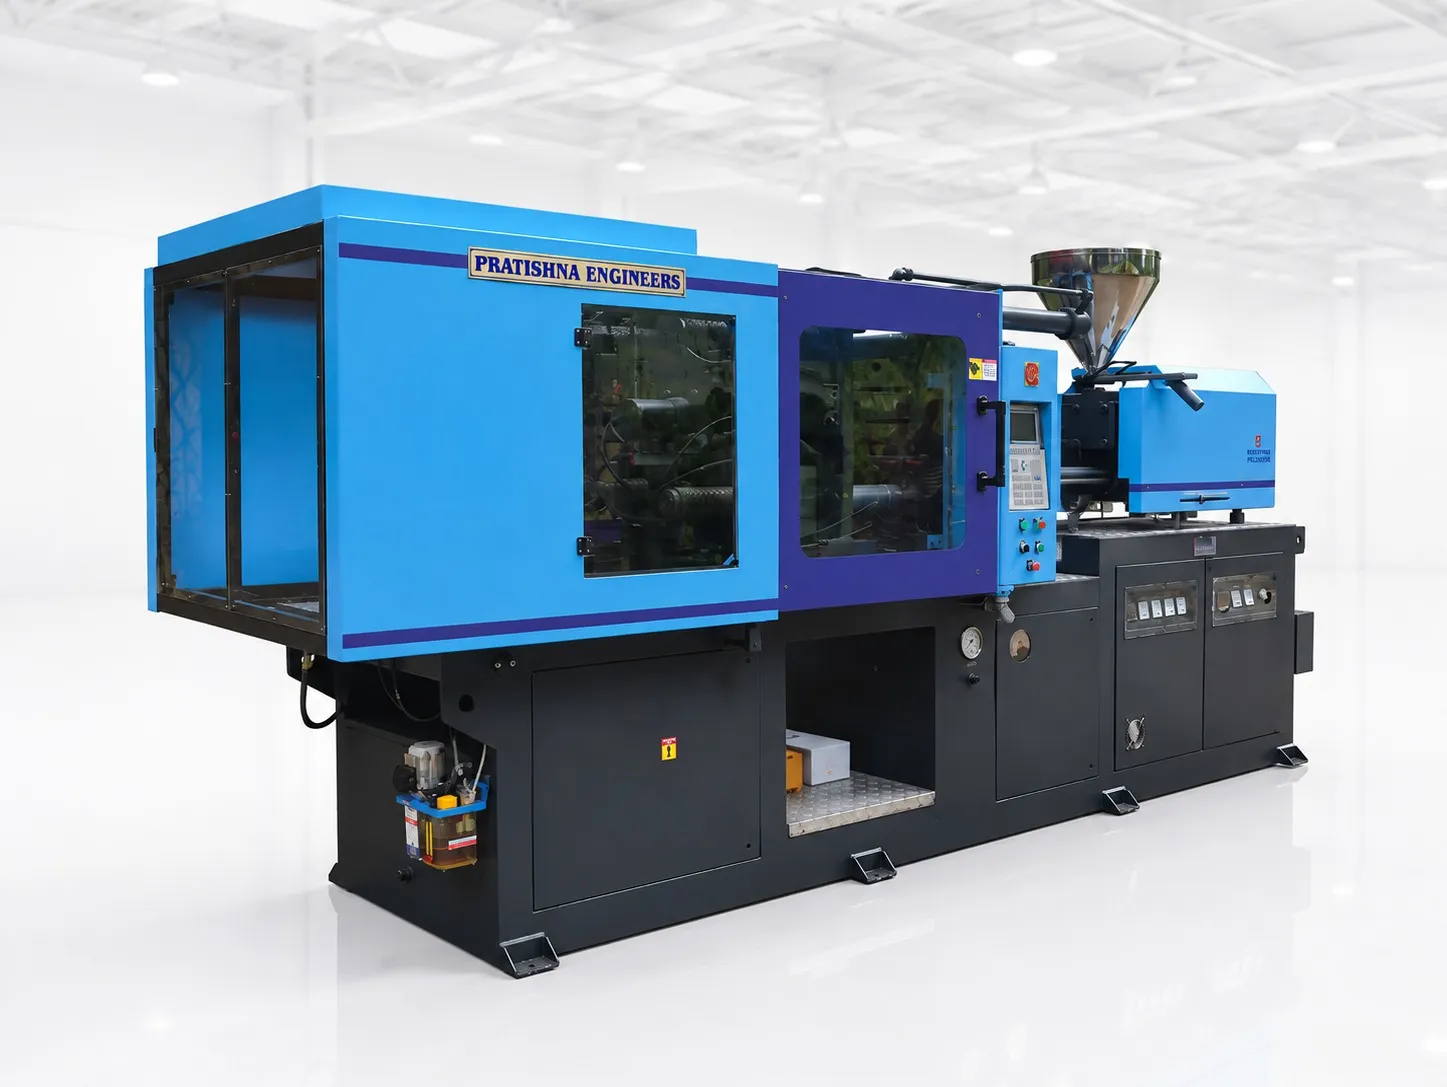
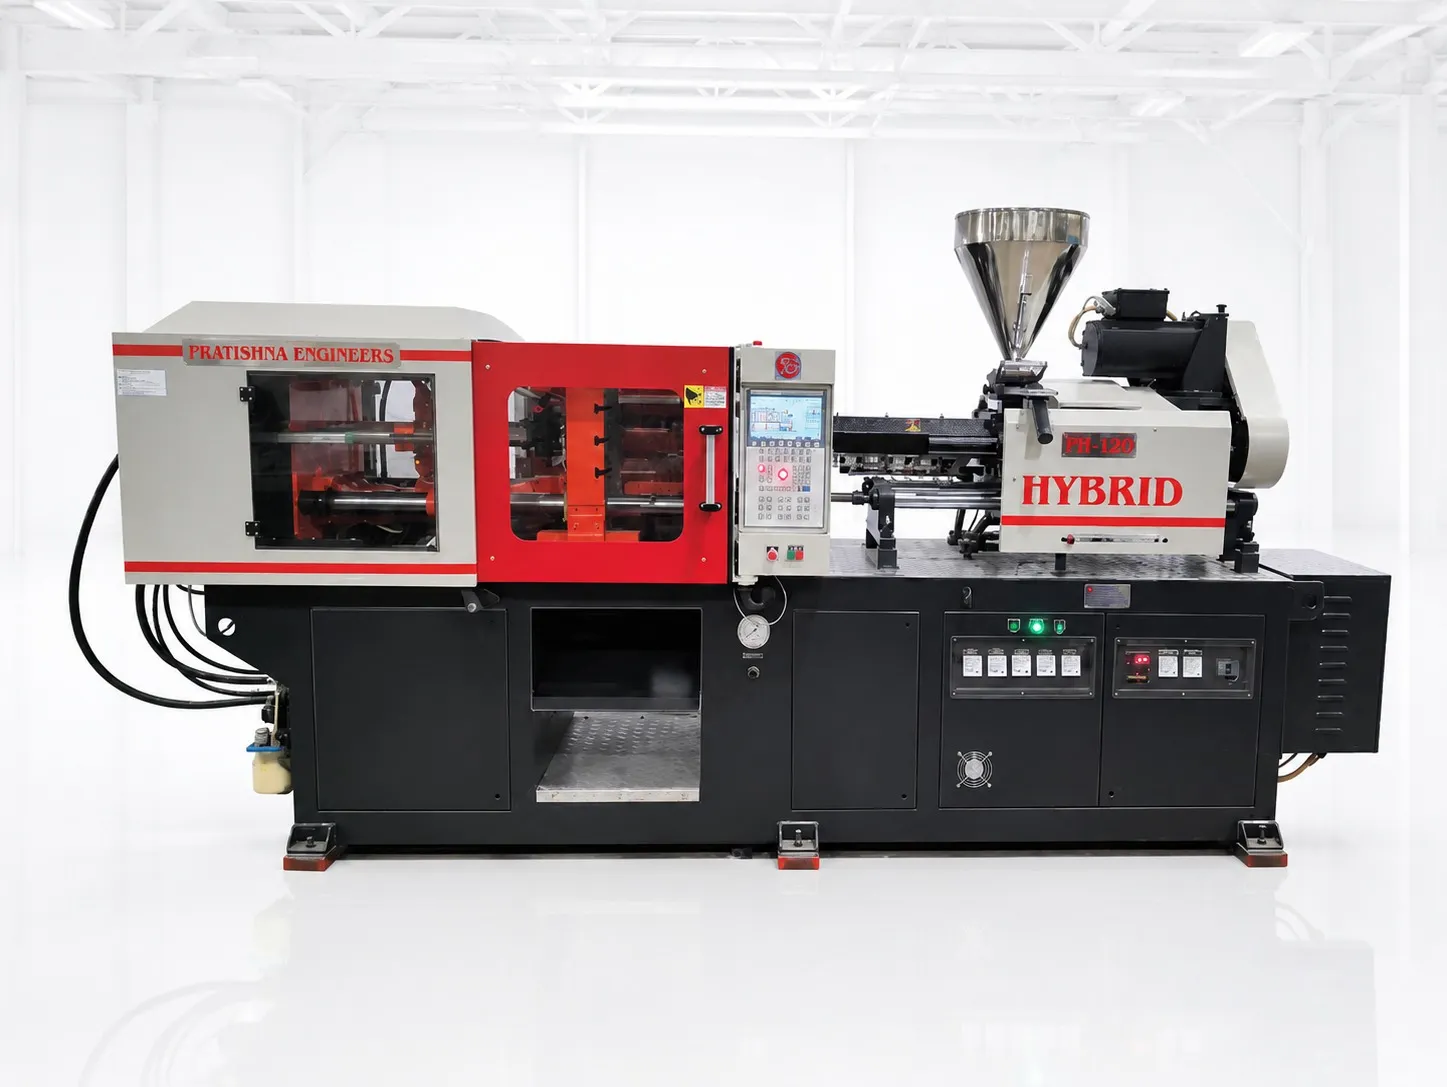
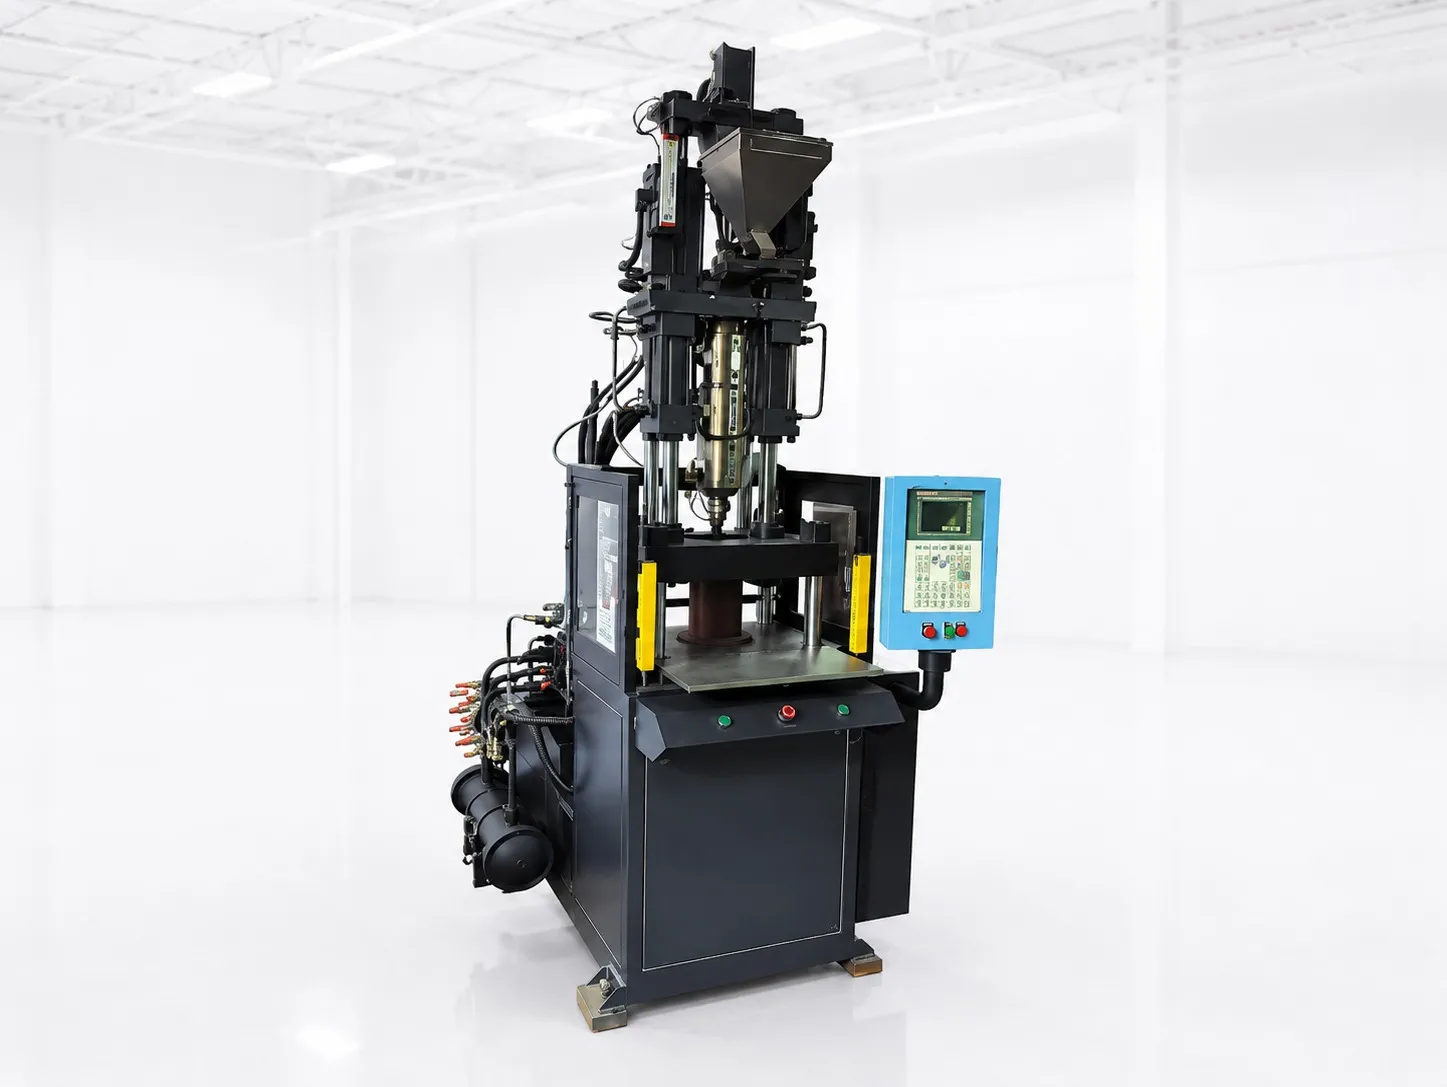
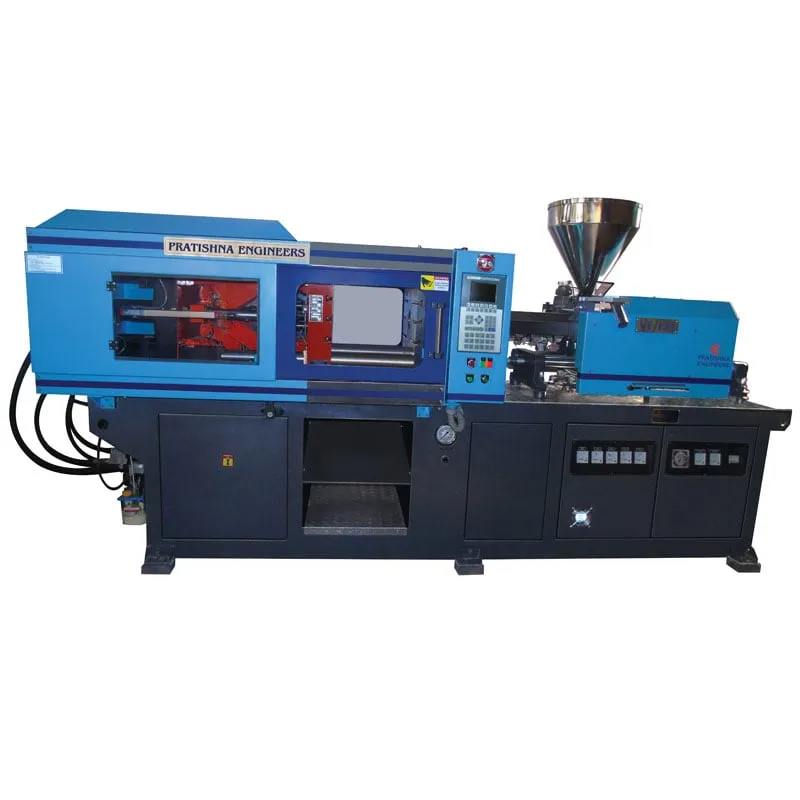

A horizontal injection moulding machine setup is ready for its first mould when these five checks are signed off:
1. Foundation and levelling done to the builder's drawing, with the bed level along and across.
2. Power cable, isolator and earthing sized for the connected load, with power factor correction in place.
3. Cooling water at the right flow and temperature, and dry compressed air without leaks.
4. Guards, interlocks and emergency stops tested before anyone runs a cycle.
5. Mould checked against tie-bar gap, shut height, opening stroke and locating ring.
Skip one and it returns later as flash, a tripped breaker or a mould that will not open far enough.
Key Takeaways
- Setup faults show up later as flash, tripped breakers, warm oil or a mould that will not open fully, so check each one before the first shot.
- Platen parallelism of 0.025 to 0.05 mm is generally acceptable under 500 t, and a poor foundation can push a machine outside that band.
- As a rule of thumb your mould should cover at least 70% of the tie-bar gap, or the platens can bow and flash the mould centre.
- Under MSEDCL kVAh billing, a power factor near 0.95 keeps billed energy close to the energy the machine uses, so plan capacitors with the machine.
What does a horizontal injection moulding machine setup need before installation day?
It needs a prepared floor, the right electrical supply, cooling water, compressed air and space around the machine for mould loading and maintenance. Settle these with the builder's layout drawing weeks before delivery, because a foundation or cable run is slow to change once the machine stands on it.
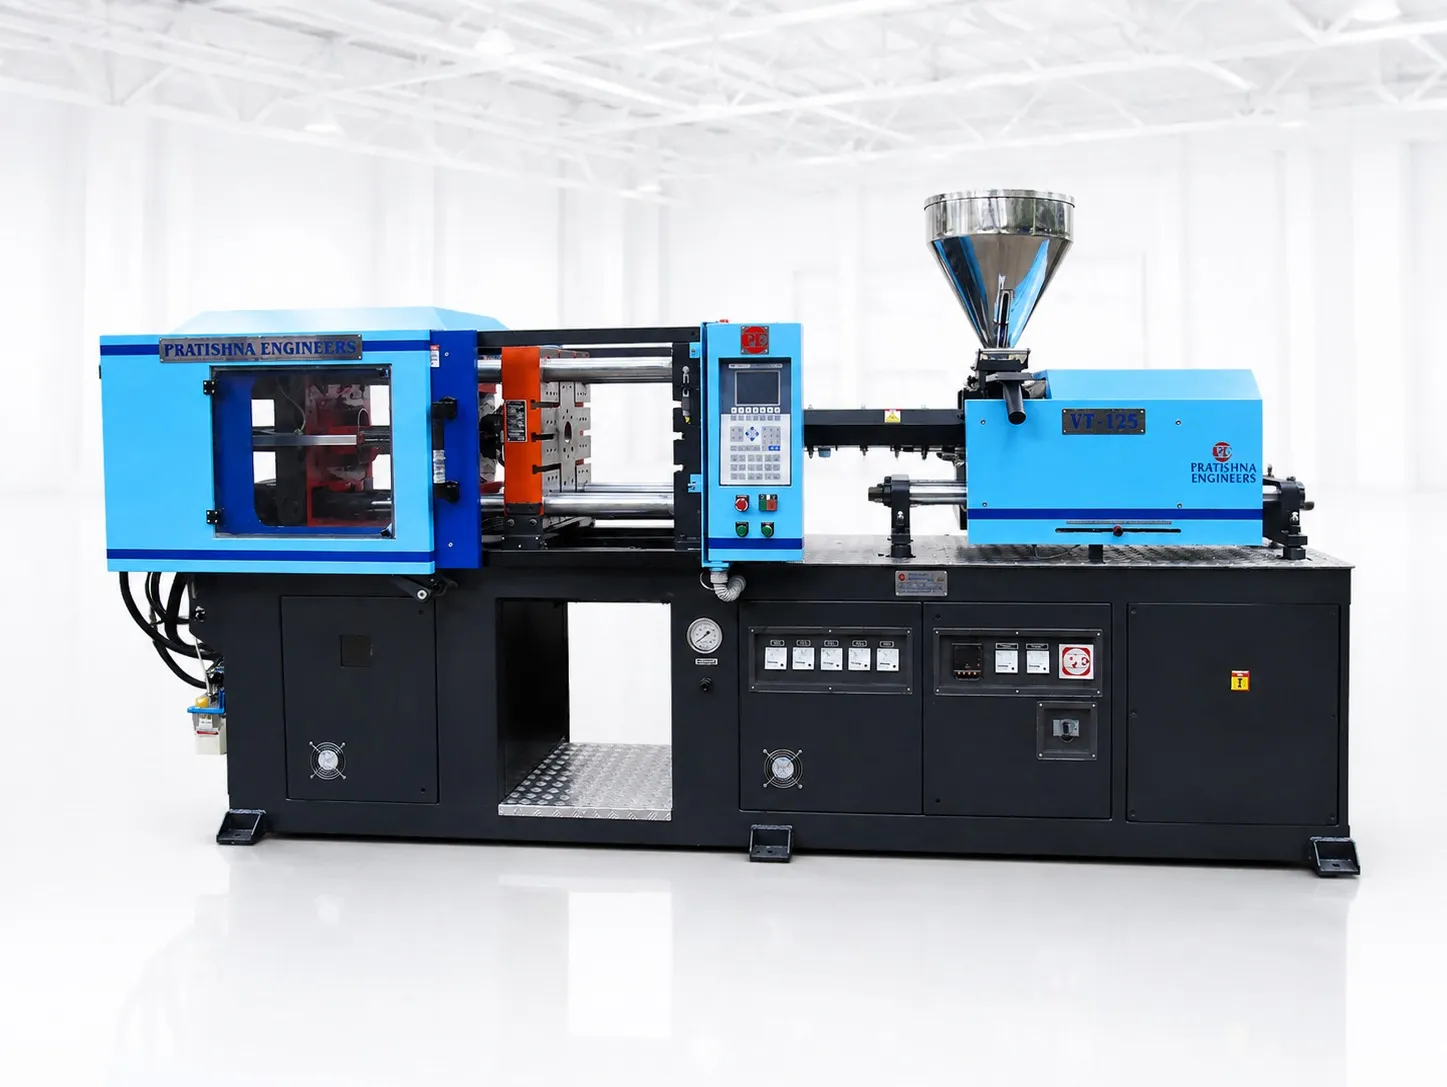
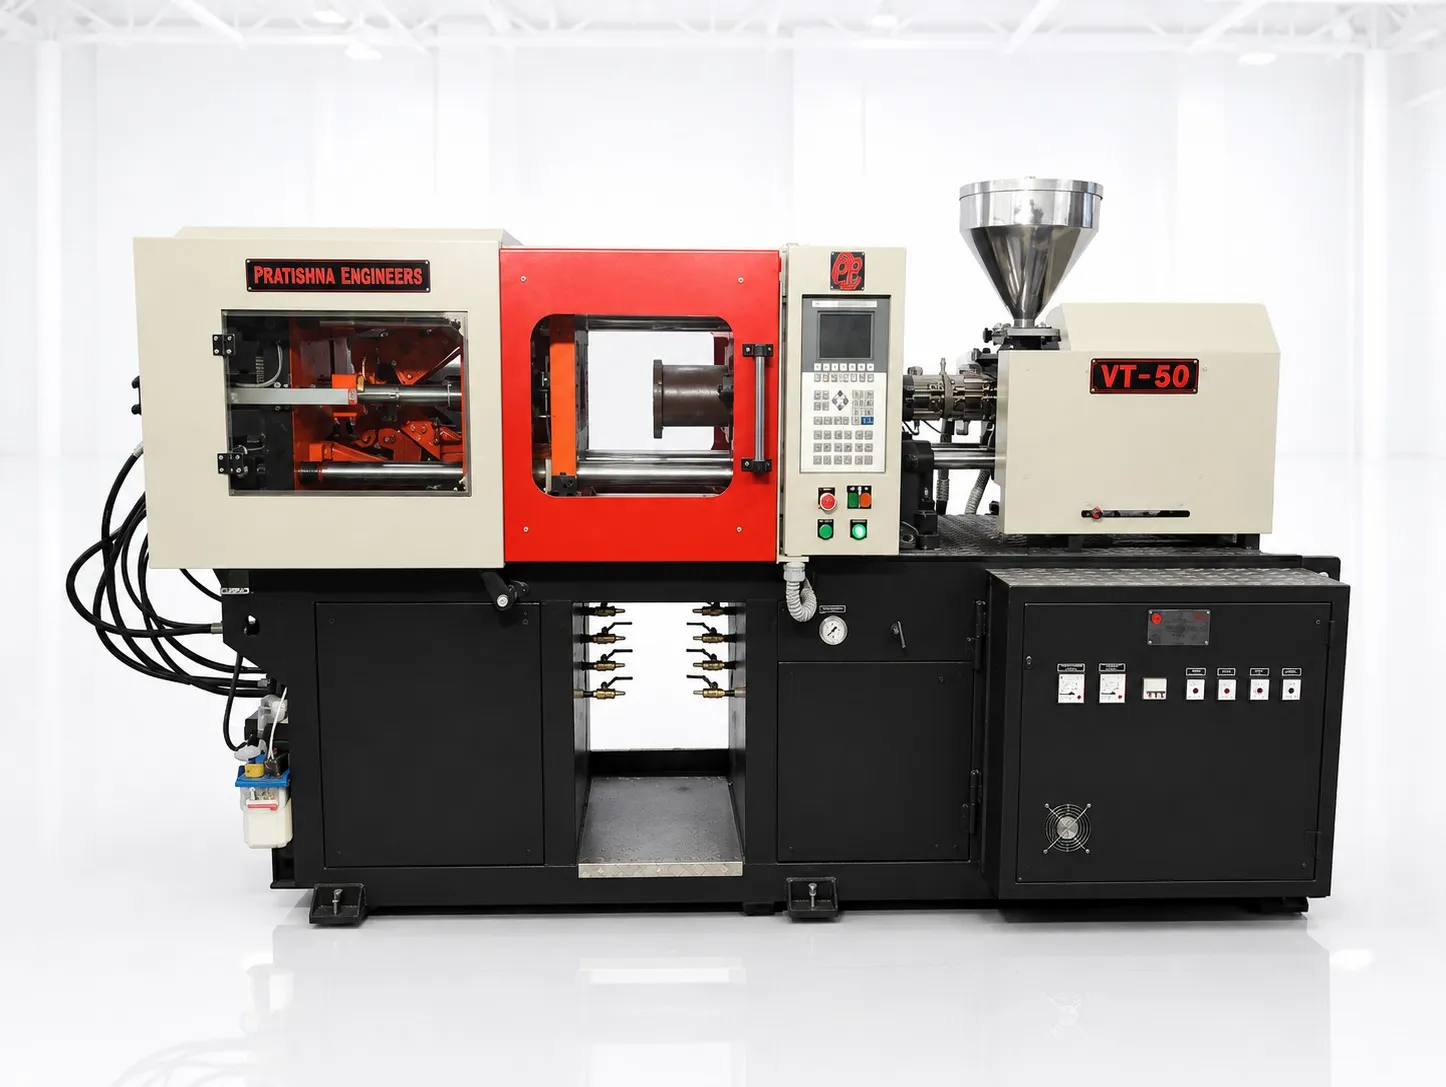
Ask for a layout that shows the machine footprint, the mould loading side, crane or hoist reach, hopper and dryer position, and clearance for pulling the screw. Pulling a screw needs free floor behind the injection unit at least as long as the screw, and that space is often lost to a wall.
The floor must carry the machine and mould weight and stay level as the clamp cycles. A slab that settles or cracks twists the bed slowly, and you see it later as uneven parting-line wear. Follow the builder's foundation drawing and level the machine along and across the bed.
Size the incoming cable and isolator for the connected load, not the average draw, and give the machine its own earthing. On MSEDCL supply, HT and larger LT industrial connections are billed in kVAh, so a power factor near 0.95 keeps billed units close to real use.
Setup checks and what goes wrong if they are skipped
| Check | What to confirm | Symptom if skipped |
|---|---|---|
| Foundation and level | Builder's drawing followed; bed level along and across | Uneven parting-line wear, flash on one side |
| Power supply | Cable, isolator and earthing sized to connected load; power factor correction | Tripped breakers, heater faults, higher kVAh bill |
| Cooling water | Flow and temperature at the mould and the oil cooler | Long cycles, warm oil, drifting dimensions |
| Compressed air | Clean, dry air at the needed pressure; no leaks | Air-blow and valve faults, wasted energy |
| Safety | Guards, interlocks and emergency stops tested | Unsafe running, failed acceptance |
How should cooling water and compressed air be set up?
Give the mould and the oil cooler a clean, steady water supply sized for flow rather than for cold temperature, and keep compressed air dry and leak-free. Water and air are plant utilities that run all year, so small losses here add up over every shift.
Chilled and cooling water use about 11 to 16% of plant energy in published surveys, and raising chilled water by 1 °C cuts chiller cost by about 3%. Set mould water as warm as the part allows, not as cold as the chiller can make it.
Flow matters as much as temperature. Larger cooling lines with more flow usually beat colder water through small lines, and a mould with blocked or looped circuits cools unevenly whatever the chiller setting. Fit flow meters on the manifold so you can see each circuit at setup and after every mould change.
Compressed air can be up to 10% of a moulder's energy cost, and leaks typically waste 20 to 40% of it. Check hoses and fittings with the machine stopped and the line still pressurised, and run at the lowest pressure the air-blow and valves need.
How do you check that the first mould fits the machine?
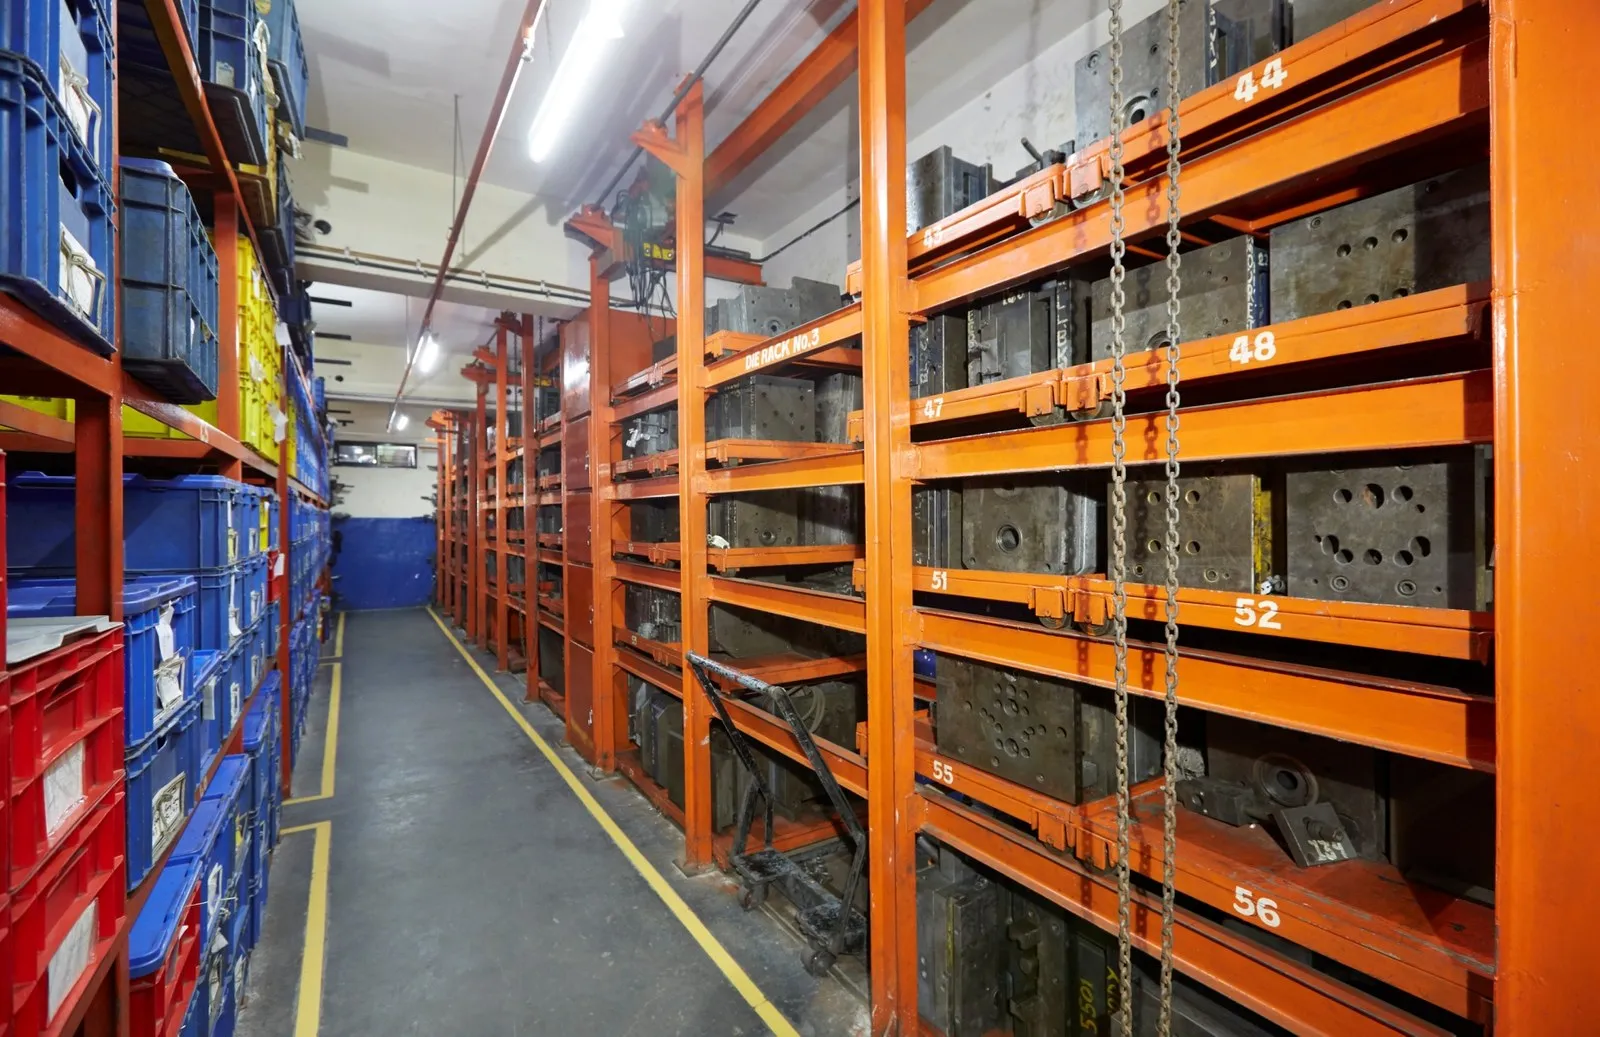
Check five numbers against the machine data sheet: tie-bar gap, minimum and maximum shut height, opening stroke, locating ring size and maximum mould weight. A mould that passes all five can be hung safely; one that fails any of them needs a mould change or a different machine.
The mould should fit between the tie bars, and at minimum the projected area of the parts must sit inside them. As a rule of thumb it should also cover at least 70% of the tie-bar gap. A smaller mould lets the platens bow under clamp and can flash the mould centre.
The opening stroke should be at least 2.5 times the part height so parts drop or can be picked cleanly. On a toggle clamp the full stroke is available at every shut height. Most moulds use a 101.6 mm or 120 mm locating ring, so confirm which one the platen takes.
Ask for the factory parallelism reading and repeat it after installation on a new floor. The flat view: never accept a machine whose guards and interlocks have not been checked against ISO 20430, the international safety standard for injection moulding machines, however hard production is pushing.
What should you prepare before the machine arrives?
Send the builder your floor plan, supply details, water and air capacity, and drawings of the first moulds you will run. Ask for the foundation drawing and utility list in return, and book your electrician and plumber early. See the horizontal injection moulding machine range for sizes and data sheets.
Frequently Asked Questions About Setting Up a Horizontal Machine
How long does it take to install a horizontal injection moulding machine?
It depends on machine size, the state of the floor and whether power, water and air are ready on arrival. When the foundation and utilities are prepared in advance, installation is mostly levelling, connecting and testing. When they are not, the machine waits. Ask the builder for a site-readiness list and finish it before dispatch.
Does a horizontal machine need a special foundation?
Smaller machines often stand on a sound industrial floor with levelling mounts, while large machines usually need a foundation to the builder's drawing. The deciding factors are machine weight, mould weight, clamp movement and the condition of your slab. Do not guess; ask for the foundation drawing and load data for your size.
What water temperature should I set for the mould?
Set it from the material supplier's recommended mould temperature for your grade, not from what the chiller can deliver. One Indian PP homopolymer grade, for example, lists a mould range of 20 to 50 °C. Warmer water where the part allows saves chiller energy, while flow through every circuit keeps cooling even.
What safety checks are needed before the first cycle?
Test every guard interlock, the emergency stops on both sides, the mould-area safety gate and the purge guard at the nozzle. Confirm that the machine will not close with a guard open. ISO 20430 sets safety requirements for injection moulding machines, so ask the builder how the machine meets it.
Why does the locating ring size matter?
The locating ring centres the mould on the fixed platen so the machine nozzle lines up with the sprue bush. If the ring and the platen bore do not match, the mould cannot be centred, and a misaligned nozzle can leak or damage the sprue. Check the ring size on every new mould.
Related Articles
- Vertical Locking Horizontal Injection Moulding Machine: Maximizing Efficiency
- Hybrid Injection Moulding Machine: Revolutionizing Production
- How Horizontal Injection Moulding Machines Boost Efficiency in Manufacturing
- Horizontal Injection Moulding Machines: Maximizing Production Efficiency
Sources & References
- MoldMaking Technology, B. Catoen: Machine Sizing and Specification for Optimal Mold Performance, Part 1 (Aug 2025)
- Plastics Technology, P. Witaszek, J. Klees, J. Fattori, E. Di Siro, J. Bozzelli: How to Mount an Injection Mold (June 2017)
- ISO: ISO 20430:2020 Plastics and rubber machines: Injection moulding machines: Safety requirements
- ExxonMobil, AMI and Tangram Technology: An Energy Saving Guide for Injection Moulders
Technical Disclaimer
Disclaimer: The information provided in this document is for general informational and educational purposes only. It is based on technical references and industry information available at the time of preparation and may be subject to change. It does not constitute engineering, technical, commercial or professional advice, nor does it constitute a quotation, specification, warranty or contractual commitment by Pratishna Engineers.
Actual injection moulding machine and process requirements vary according to the component design, material, mould, production volume, machine configuration and operating conditions. The information, examples, calculations and recommendations provided should be independently evaluated and verified for the specific application before making any equipment, process or production decision. Information obtained from third-party sources remains subject to the accuracy and limitations of those sources.
Limitation of Liability: Pratishna Engineers makes no representation or warranty, express or implied, regarding the completeness, accuracy or suitability of the information for any particular application. To the extent permitted by applicable law, Pratishna Engineers shall not be liable for any loss, damage, cost or consequence arising from reliance on or use of the information contained in this document. Final machine selection, configuration and application suitability should be confirmed with Pratishna Engineers based on complete and accurate project requirements.