
The night shift calls you to the press: preforms show white specks near the gate, a few have wavy bodies and the last tray has fine strings at the tip. Most of these faults trace back to a short list of PET injection moulding process parameters: dryer dew point and time, melt temperature, injection rate, hold, and cooling water.
This guide covers four common preform defects: unmelts, wavy body, gate stringing and flash. Check the dryer before you touch the machine, then change one setting at a time and log each change against the defect.
Key Takeaways
- Unmelts usually start at the dryer: a dew point above -40 °C or a resin inlet below 160 °C at the throat must be corrected first.
- A wavy body points to uneven contact cooling, so check cooling water at 7 to 10 °C, water flow, hold pressure and hold time.
- Stringing at the gate means the gate area is too hot; lower nozzle tip heat until the gate nub freezes, without making the tip crystalline.
- Flash comes from melt that is too thin or clamp force that is too low; trim injection rate and pressure peaks before adding clamp.
Which PET injection moulding process parameters cause unmelts?
Unmelts come mainly from drying and heat input. Check that dryer dew point is -40 °C or lower, that resin reaches the throat above 160 °C, and that the melt sits near 280 °C. Then confirm the screw is not asked for more kg/h than its rating.
Preform defects and the first parameters to check
| Defect | What you see | Check first |
|---|---|---|
| Unmelts | Partly or fully unmelted pellets in the wall | Dew point, throat temperature, drying time, kg/h against the screw rating |
| Wavy body | Uneven wall surface from uneven contact cooling | Cooling water 7 to 10 °C, water flow, hold pressure and hold time |
| Stringing | Thin strings left at the gate nub | Nozzle tip heat, valve stem closing, cooling time |
| Flash | Thin layer of plastic at a parting line | Injection rate, pressure peak at transition, early hold pressure |
Drying comes first because PET is hygroscopic. Drying guidance for preforms is about 4 hours at 175 °C or up to 6 hours at 160 °C in the hopper. If the dryer cannot hold its dew point, no barrel setting will clear the specks.
Indian bottle-grade resin shows why. Relpet G5761 is listed with moisture under 0.2% when packed, which is up to 2,000 ppm of water. That is far above what preform moulding tolerates, so the dryer has to remove most of it before the resin reaches the screw.
If drying is right, look at throughput. When processed kg/h exceeds the screw maker's rating, raise extruder temperatures or lengthen the cycle. Back pressure of 15 to 20 bar and a little more screw rpm add shear. Do not over-cool the throat, except with colorants prone to jelling.
Our flat view: most unmelt hunts that start at the barrel end at the dryer.
Why does a preform show a wavy body?
A wavy body comes from uneven contact cooling. The preform shrinks away from the core or cavity in patches, so parts of the wall cool faster than others. Low hold pressure, short hold time, warm water or poor water flow are the usual causes.
Start with water. Mould cooling water should be 7 to 10 °C, and flow to the mould and to the robot cooling tubes should match the mould maker's rating. A blocked line on one core gives a wavy body on that cavity only, so note which cavities show it.
Next, hold. Hold pressure and hold time must be high enough to keep the wall against the steel while it shrinks. Mould cooling time is typically about 1 to 3 s, depending on the preform wall.
Then check fill. An injection rate of about 10 to 12 g/s per cavity is the usual guide, valve-gate air typically runs at 8 to 10 bar and melt sits near 280 °C, give or take 10 °C. A rate far outside that window changes how the wall packs.
Change one parameter per shot set, wait for the mould to settle, and keep rejected preforms labelled by cavity. That record is what separates a water fault from a hold fault.
How do you stop gate stringing and parting-line flash?
Stringing means the gate is too hot, so lower nozzle tip heat until the gate nub freezes cleanly. Flash means melt is getting between mould parts, so reduce injection rate, the pressure peak at transition and early hold pressure before you think about more clamp.
Stringing shows up mostly on moulds without valve gates, or where valve stems are not closing fully. Nozzle tip heat has a large effect: too high keeps the dome and gate nub soft. Set it just low enough to freeze the nub, but not so low that the tip turns crystalline and white.
Check that cooling water is still at 7 to 10 °C and that cooling time has not been cut to chase cycle. A short cooling time leaves the gate area warm when the mould opens.
Flash is a thin layer of plastic at a parting line. It appears when melt viscosity is too low or clamp tonnage is too low for the pressure in the cavity. Fast injection and a pressure spike at transfer are the common triggers, so look at the injection profile before the clamp.
If flash stays after the profile is corrected, inspect the neck rings and parting faces for wear or damage. Adding clamp force to hide a worn face only speeds up the wear.
What should you log before calling for help on a preform defect?
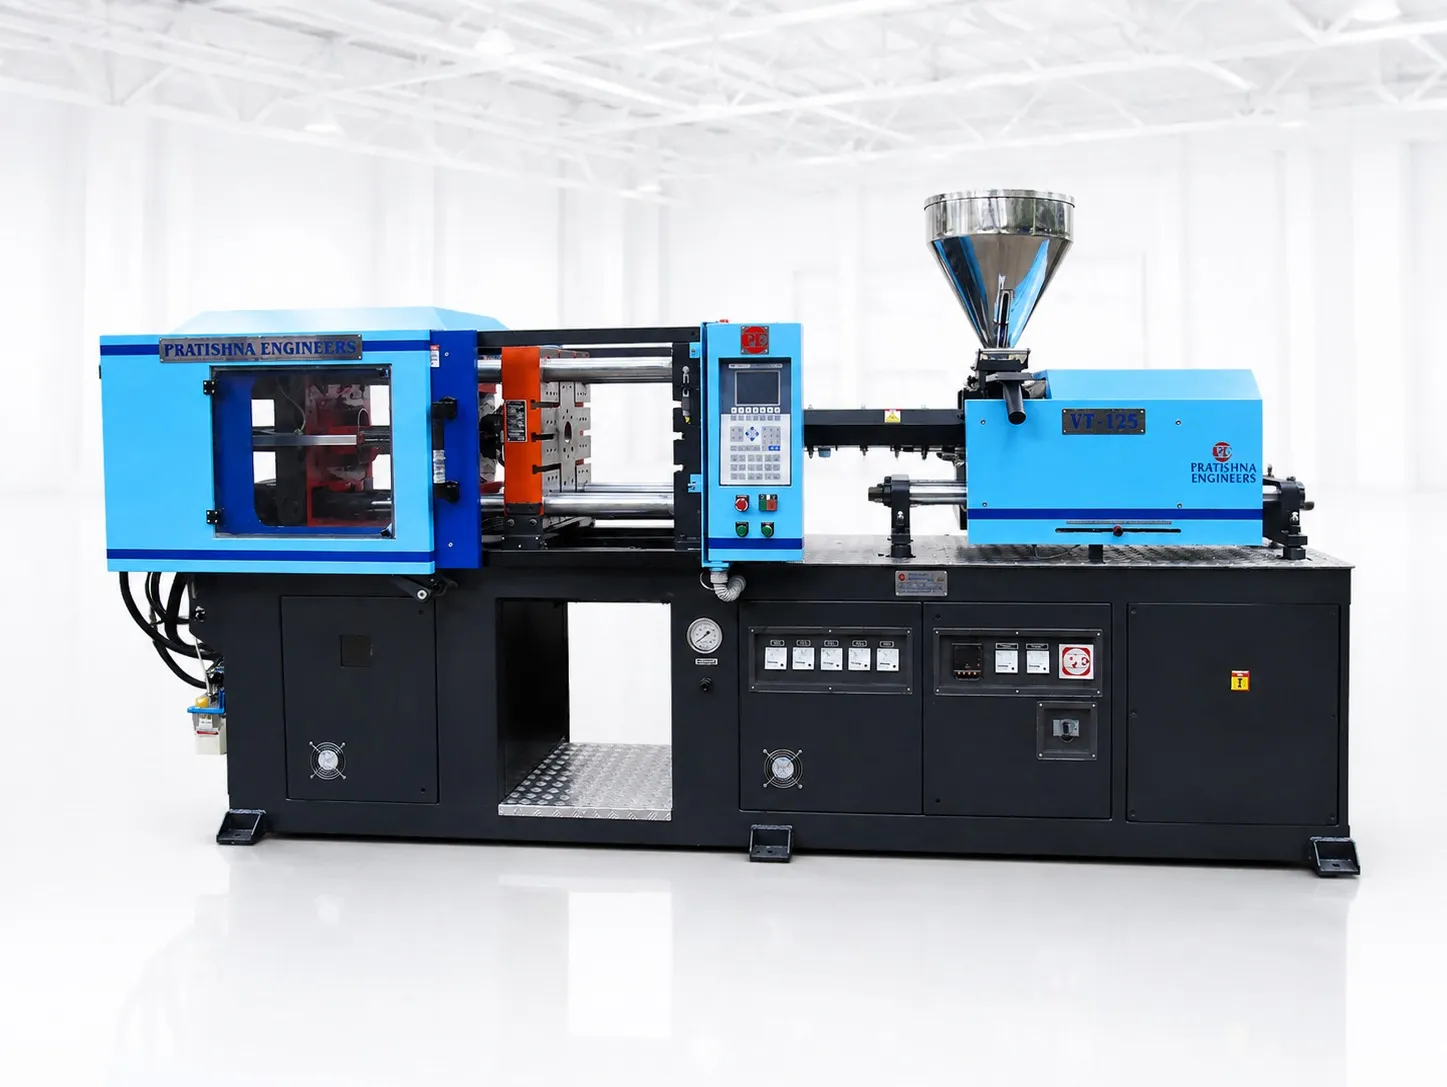
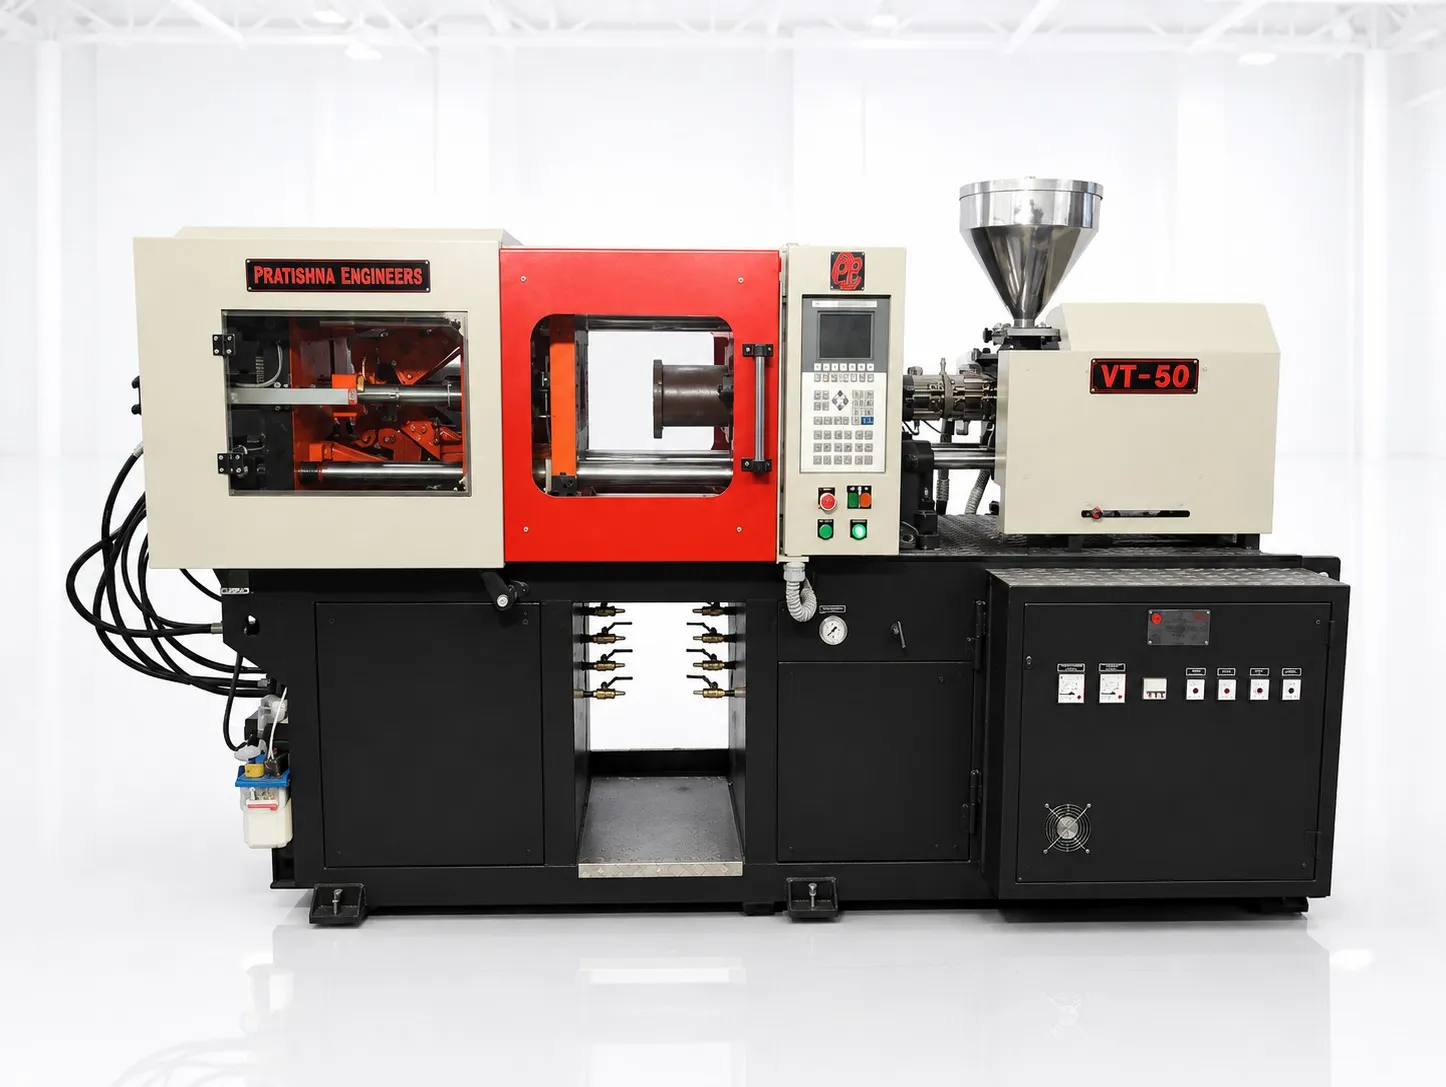
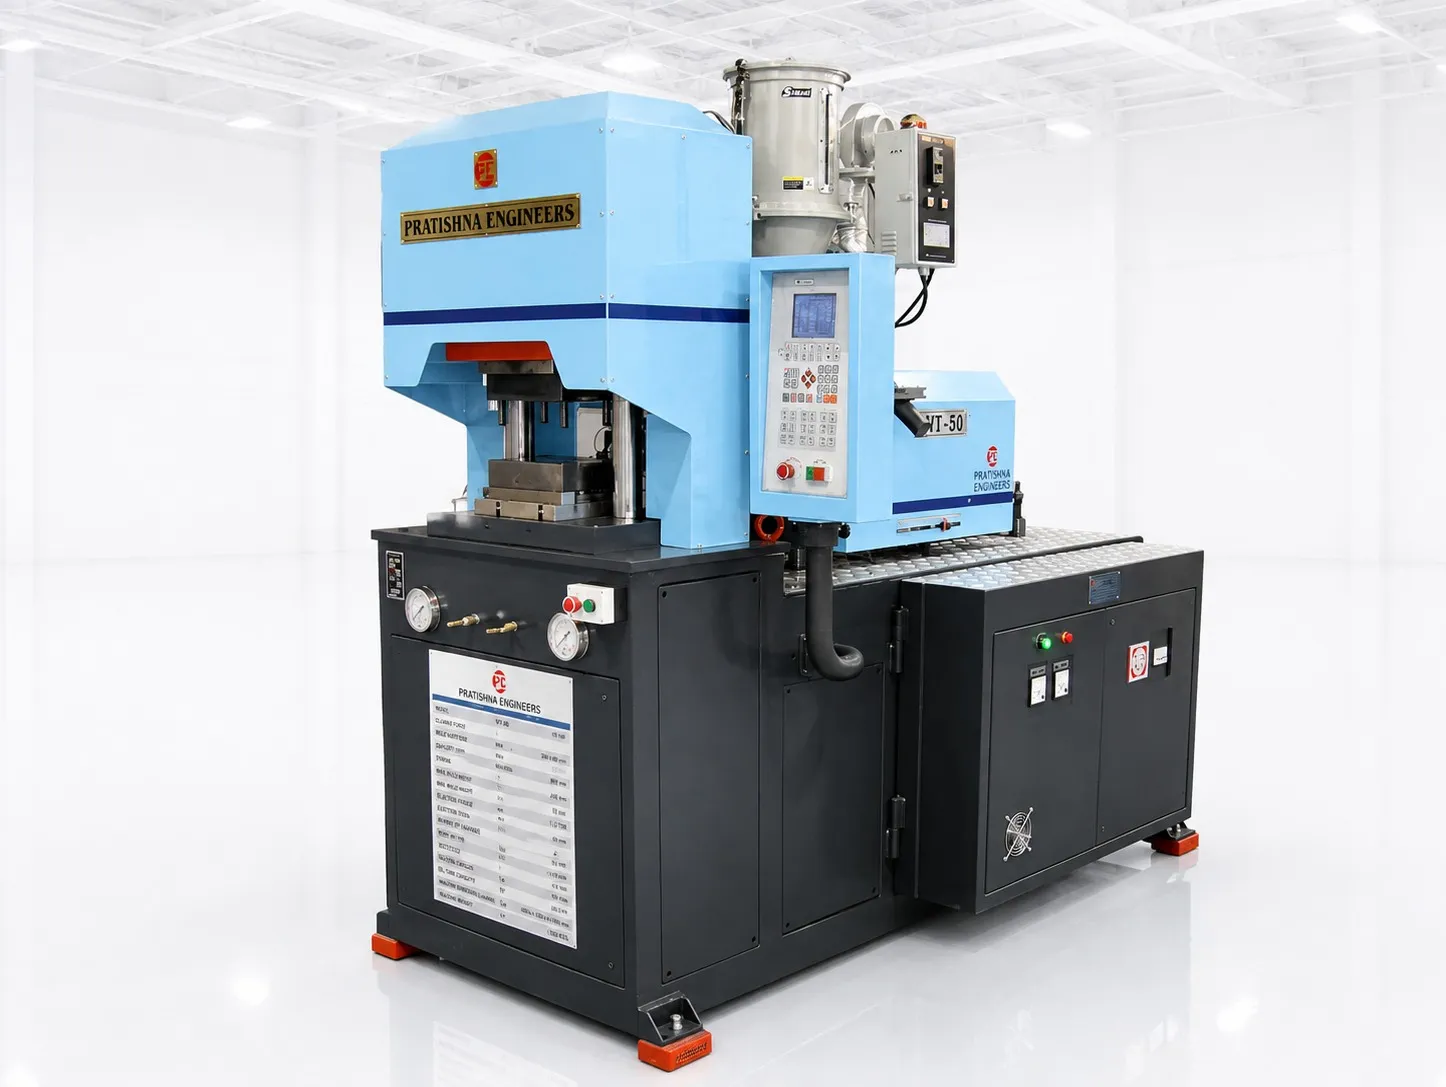
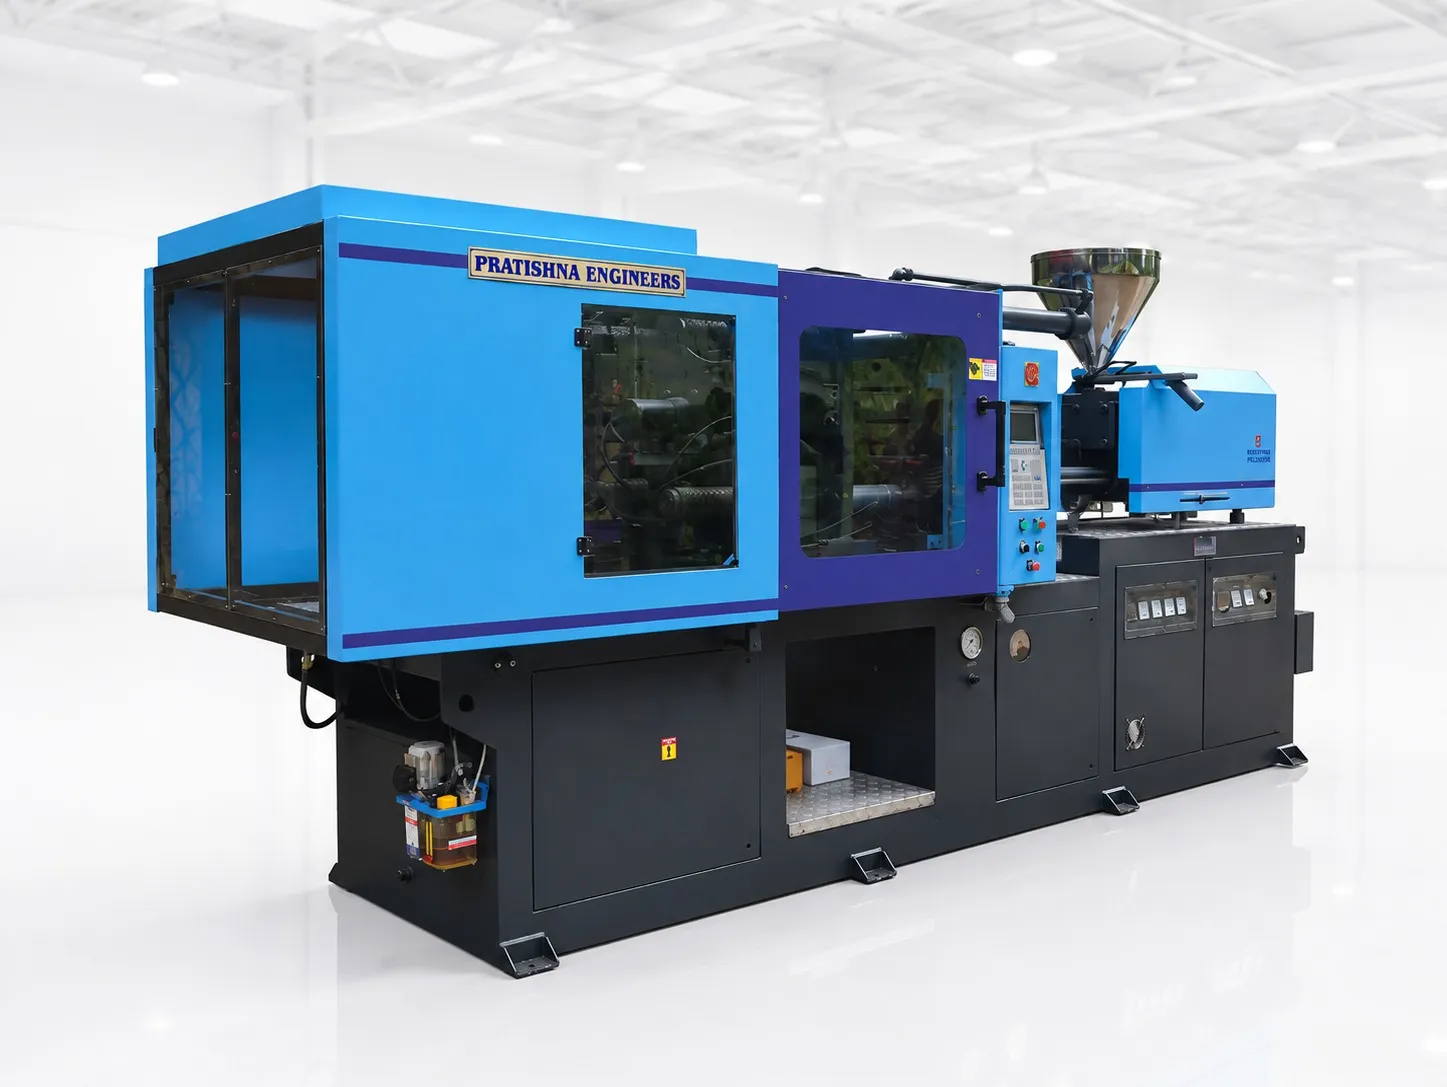
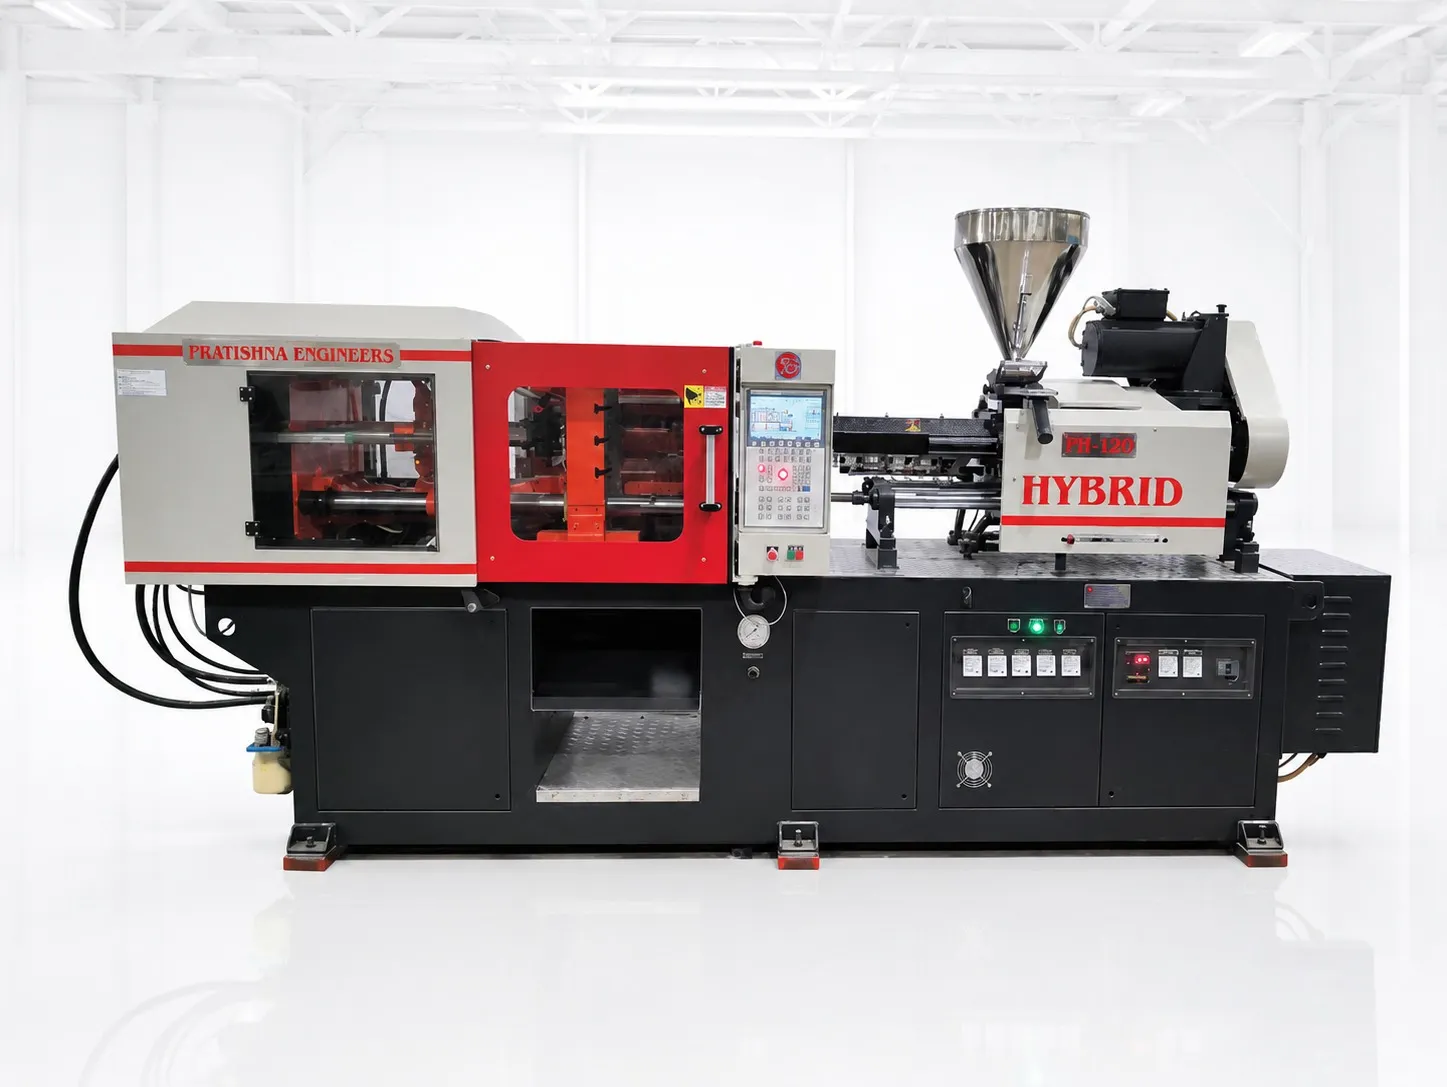
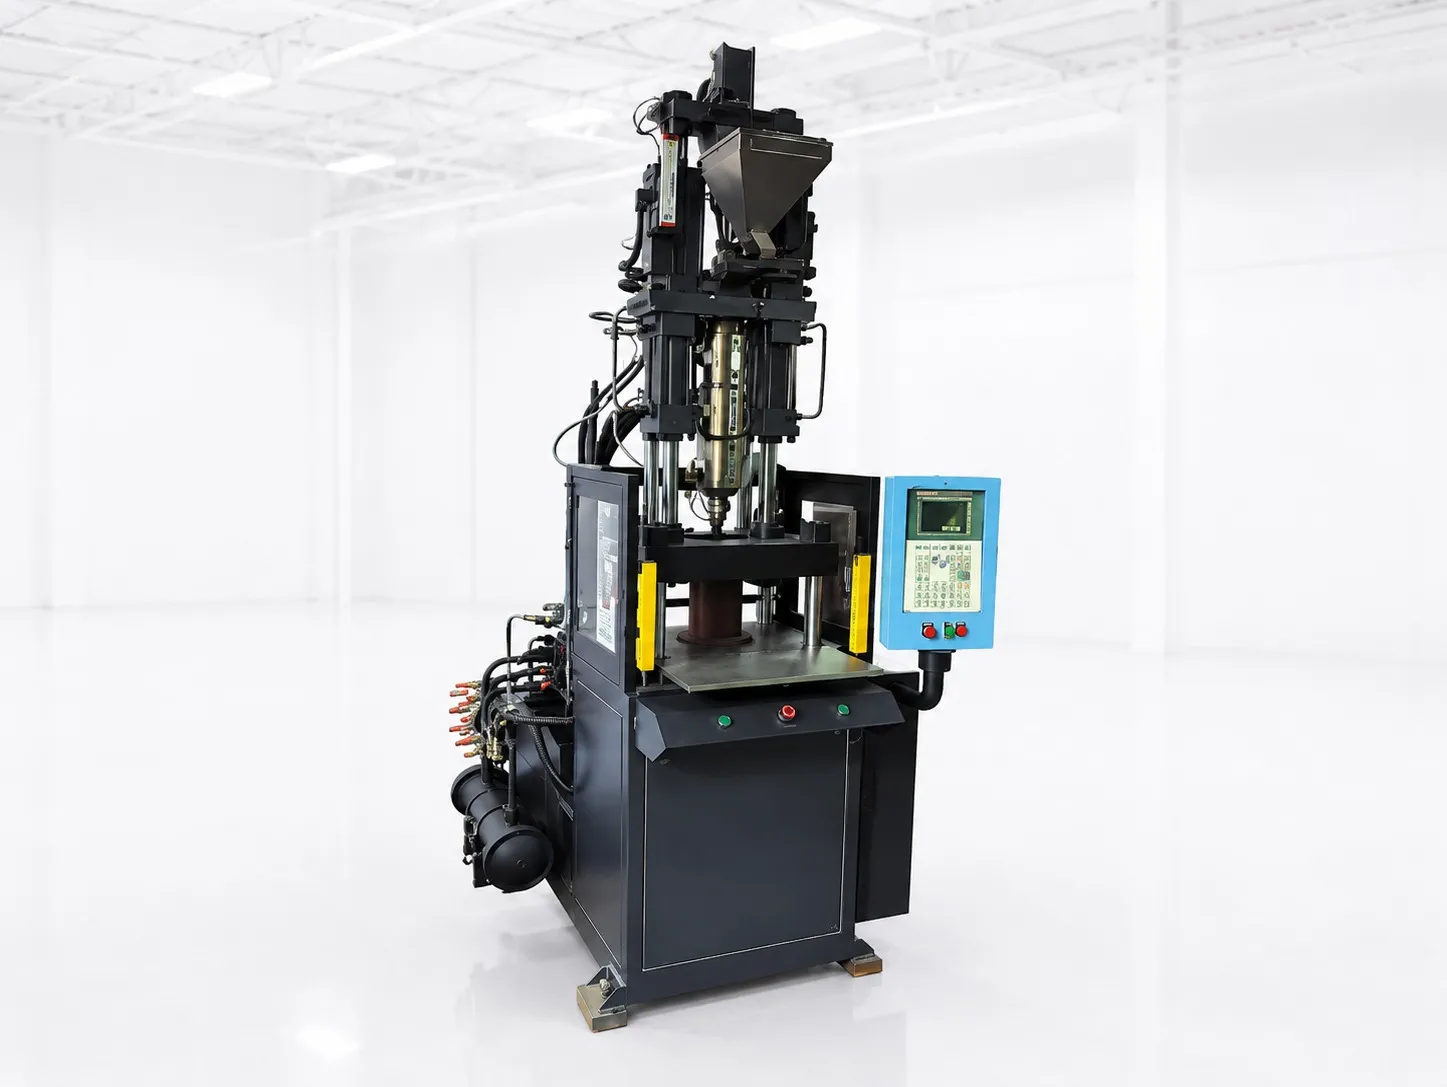
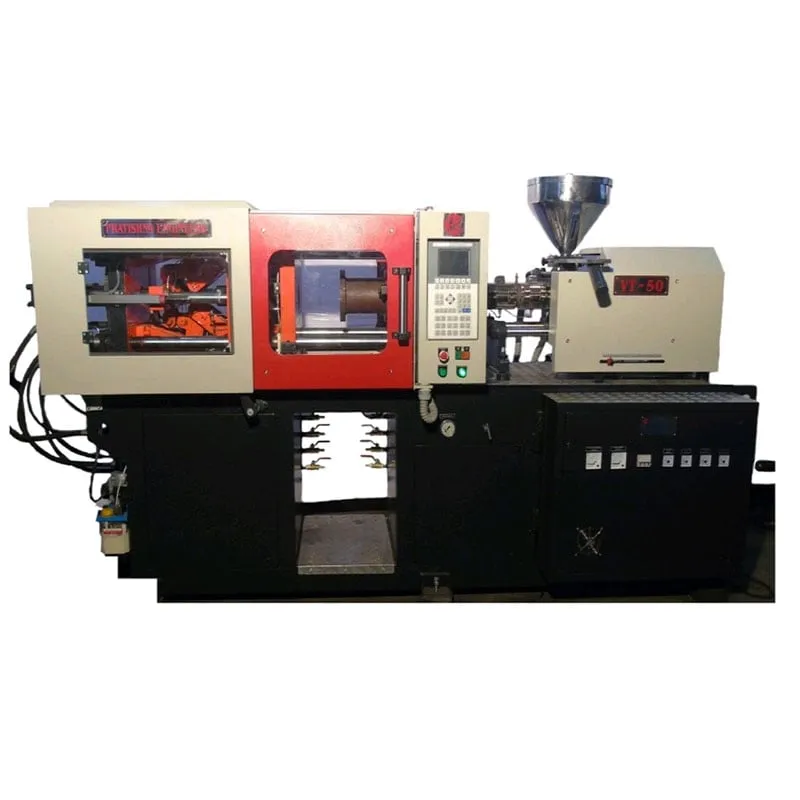
Log dryer dew point, drying time and temperature, melt temperature, injection rate, hold settings, water temperature and flow, plus the cavities affected and a few photos. With that record, a process engineer can usually find the cause in one visit. Compare machine options on the PET injection moulding machine page.
Frequently Asked Questions About PET Preform Process Settings
What dew point should a PET dryer reach?
Aim for -40 °C or lower after the desiccant bed. A dew point above -40 °C is one of the first faults to correct when preforms show unmelts. Check the regeneration temperature and frequency as well, because a saturated bed cannot dry resin however long it sits in the hopper.
How long should PET be dried before moulding?
Preform guidance is about 4 hours at 175 °C, or up to 6 hours at 160 °C, in the dryer hopper. Residence time is dryer capacity divided by throughput, so a dryer sized for a smaller output will not dry long enough when kg/h rises on a faster cycle.
Can IV loss be seen in a preform?
No. A drop of more than 0.04 dl/g between resin and preform is a fault, but it cannot be seen in the preform. It needs an IV tester or a melt viscometer. The cause is hydrolytic or severe thermal degradation, which usually points back to drying or excess melt temperature.
Does back pressure affect preform quality?
Yes. Back pressure of about 15 to 20 bar is typical for preforms and should be kept as low as gives a uniform melt. More back pressure and screw speed add shear, which can help clear unmelts, but too much heat input raises the risk of degrading the melt.
Why do only some cavities show a defect?
A defect on a few cavities usually points to something local: a blocked cooling line, a worn neck ring, a hot runner nozzle running hot or a valve stem that is not closing. Mark rejected preforms by cavity number before adjusting the machine, so you fix the mould fault rather than the whole process.
Related Articles
- Cutting Downtime on Horizontal Moulding Machines
- Insert Moulding on Vertical Machines
- PET Drying, Dew Point and IV Loss in Preform Moulding
- PET Preform Moulding for Beverage Bottles
Sources & References
- PETplanet Insider, R. Unterlander and O. Brandau: The Rapid Guide to Perfect Preforms, part 32: Unmelts (Vol. 13, 09/2012)
- PETplanet Insider, R. Unterlander and O. Brandau: The Rapid Guide to Perfect Preforms, part 34: Wavy Body (Vol. 13, 11/2012)
- PETplanet Insider, R. Unterlander and O. Brandau: The Rapid Guide to Perfect Preforms, 10. Flash (Vol. 11, 04/2010)
- Reliance Industries: Relpet G5761 TDS (Aug 2022)
Technical Disclaimer
Disclaimer: The information provided in this document is for general informational and educational purposes only. It is based on technical references and industry information available at the time of preparation and may be subject to change. It does not constitute engineering, technical, commercial or professional advice, nor does it constitute a quotation, specification, warranty or contractual commitment by Pratishna Engineers.
Actual injection moulding machine and process requirements vary according to the component design, material, mould, production volume, machine configuration and operating conditions. The information, examples, calculations and recommendations provided should be independently evaluated and verified for the specific application before making any equipment, process or production decision. Information obtained from third-party sources remains subject to the accuracy and limitations of those sources.
Limitation of Liability: Pratishna Engineers makes no representation or warranty, express or implied, regarding the completeness, accuracy or suitability of the information for any particular application. To the extent permitted by applicable law, Pratishna Engineers shall not be liable for any loss, damage, cost or consequence arising from reliance on or use of the information contained in this document. Final machine selection, configuration and application suitability should be confirmed with Pratishna Engineers based on complete and accurate project requirements.