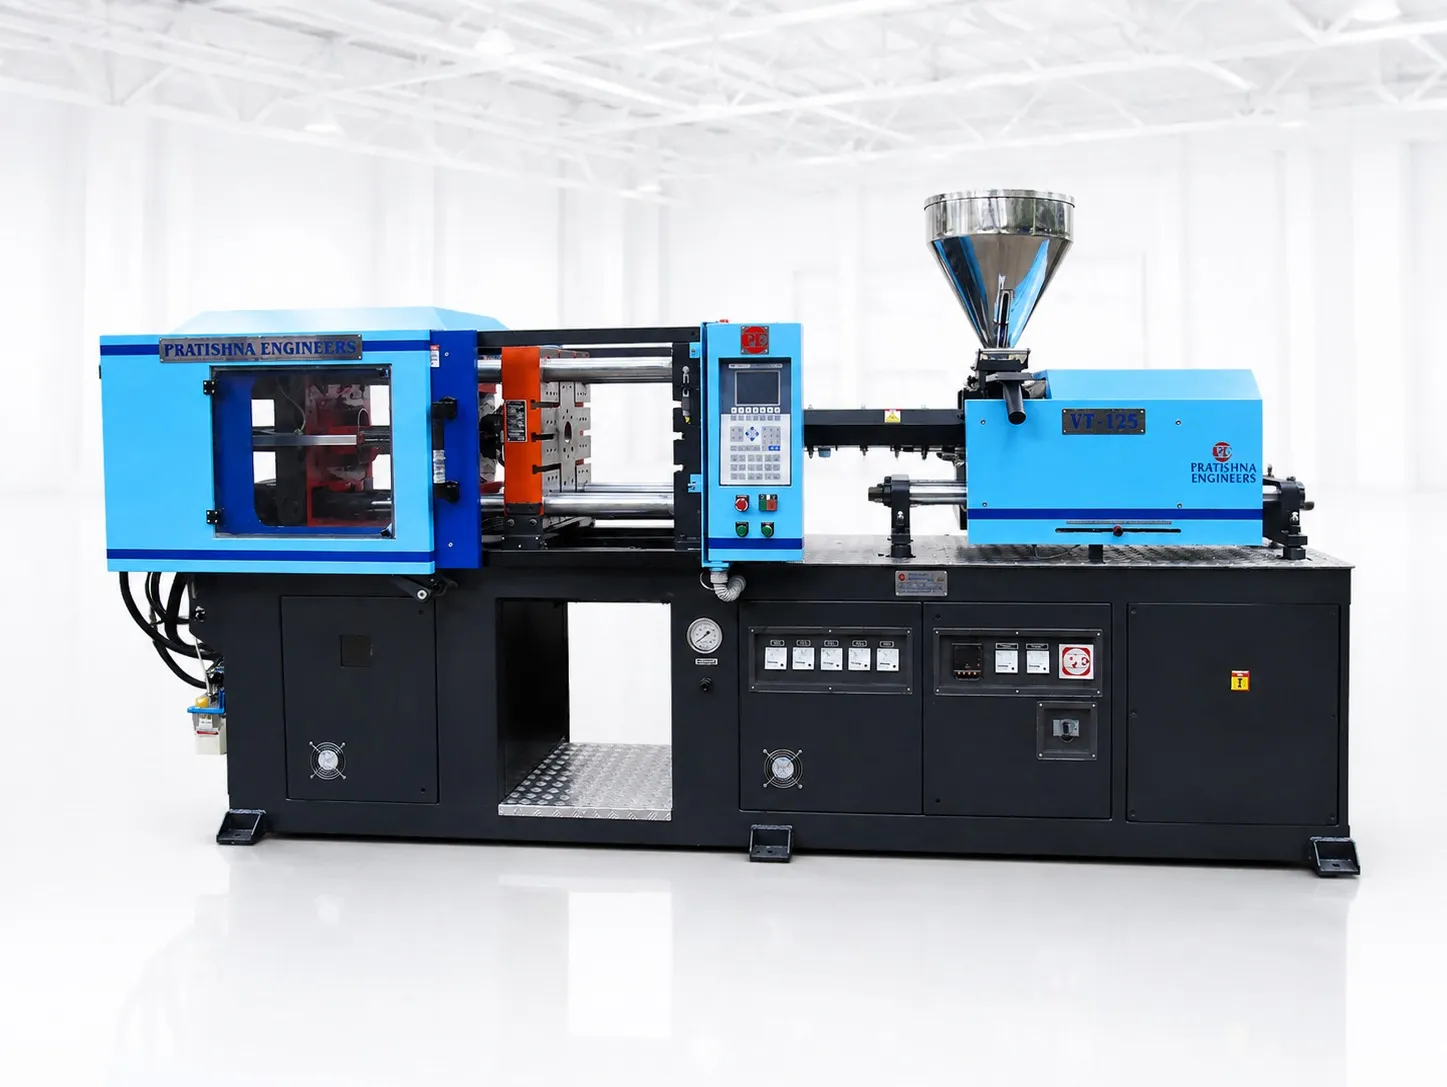
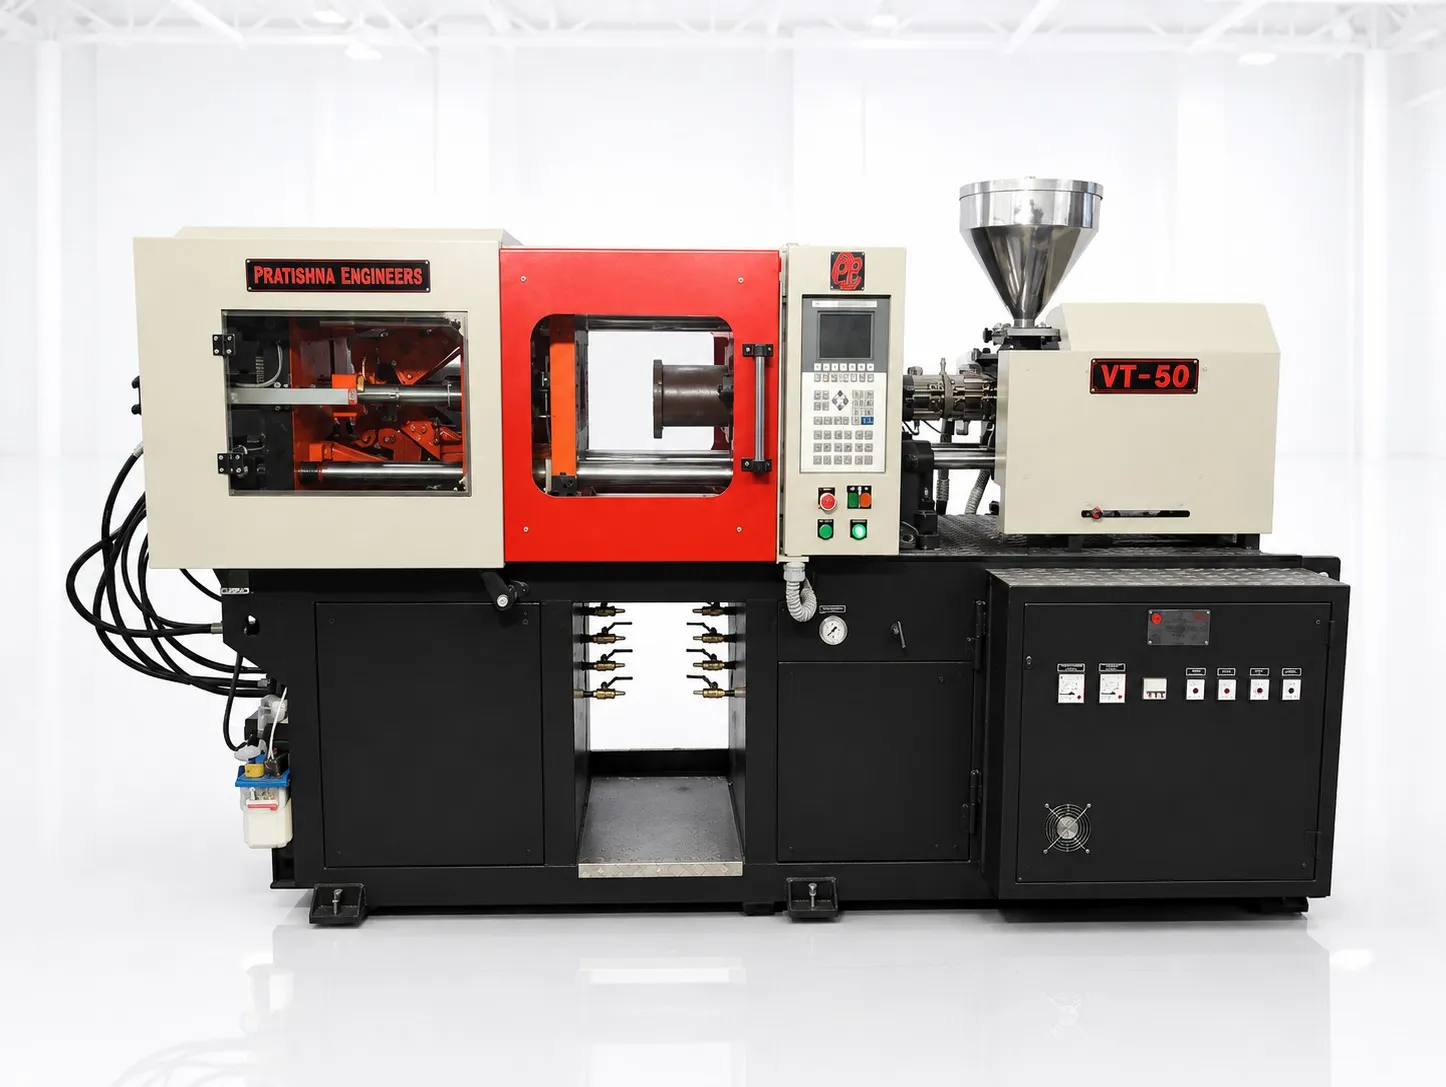
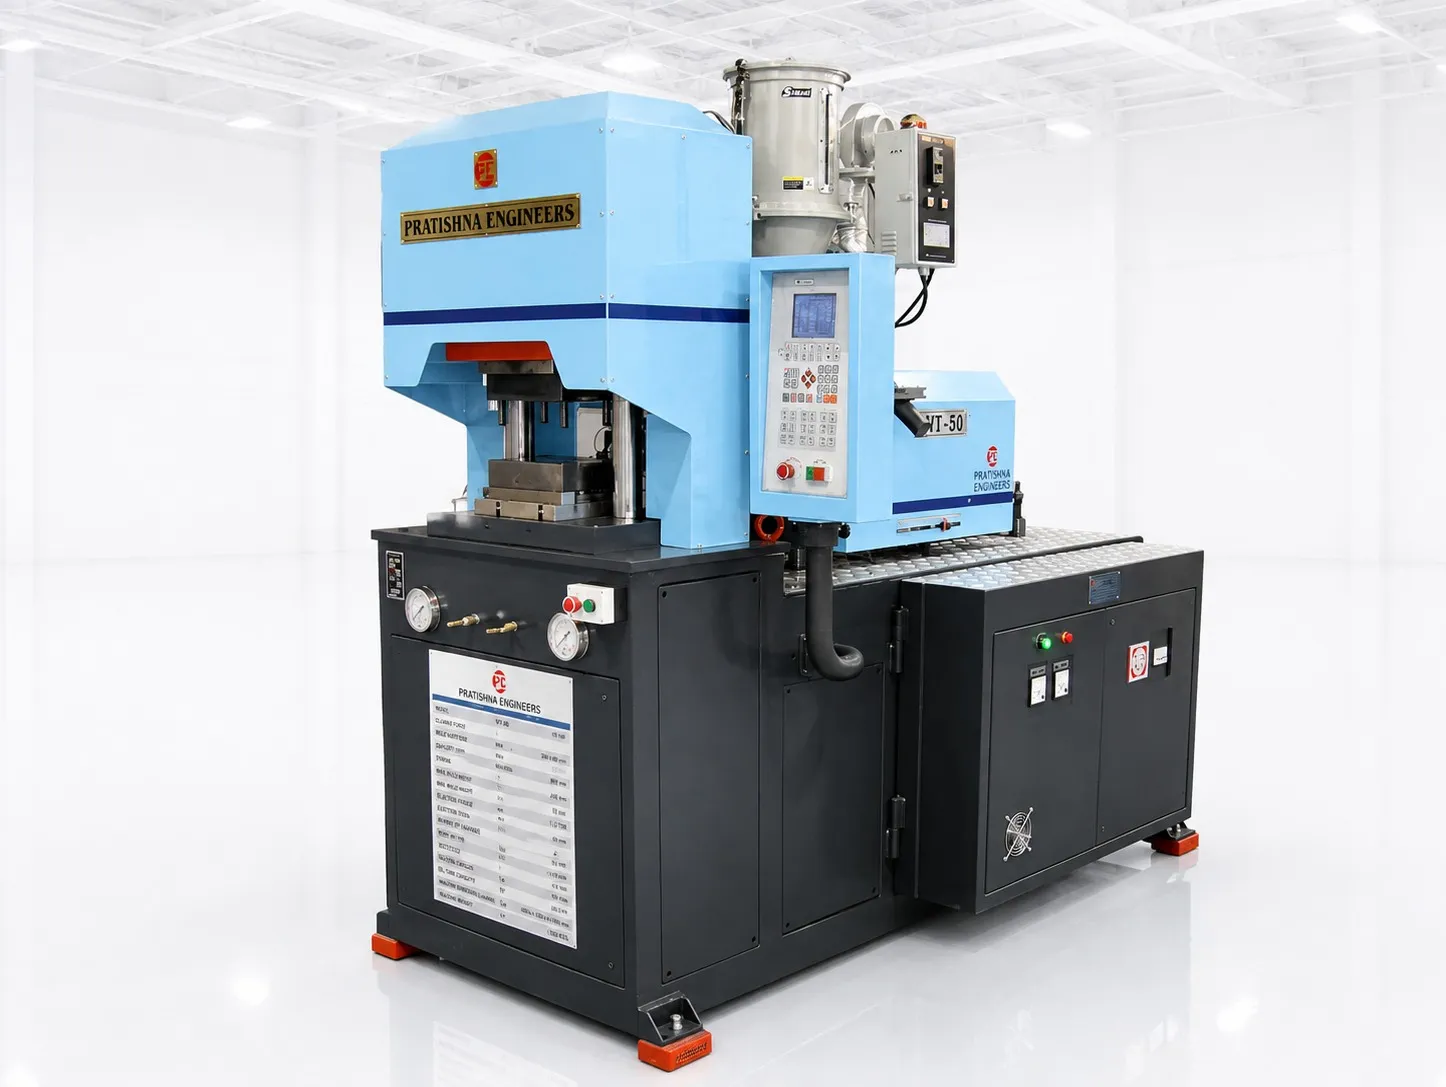
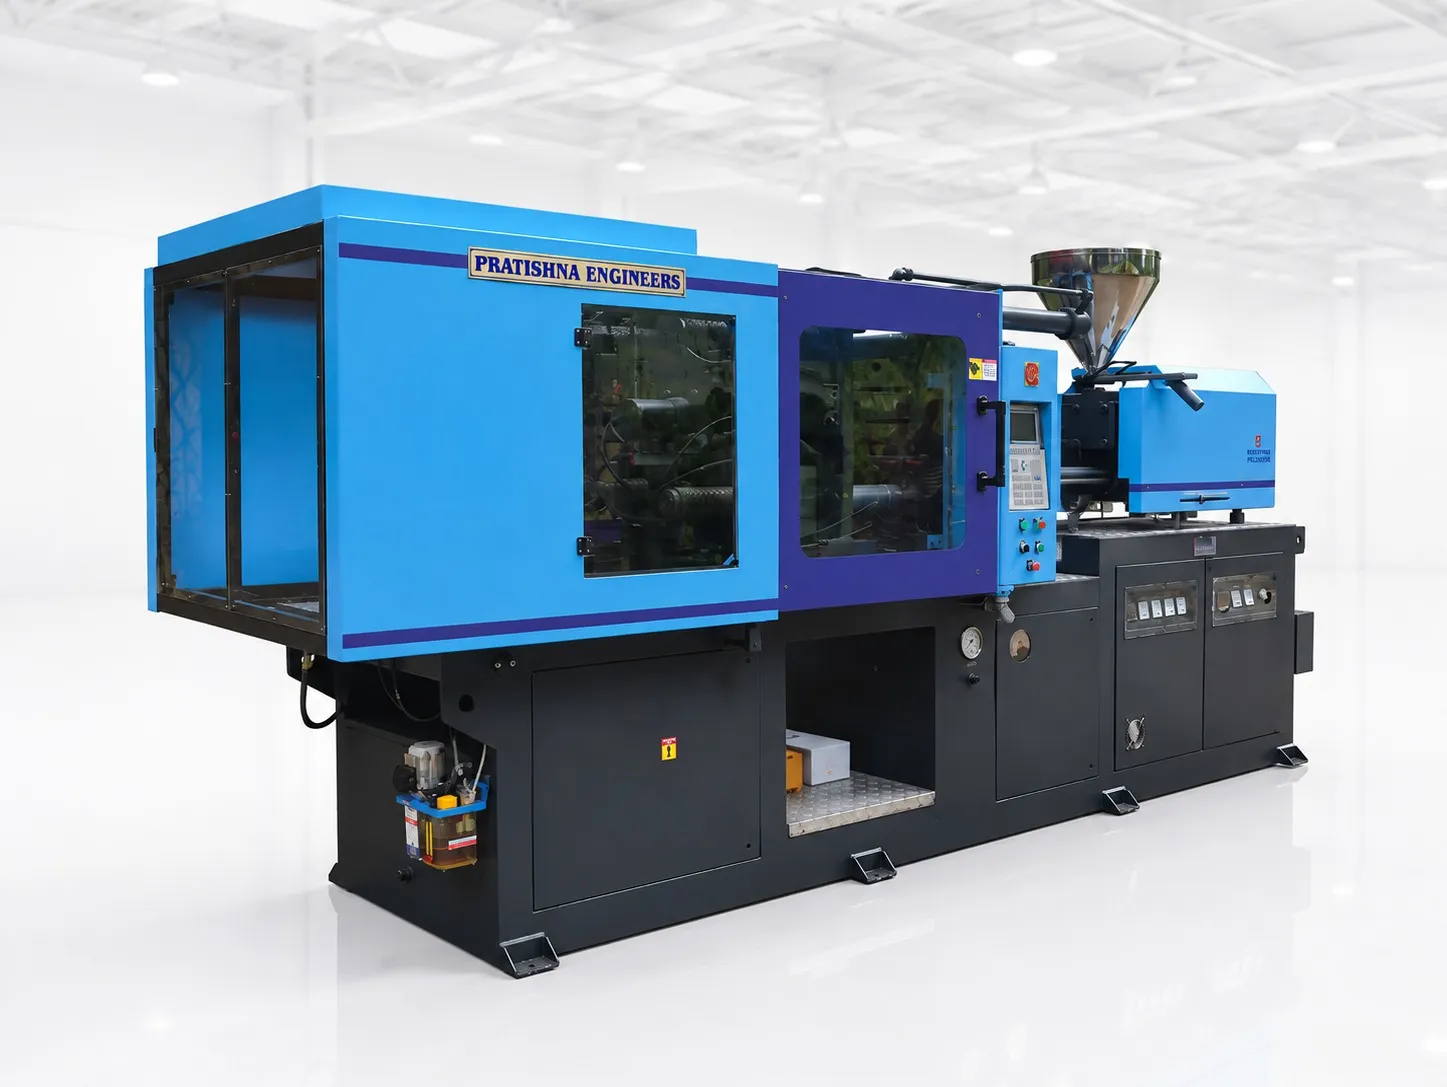
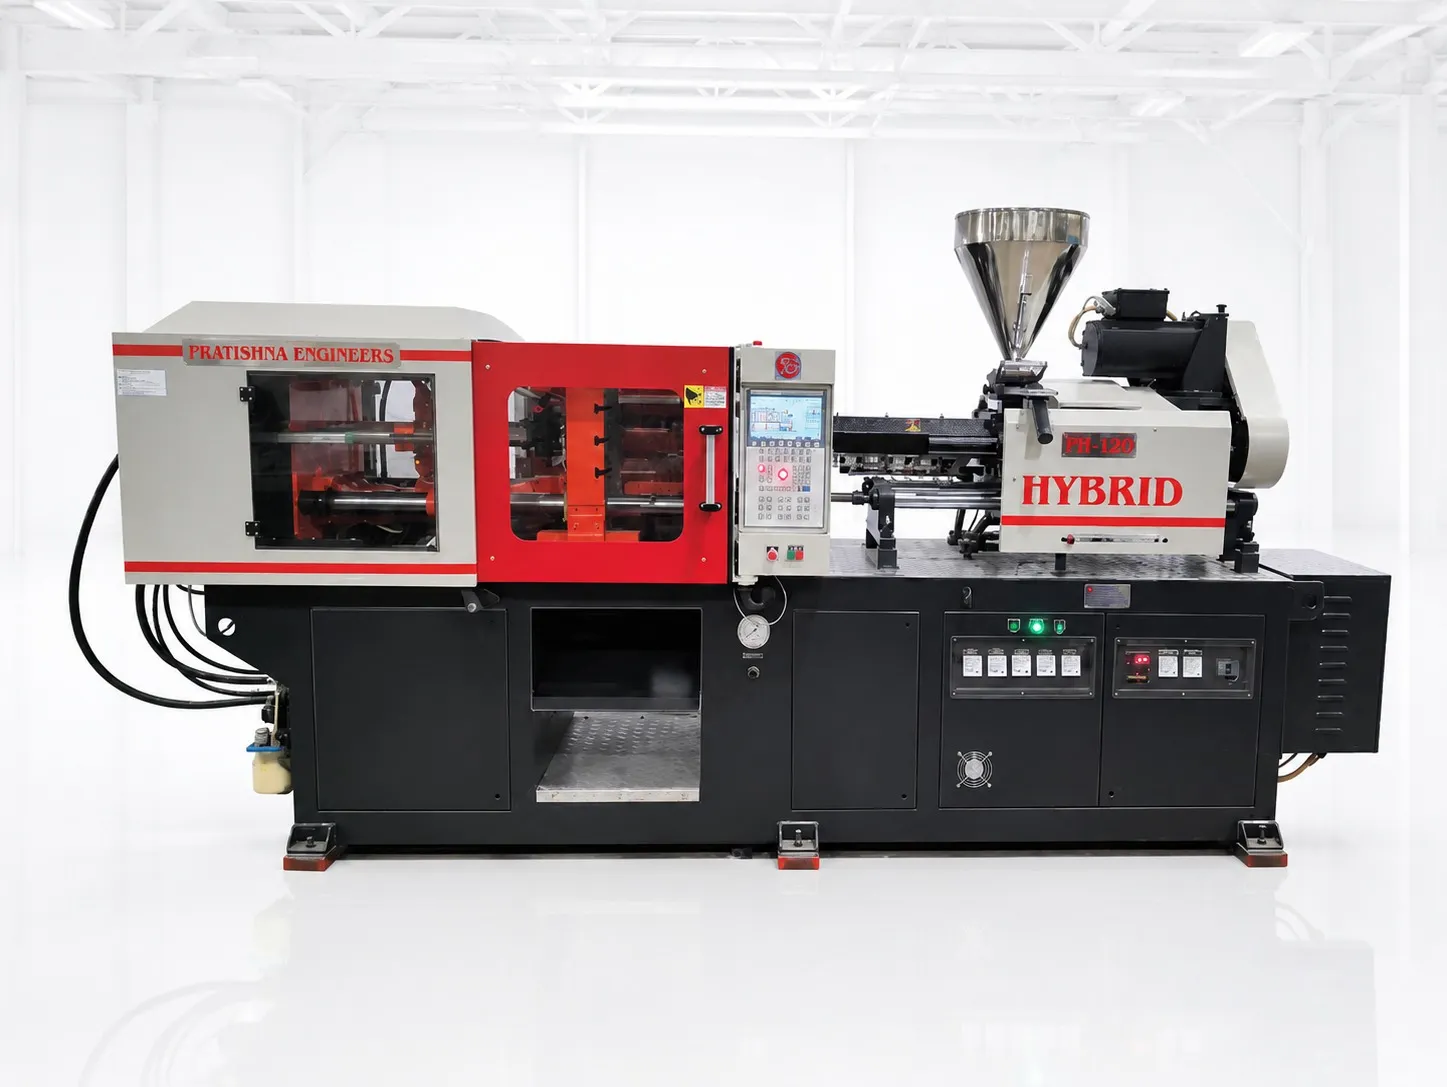
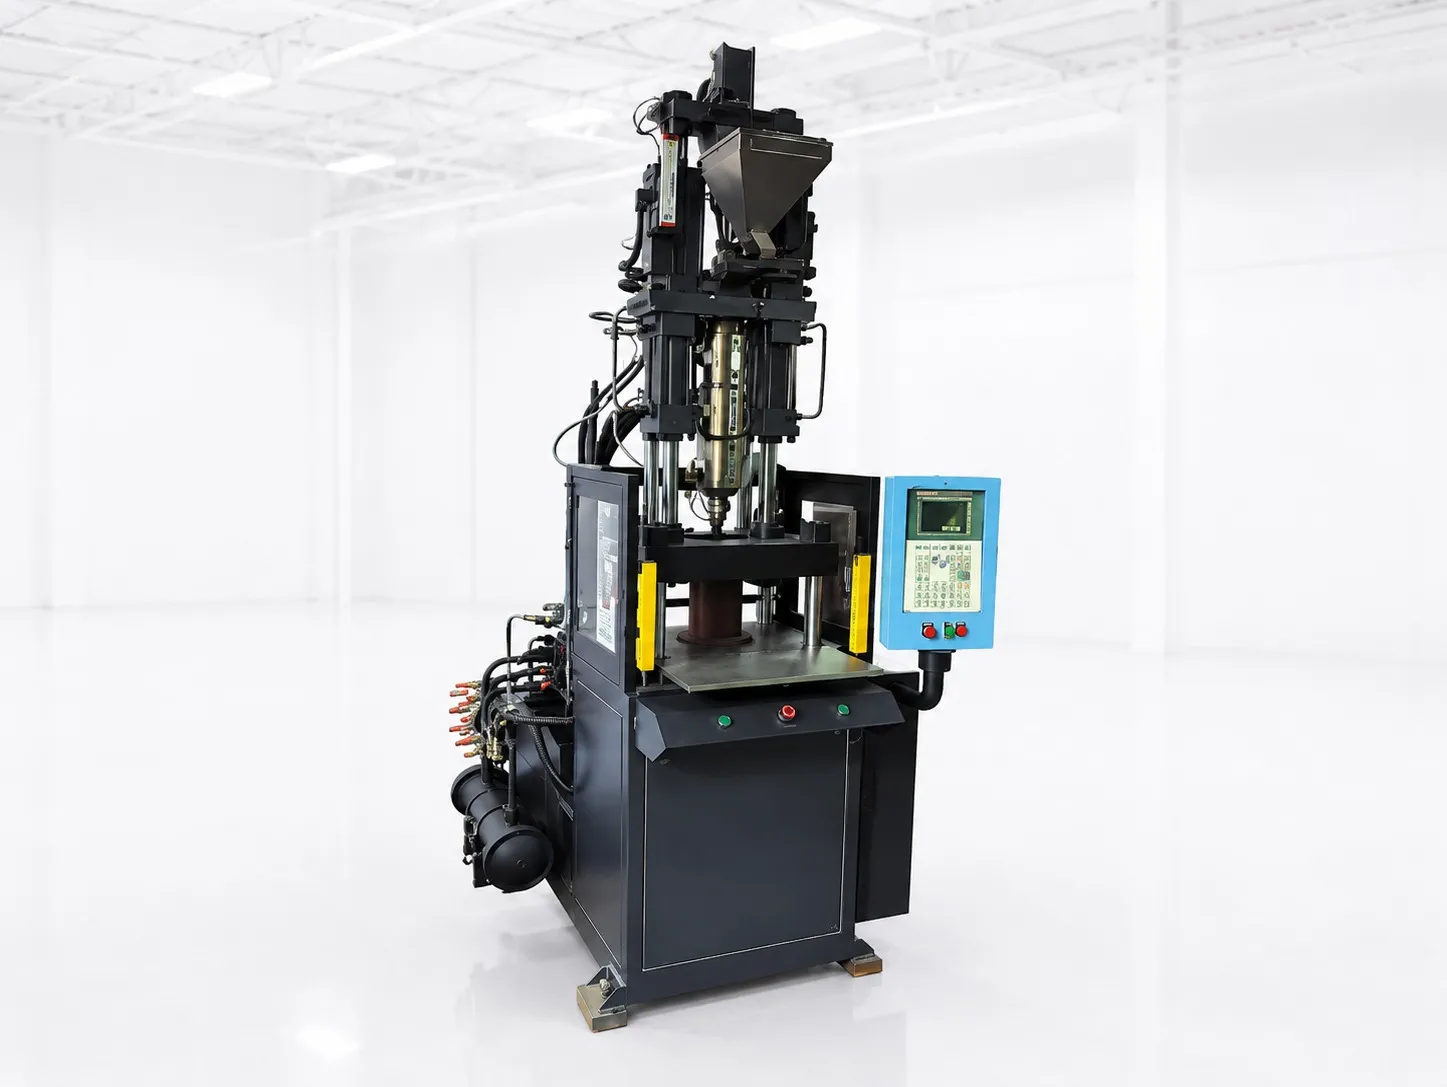
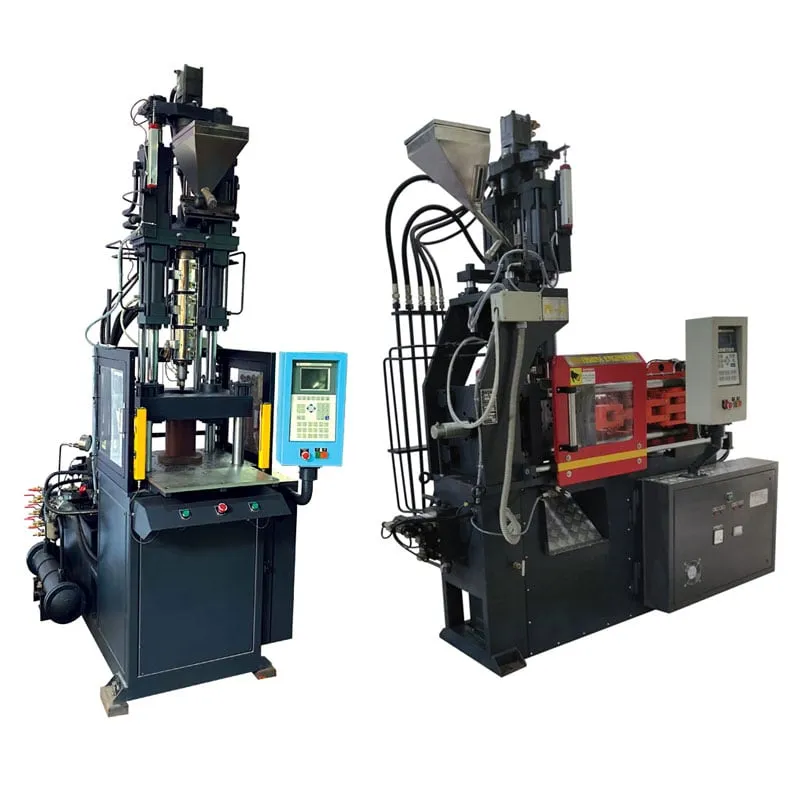

A vertical injection moulding machine for inserts holds metal parts in the lower mould half by gravity, so inserts stay put while the clamp closes. Before you size the machine, decide how the insert should go into the part at all. The table compares the four routes.
Four ways to put a metal insert into a plastic part
| Route | How it works | When it fits |
|---|---|---|
| Moulded in | Insert placed over a core pin every cycle and fully encapsulated | Best pull-out and torque; needs close pin fit and loading time |
| Heat staked | Heated insert pressed into a moulded hole slightly smaller than its outside diameter | Thermoplastics only; easy to control, suits several inserts at once |
| Ultrasonic | Vibration remelts the hole wall around the insert | Thermoplastics only; needs tight control, louder, harder to automate |
| Cold pressed | Insert pushed in at room temperature | Lowest cost, lowest holding performance |
Mould an insert in only when the joint needs it: threads under stress or frequent disassembly, close-tolerance female threads, or a permanent joint between high-load parts. For everything else, post-moulded inserts are cheaper and easier to run. That is our flat view, and design references also treat moulding in as a last resort.
Key Takeaways
- Choose moulding in for threads under load or repeated disassembly; heat staking and ultrasonic insertion work only on thermoplastics, while thermosets need moulded-in or pressed inserts.
- A vertical clamp lets gravity hold inserts in the lower half, which cuts the risk of inserts floating or falling and damaging the mould on close.
- Preheating inserts reduces post-mould shrinkage around the metal, pre-expands the insert and improves weld lines, which lowers the risk of delayed cracking in service.
- Screen hoop stress as mould shrinkage times flexural modulus, then size the boss at about 1.5 times the insert diameter with material beneath it.
When does a vertical injection moulding machine for inserts make sense?
It makes sense when every cycle needs a hand or robot to place inserts on the mould. The lower half faces up, so inserts sit on their pins by gravity, and the operator loads them without fighting the clamp or worrying that they will slide off.
On a horizontal machine the same inserts must be held on vertical faces with magnets, spring clips or tight pins. That works for one or two inserts, but a part with eight or ten loose bushes is far easier to load on a mould face that looks up at the operator.
Loading time is the real constraint. Design references list difficult loading as a common cause of a long cycle, along with inserts that float or damage the mould and flash running into internal threads. Every second spent placing inserts is a second the mould stands open.
Shuttle tables help by pairing one top half with two bottom halves, so the operator loads one while the press moulds the other. The machine still waits for each part to cool in the clamp.
If you mould switch or socket parts with brass terminals, plan for the product tests too. IS 3854 for switches and IS 1293 for plugs and socket-outlets cover resistance to abnormal heat and fire and mechanical strength, and switches fall under compulsory ISI certification.
Should you preheat metal inserts before moulding?
Yes, for most metal inserts in engineering resins. A cold insert pulls heat from the melt around it, so the plastic freezes early, the weld line behind the insert is weak and the boss shrinks onto cold metal. Preheating reduces post-mould shrinkage and improves the weld line.
Preheating also expands the insert before the melt meets it. As part and insert cool together, the metal contracts with the plastic instead of standing rigid while the plastic shrinks onto it, so less stress is locked into the ring of material around it.
Weld lines matter more than most buyers expect. Melt splits around every insert and joins again on the far side. In heavily glass or mineral filled grades that joint may carry only about 60% of the strength of an unfilled resin, so the weakest point often sits right behind the insert.
In practice, heat inserts in a small oven or on a hot plate near the press and keep the time from heater to mould short and repeatable. Use a temperature the resin supplier accepts, record it on the setup sheet and treat it as a process parameter, not an operator habit.
Rejected insert parts are costly to salvage because the metal is trapped inside, so a stable preheat routine pays back in scrap you never make.
How do you check hoop stress and boss size around an insert?
Estimate hoop stress as mould shrinkage times the flexural modulus of the resin, then compare it with the resin's strength. If the stress is a large share of that strength, use a tougher grade, a larger boss or a post-moulded insert. Delayed cracking is the usual failure.
The metal does not shrink, so the plastic ring around it is stretched as it cools. Material choice changes this a lot. Nylon shrinks about 0.016 mm/mm and acetal about 0.025 mm/mm; one design reference puts acetal hoop stress near 52.4 MPa, about 75% of its tensile strength.
Filled grades shrink less, about 0.005 to 0.010 mm/mm, which lowers hoop stress but brings the weaker weld line covered above. There is no free choice here; you trade one risk for the other and then test the part.
Boss guidelines from the same reference: make the boss about 1.5 times the insert diameter for inserts up to 12.9 mm, keep material beneath the insert at least one sixth of its diameter, and let the insert stand at least 0.4 mm proud into the cavity.
Round the insert and its knurl, avoid sharp corners and give it an undercut for pull-out. Then run end-use tests with temperature cycling, because hoop stress cracks often appear weeks after moulding, not at the press.
What should you send before an insert moulding trial?
Send the part drawing, the insert drawing with its material and knurl, the resin grade, the number of inserts per shot and your target output per shift. With those, the clamp, table type and loading method can be sized around the real loading time. Compare machine options on the vertical injection moulding machine page.
Frequently Asked Questions About Insert Moulding on Vertical Machines
Can heat staked inserts replace moulded-in inserts?
Often, yes. Heat staking presses a heated insert into a moulded hole slightly smaller than its outside diameter. It is easy to control, costs relatively little and can place several inserts at once. It works only on thermoplastics, and full encapsulation by moulding in still gives the best pull-out and torque resistance.
Which knurl pattern holds an insert best?
It depends on the load. Straight knurls give the most torque resistance but less pull-out resistance. Grooves between knurl bands add pull-out resistance, and diagonal or helical knurls balance both. The diamond knurl is probably the most common because it resists load in every direction.
Why do insert parts crack weeks after moulding?
The usual cause is hoop stress. The plastic shrinks around metal that does not shrink, leaving the ring around the insert under tension. Over time, heat, chemicals or load can turn that stress into a crack. Preheating, a larger boss, a tougher grade and temperature cycling tests reduce the risk.
What insert materials are common besides brass?
Brass is the most common. Stainless steel gives more strength and corrosion resistance. Aluminium is about 70% lighter than brass, and both stainless steel and aluminium are lead-free options. The choice changes preheat behaviour and thermal expansion, so confirm it before you set the moulding process.
How do you keep resin out of through-threaded inserts?
A through-threaded insert must make solid contact with both the core and the cavity so the melt cannot enter the thread. Blind inserts only need contact with the core pin. Close tolerance between pins and inserts matters in both cases, because a loose fit lets flash into the thread.
Related Articles
- PET Preform Defects and Their Process Fixes
- Cutting Downtime on Horizontal Moulding Machines
- When a Sliding Double Station Machine Pays
- Benefits of Vertical Injection Moulding Machines for Compact Spaces
Sources & References
- PlasticsToday (IMM), summarising A. Miller, DuPont: Design and material advice from the pros, Part 3: Insert molding essentials (Sept 2005)
- Plastics Technology (sponsored, PennEngineering): Four Ways to Tackle Threaded Inserts for Plastics (Jan 2018)
- BASF via Material Data Center (M-Base): Ultramid A3L HP datasheet
- BIS Blog, N. Agarwal: Standards for Plugs-Socket-Outlets and Switches (Feb 2023)
Technical Disclaimer
Disclaimer: The information provided in this document is for general informational and educational purposes only. It is based on technical references and industry information available at the time of preparation and may be subject to change. It does not constitute engineering, technical, commercial or professional advice, nor does it constitute a quotation, specification, warranty or contractual commitment by Pratishna Engineers.
Actual injection moulding machine and process requirements vary according to the component design, material, mould, production volume, machine configuration and operating conditions. The information, examples, calculations and recommendations provided should be independently evaluated and verified for the specific application before making any equipment, process or production decision. Information obtained from third-party sources remains subject to the accuracy and limitations of those sources.
Limitation of Liability: Pratishna Engineers makes no representation or warranty, express or implied, regarding the completeness, accuracy or suitability of the information for any particular application. To the extent permitted by applicable law, Pratishna Engineers shall not be liable for any loss, damage, cost or consequence arising from reliance on or use of the information contained in this document. Final machine selection, configuration and application suitability should be confirmed with Pratishna Engineers based on complete and accurate project requirements.